


Get Started. And Get Stronger.
Information
- Email confirmation automatically triggered with online orders
- Information is also available in your account. If you didn’t opt to create one at checkout it can be added retroactively upon request, contact [email protected]
- Contact us through this form if you have any questions about your order
Shipping
- Typically shipped within 1-3 business days.
- Delays may occur may during campaigns.
- Tracking link and invoice will be sent via email upon dispatch
- Delivery estimates
- Customs clearance in some countries may cause unavoidable delays
- Couriers may separate parcels during transit. Check your tracking status for the additional packages.
The time between placing your order and receiving your delivery is a great opportunity to prepare, especially if you are new to flywheel training or strength training in general.
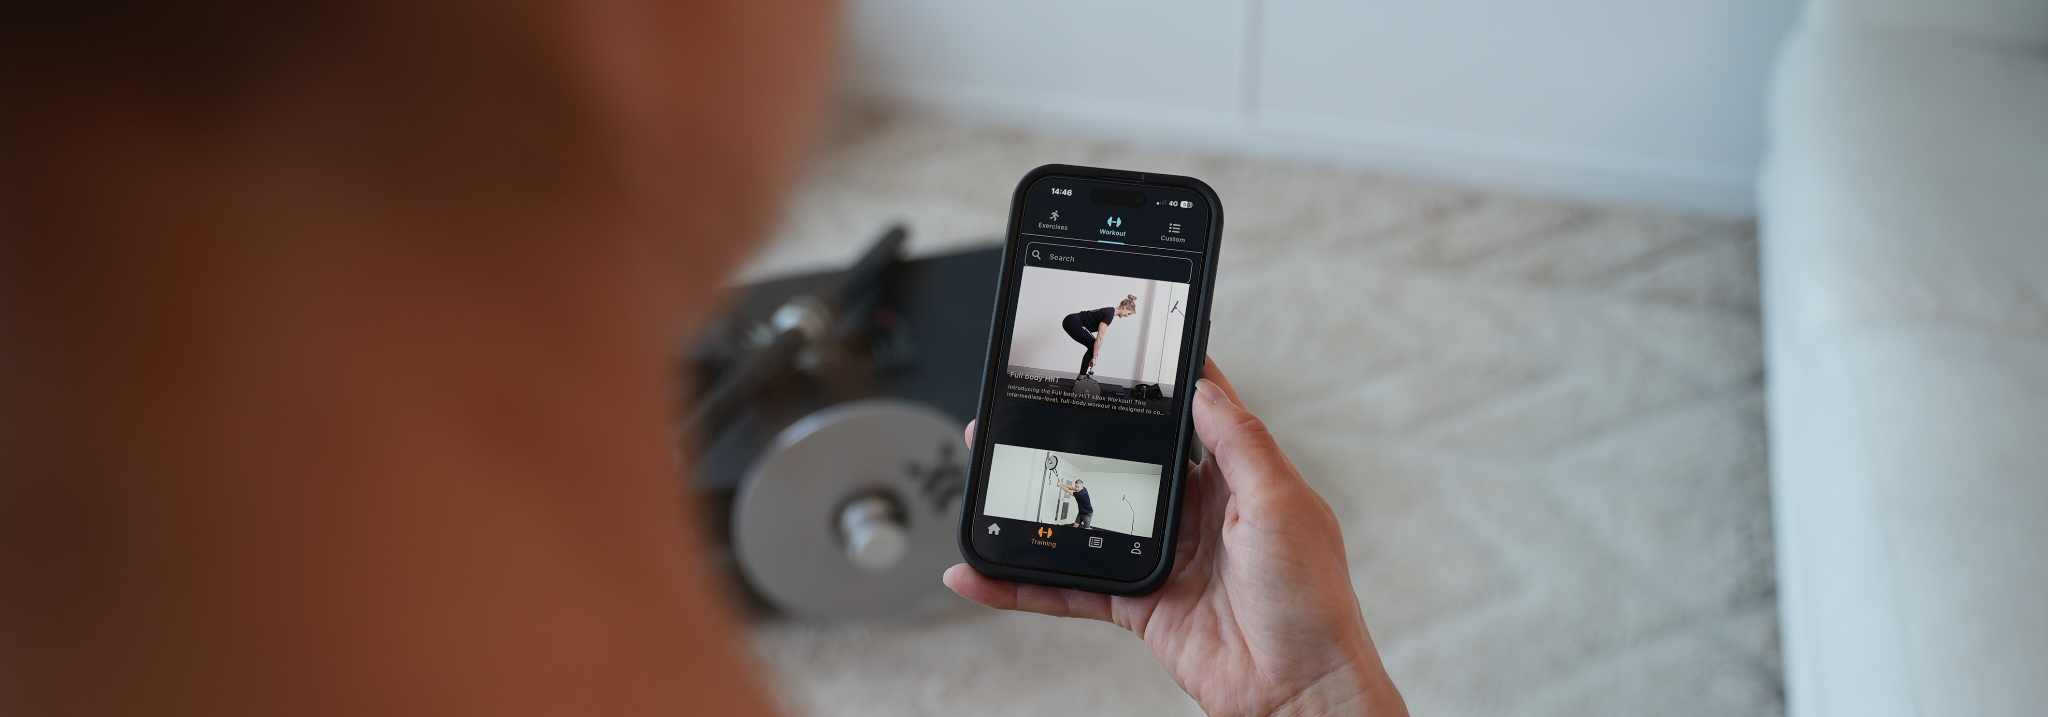
The Exxentric App
Our free Exxentric App is an excellent resource, packed with instructional and onboarding content.
- Create an account to receive notifications about your order
- Add equipment to MyGym
- Unlock bonuses (see below)
-

Extended Warranty
Register your device to secure an extra year under warranty and ensure quicker assistance in case of any future issues. -

Free Premium
Get 6 months of the premium subscription for free to benefit from more advanced training and coaching features by registering your device and completing your profile in the app.
Download the App


Setting up a profile will help you with improving your training, so please take the time to do the app onboarding and complete your profile.
After creating an account navigate to the Academy section, select the ALL tab, and watch the videos under:
- kBox getting started
- kPulley getting started
- Exxentric shorts for more educational content
Getting your device ready is straightforward:
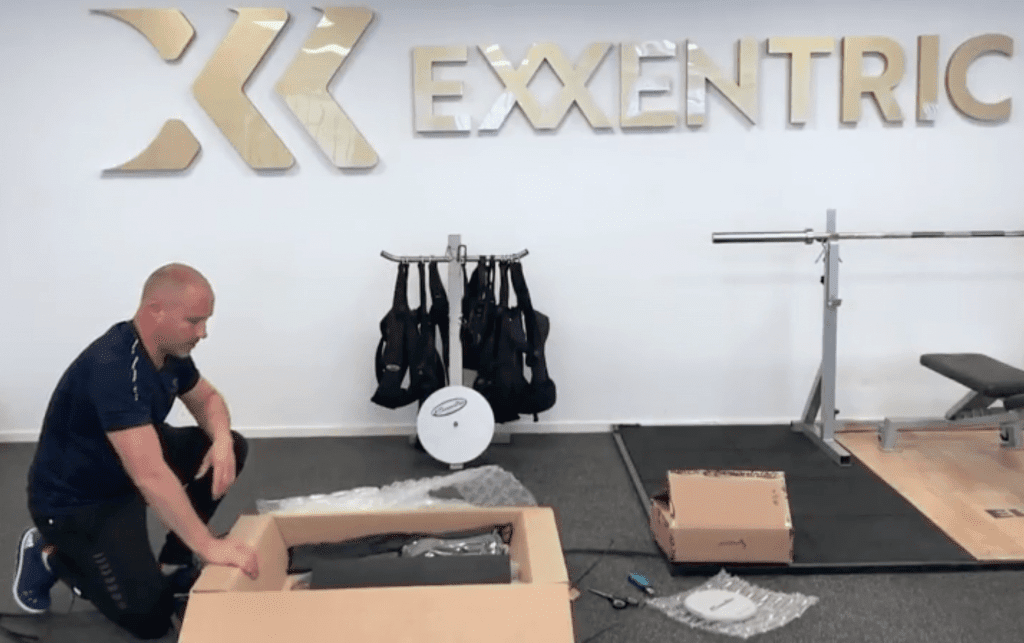
It is basically ready to use straight out of the box.
Unbox it and put it on the floor.
Remove the packing material.
See: kBox Unboxing video
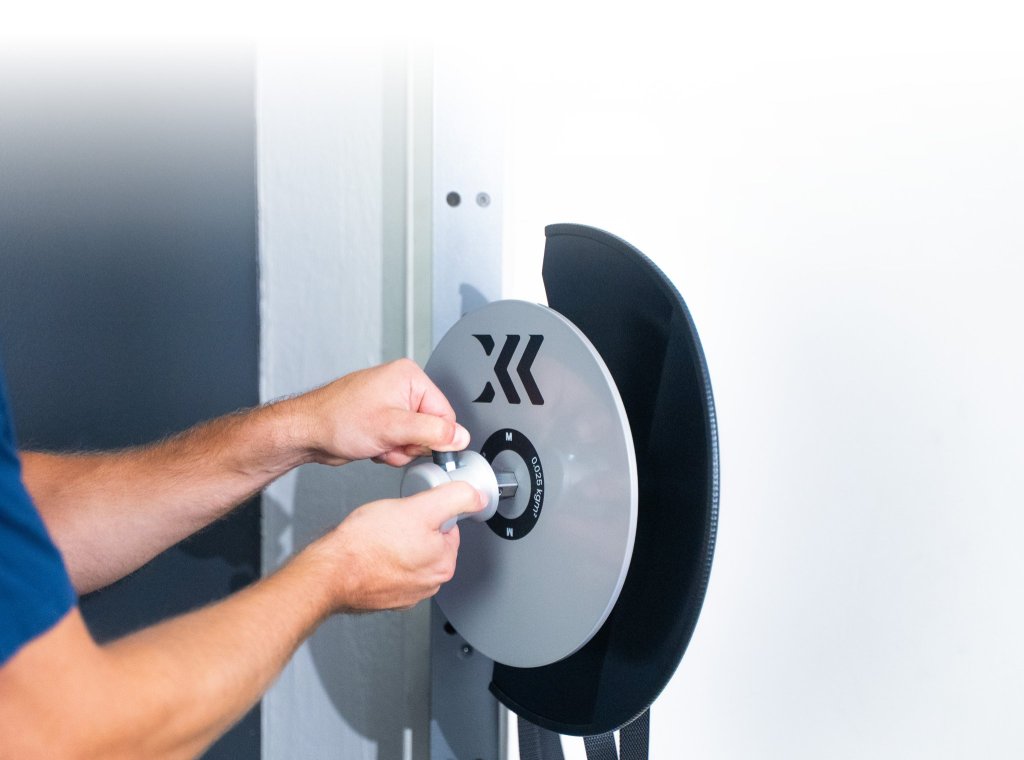
This device needs to be mounted on a rack or its beam.
Instructions: kPulley Pro | kPulley Go and Go+
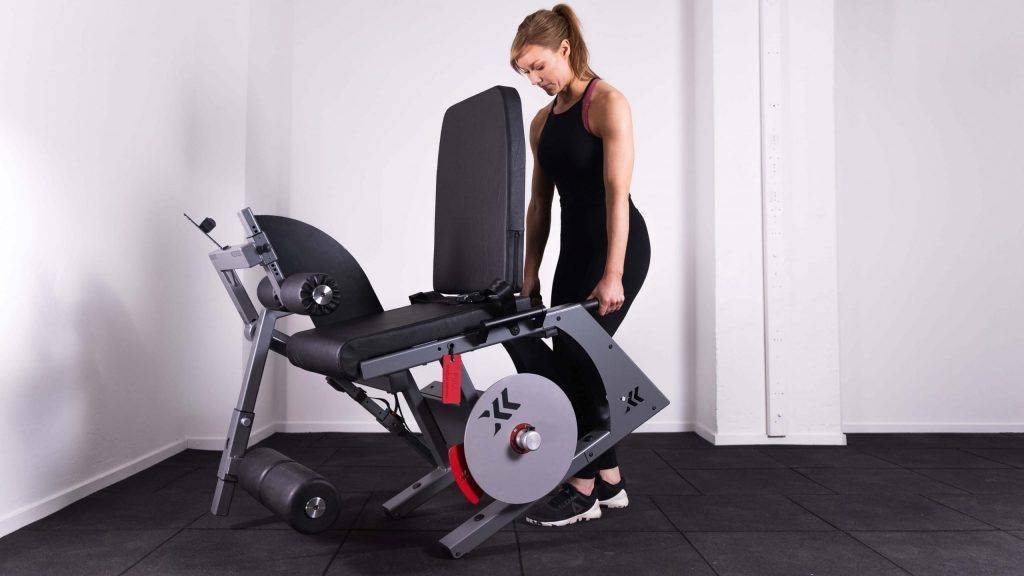
Missing Items or Support
If you suspect any items are missing from your delivery, please note that transportation companies occasionally split orders, even though all parcels are shipped together.
- Check Your Tracking ID: Verify that all boxes have been delivered.
- Contact Operations: If all boxes have been delivered and you are still missing something or require assistance, please contact us at [email protected].
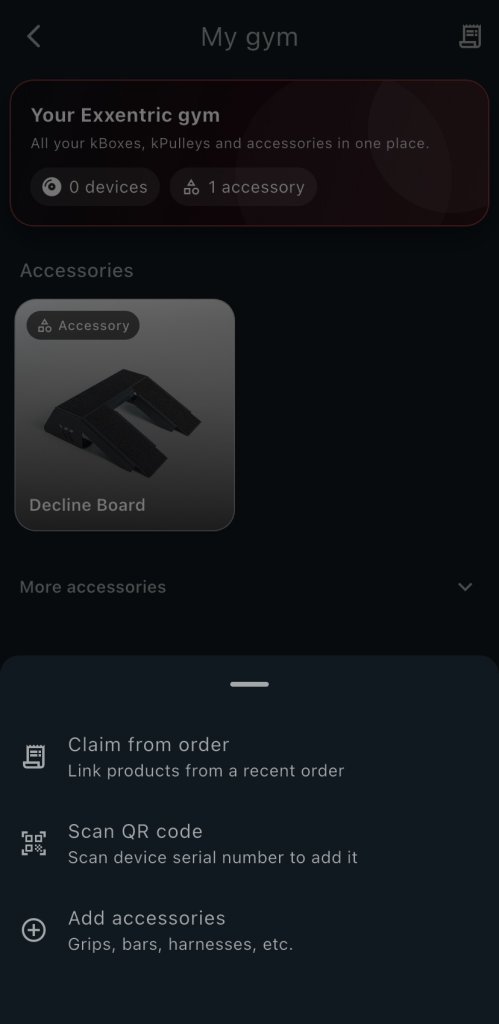
MyGym serves as a central hub for managing all your Exxentric products. Access device information, documentation and relevant media. Control who can connect to your equipment, view usage statistics, and filter content based on the devices you own.
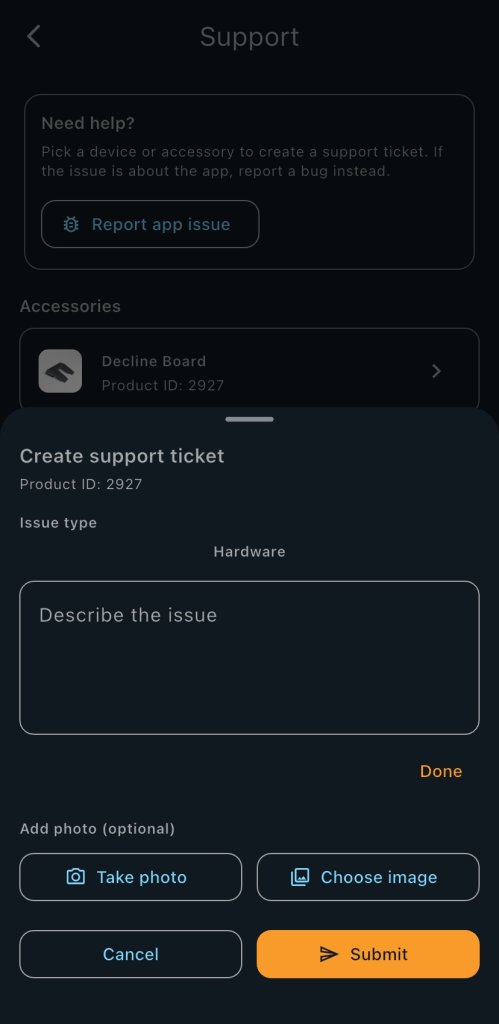
Fie support tickets instantly in MyGym for products you own.
Your order will be imported automatically if you use the same email for your App account as you did for your purchase. Alternatively, you can add equipment manually by using your order number or scanning your device.
-
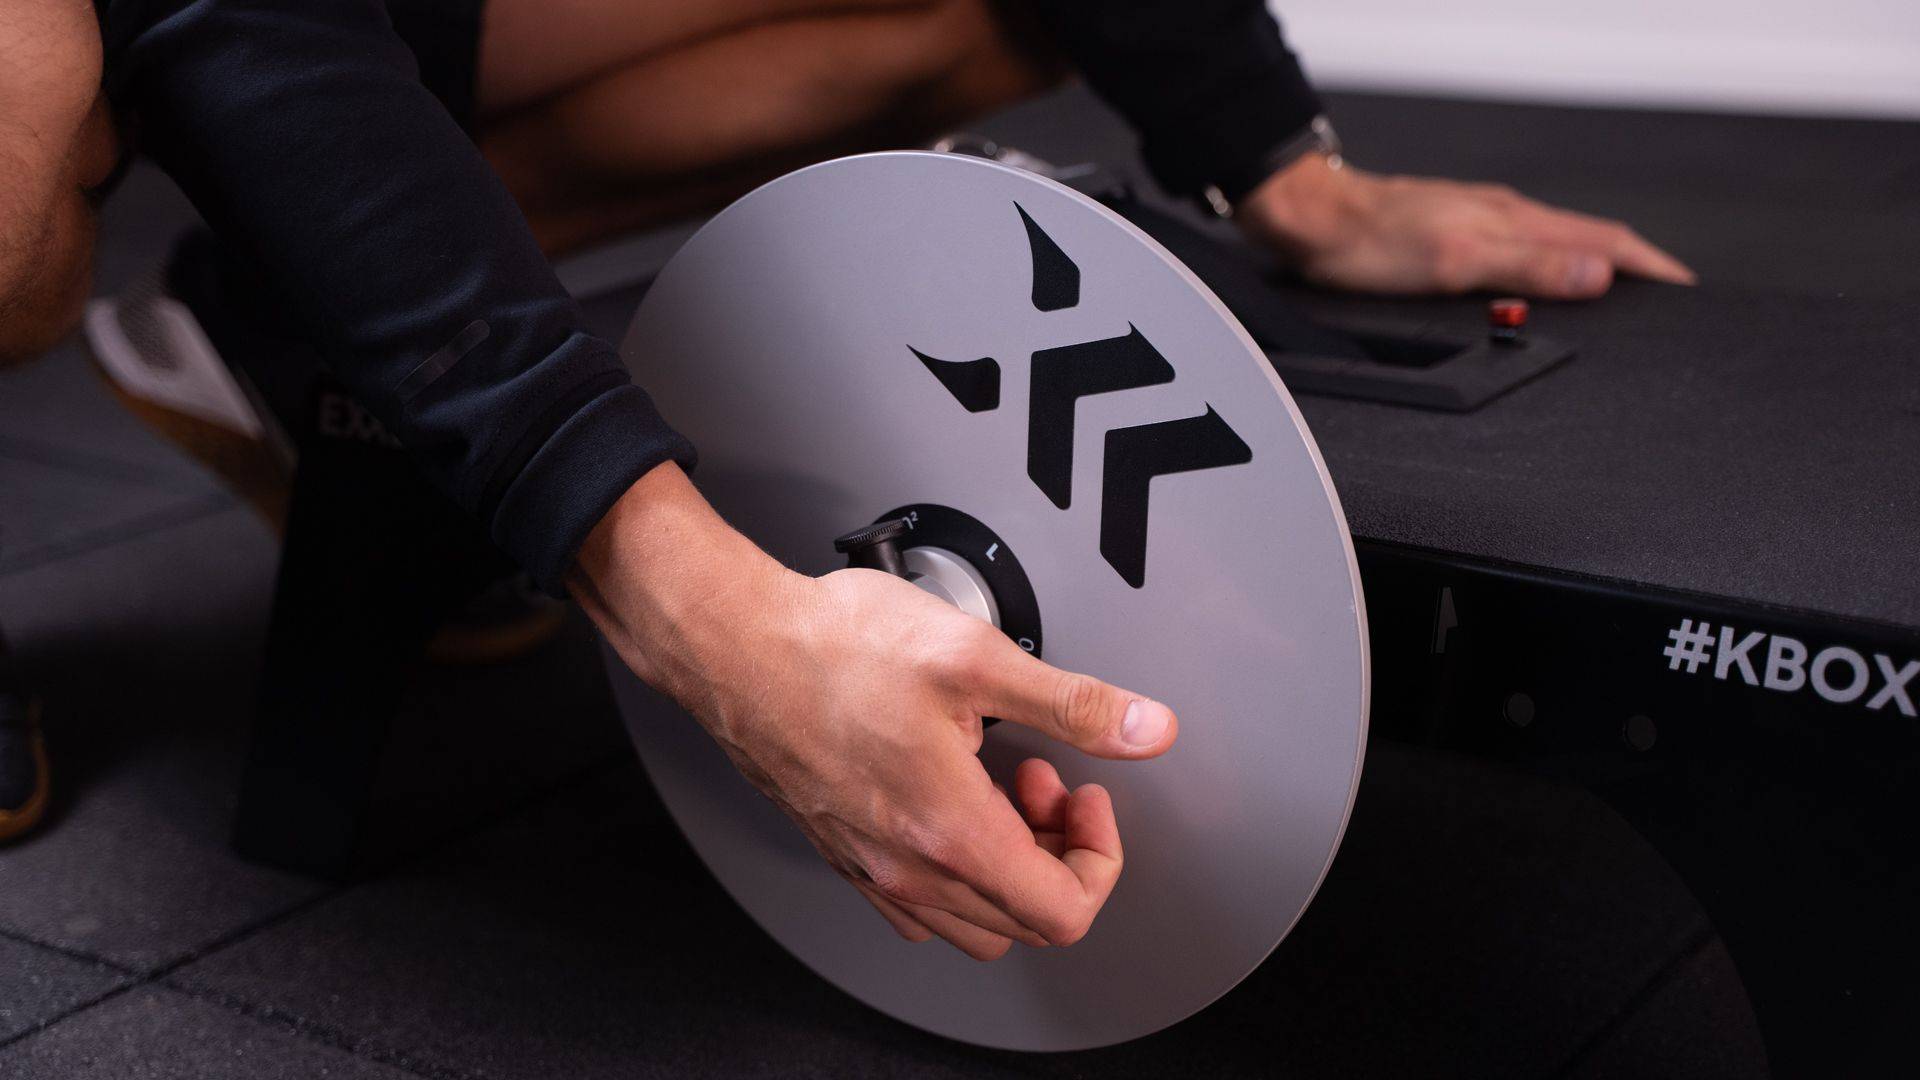
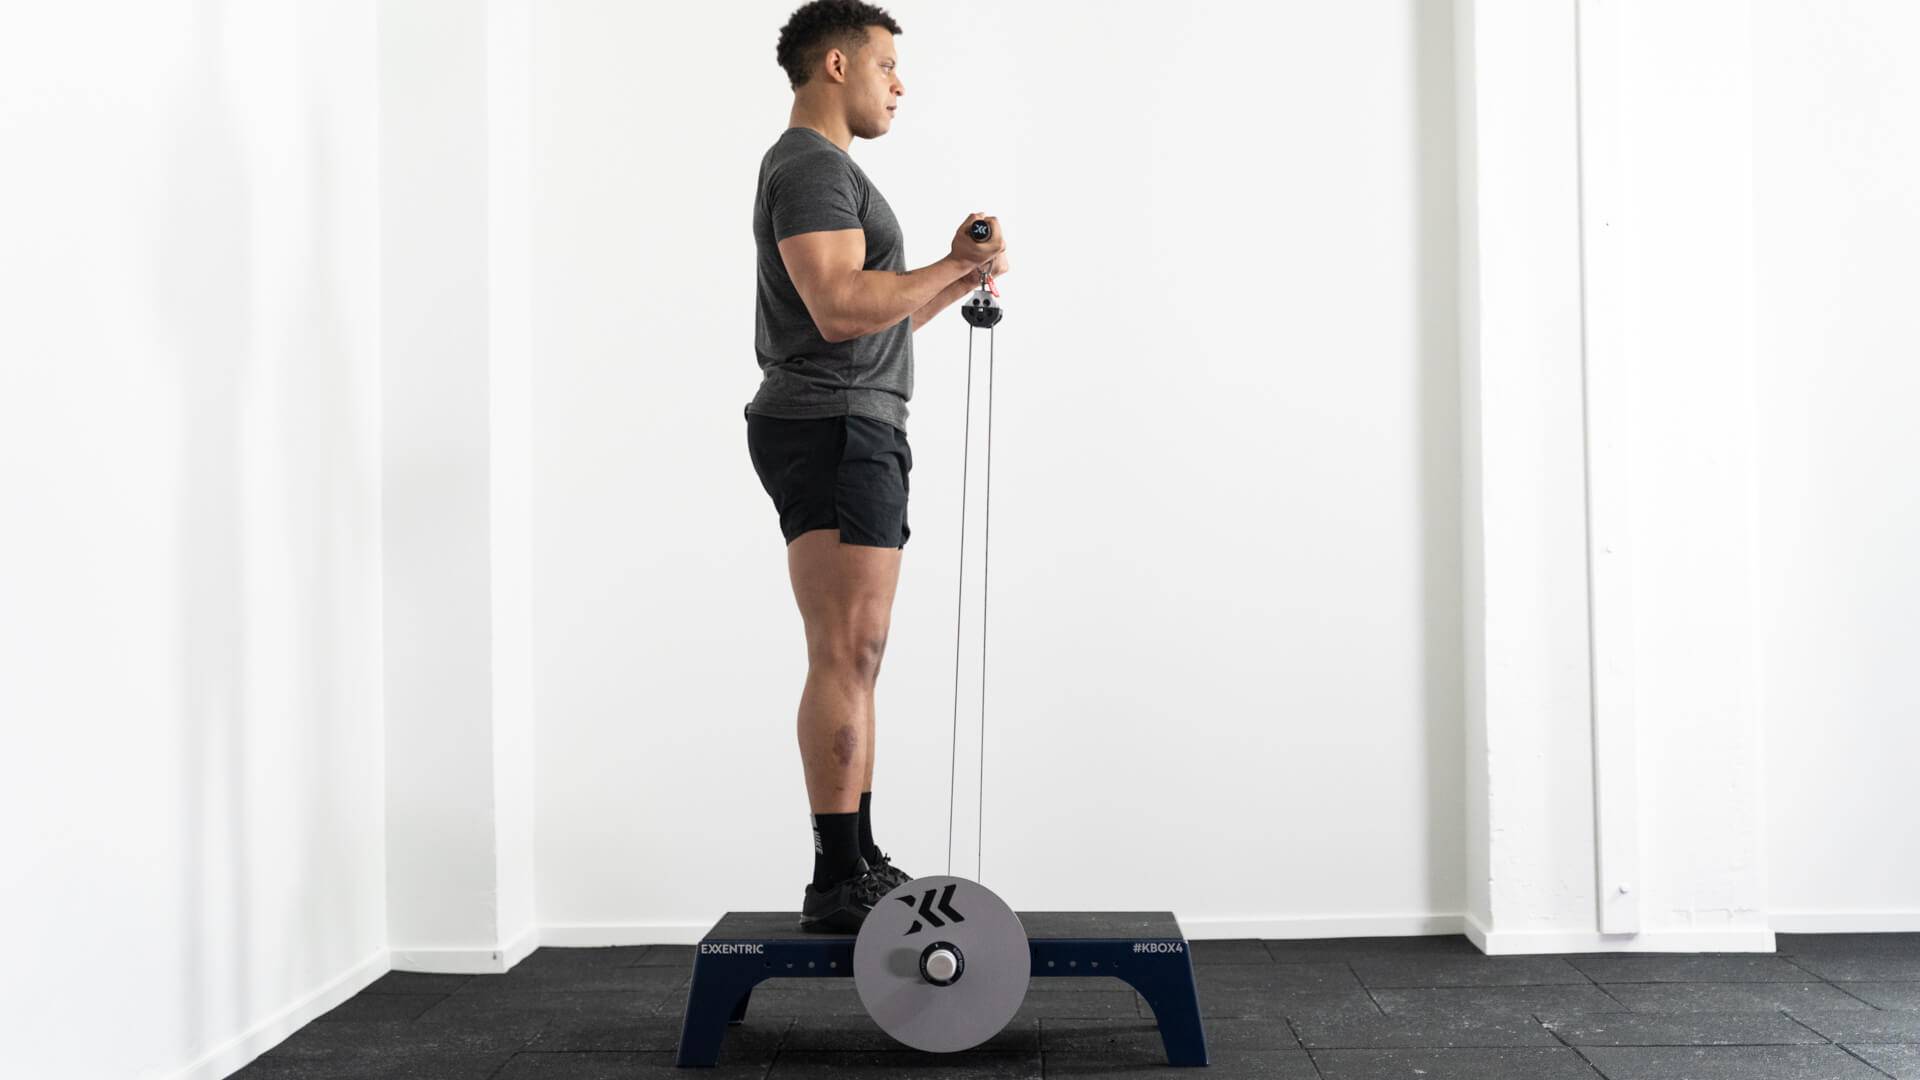
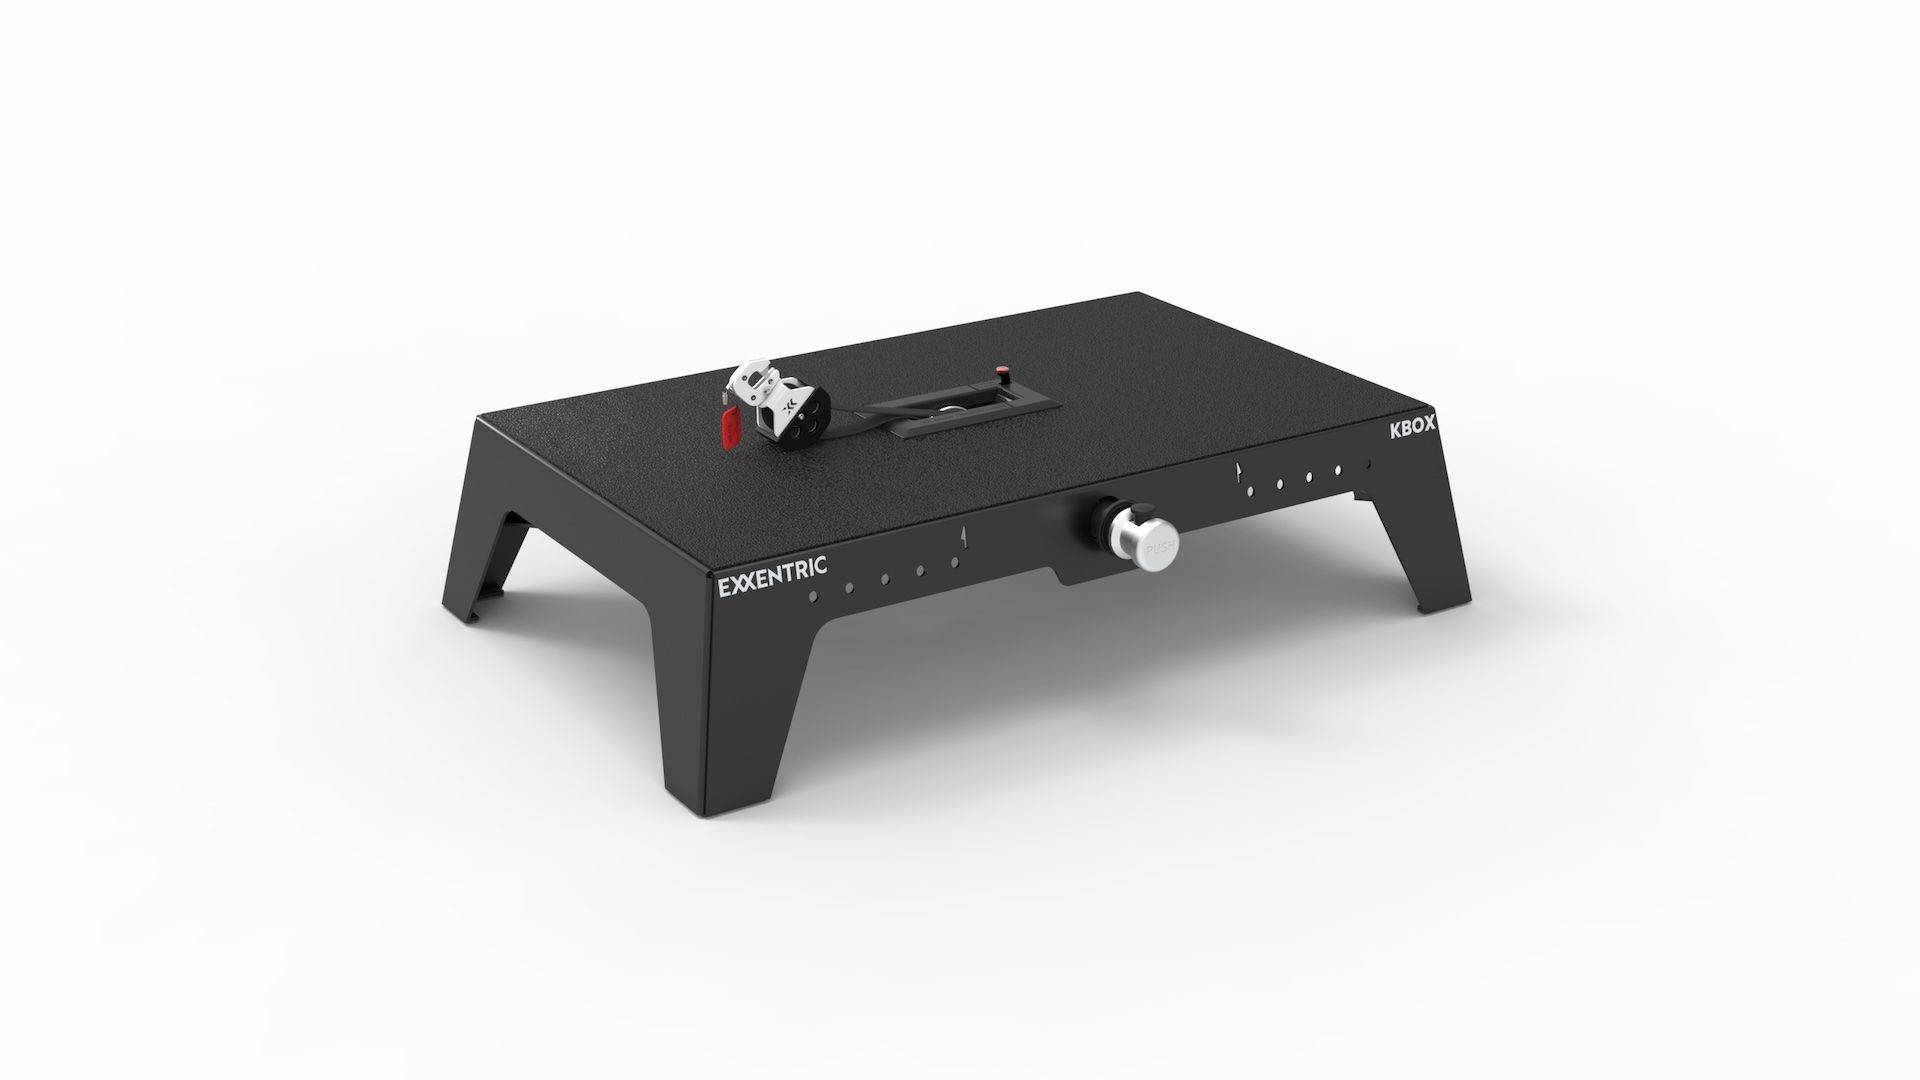
Step 1:
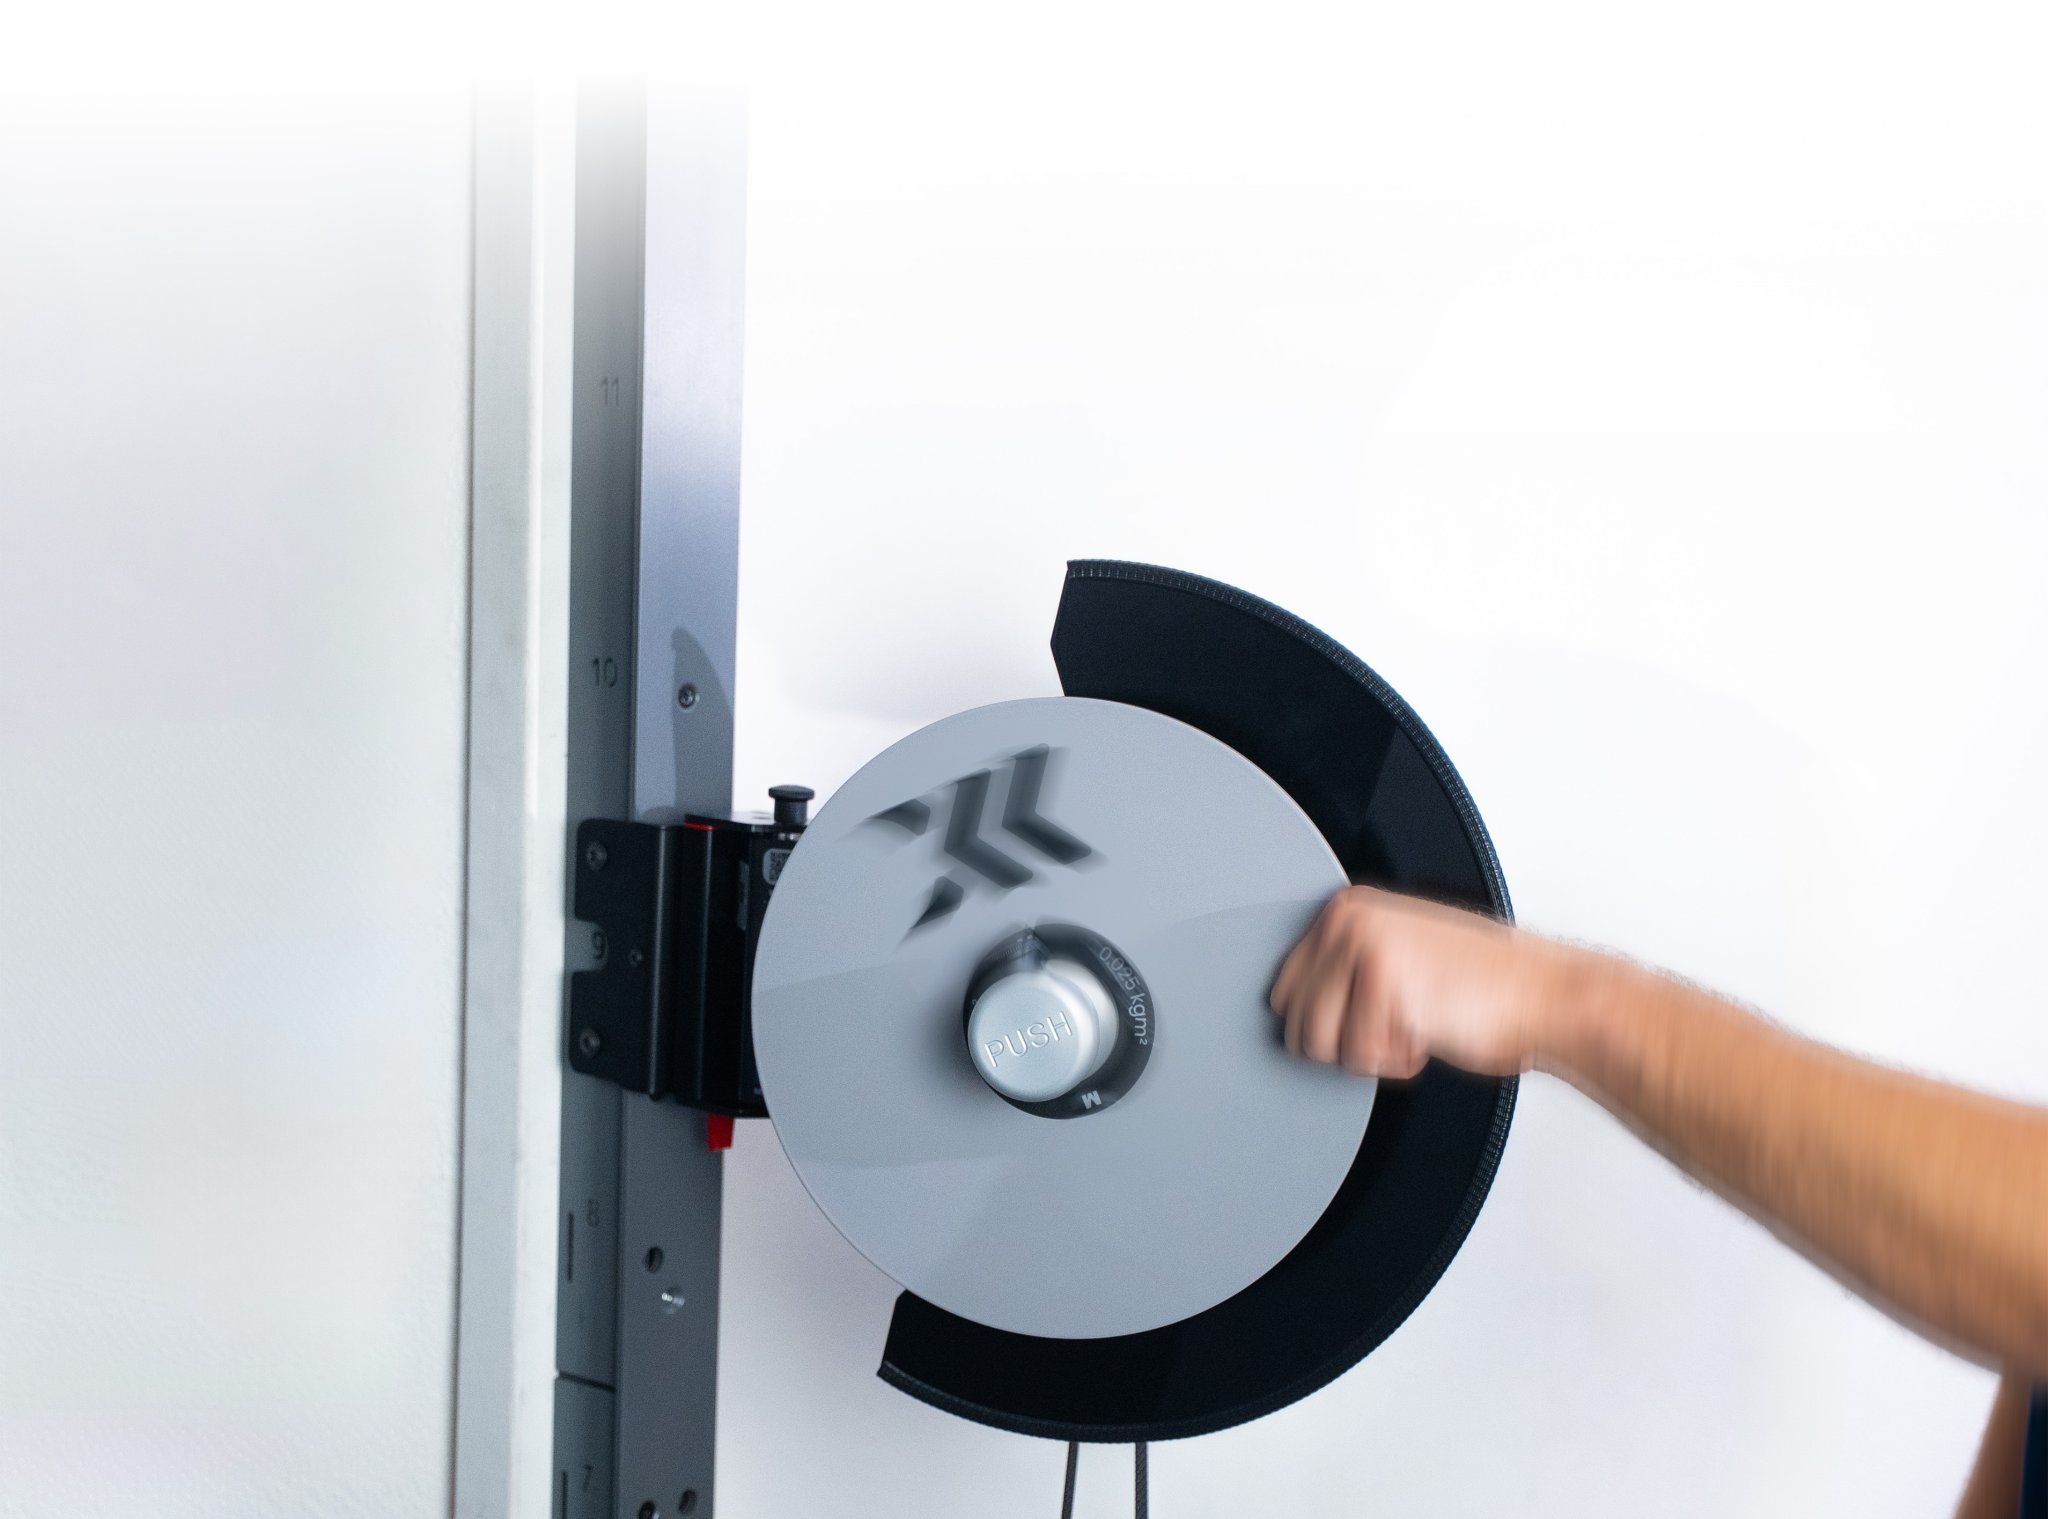
Mount the flywheel and push the knob.
-
Step 2:
Select and attach your accessory.
-
Step 3:
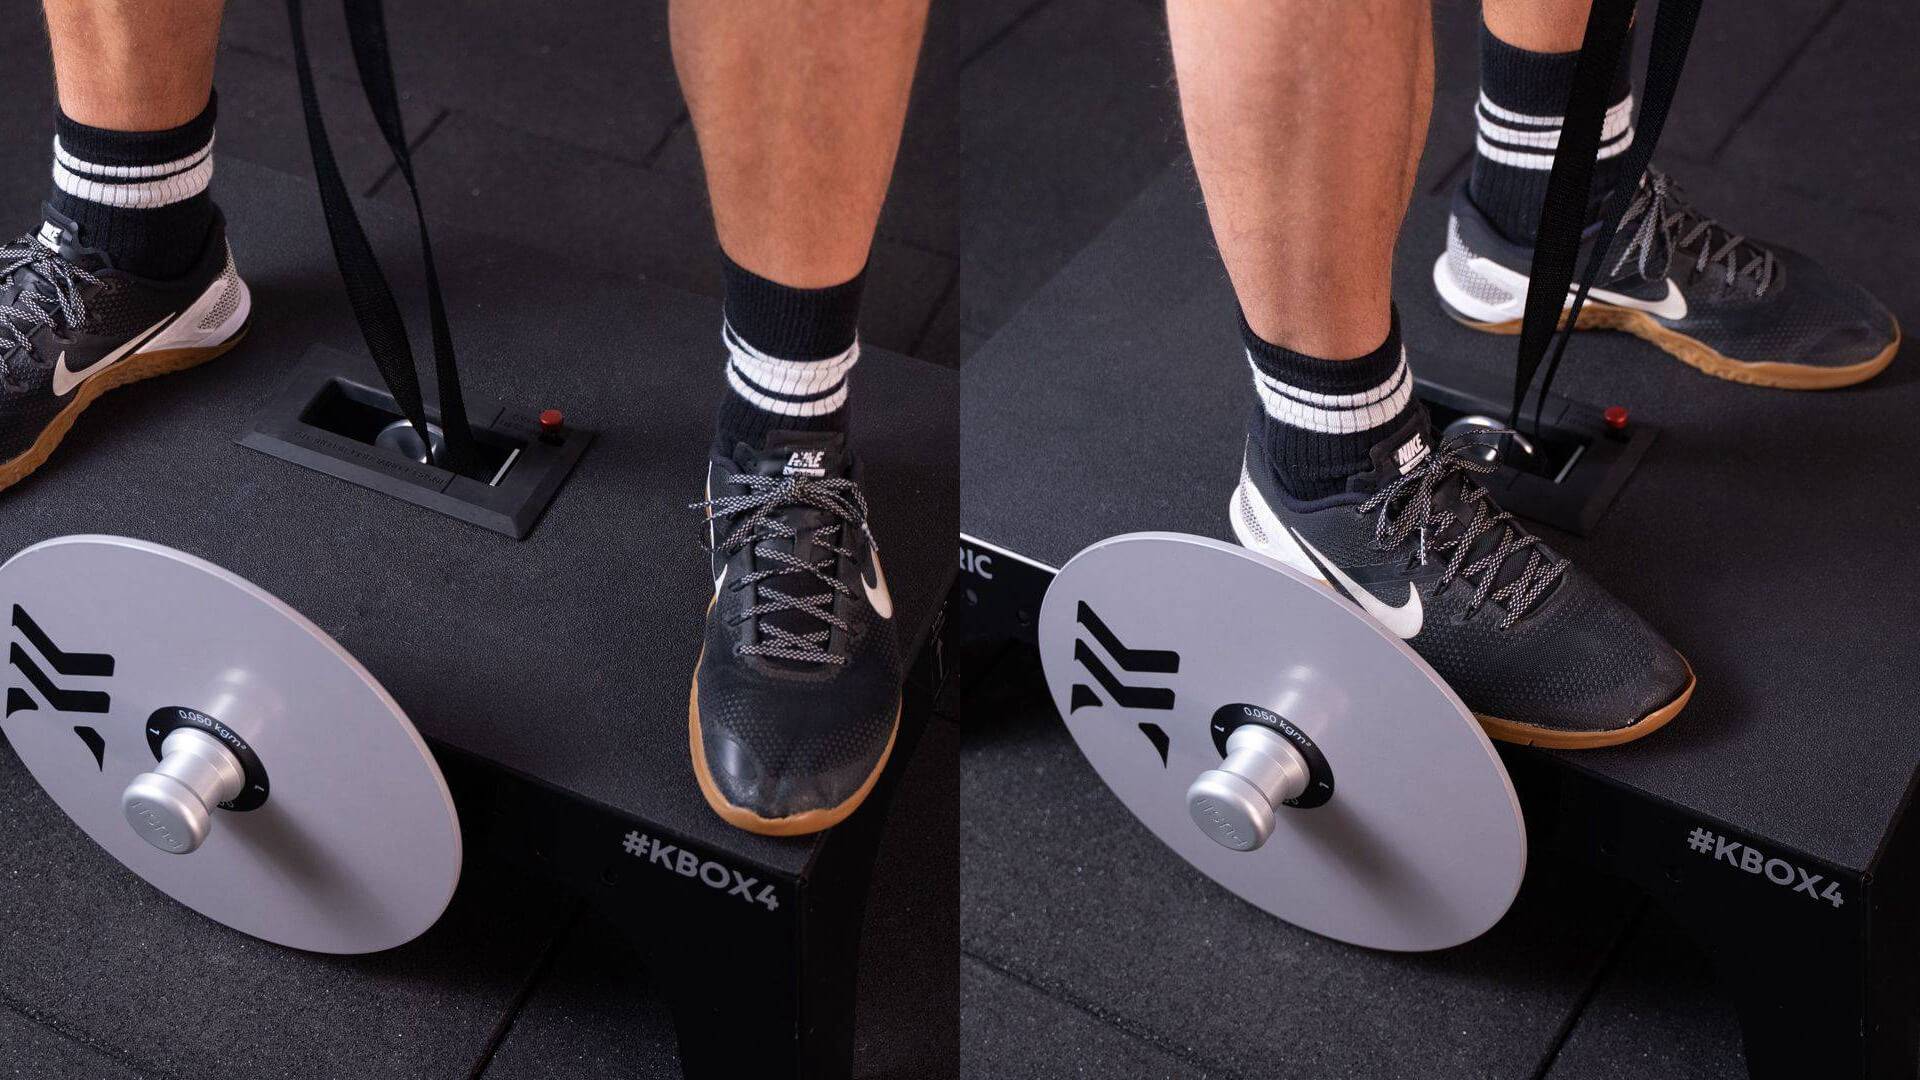
Position yourself on the kBox.
Facing the flywheel or facing the short sides.
-
Step 4:
Adjust the length of the drive belt.
Ensure no belt around the shaft. Push the length adjustment button to release belt length.

-
Step 5:
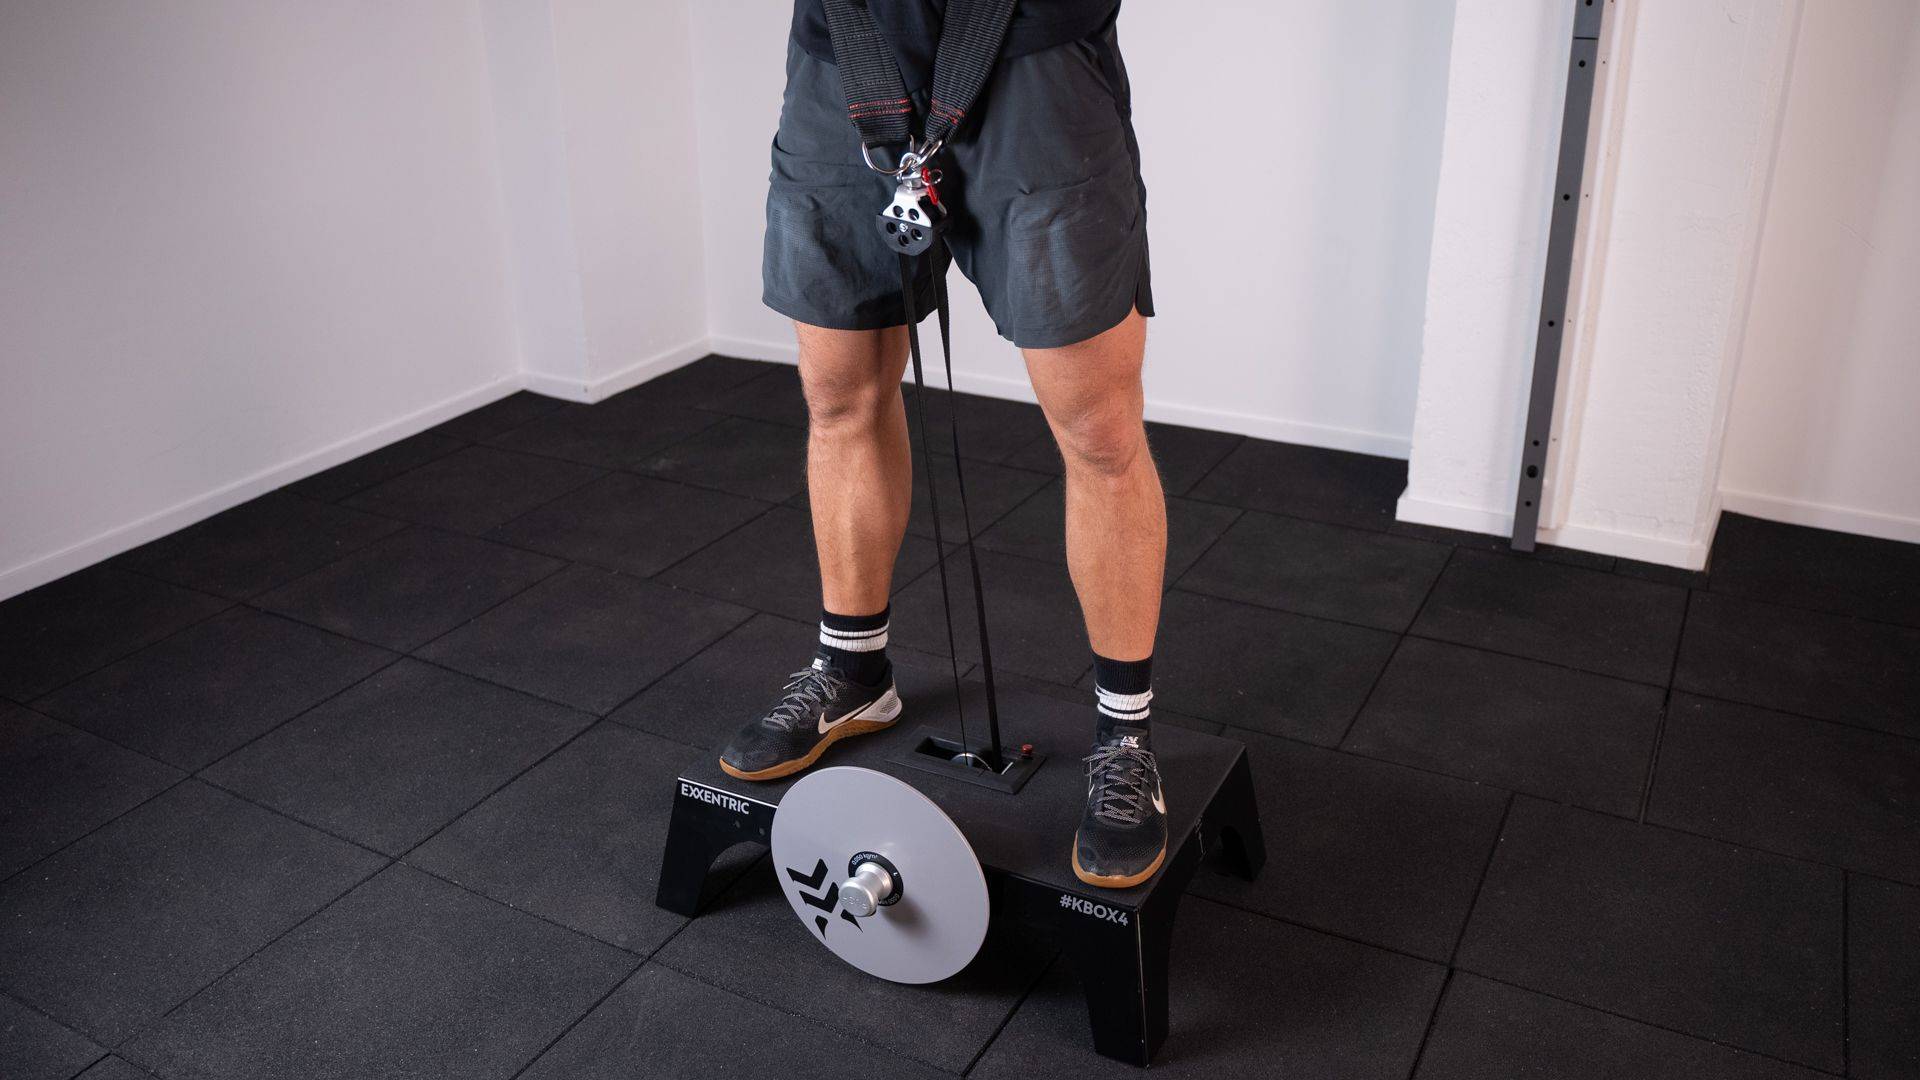
Find your top/end position in the exercise.
Allow the drive belt to fully reach the upper end of the exercise movement.
-
Step 6
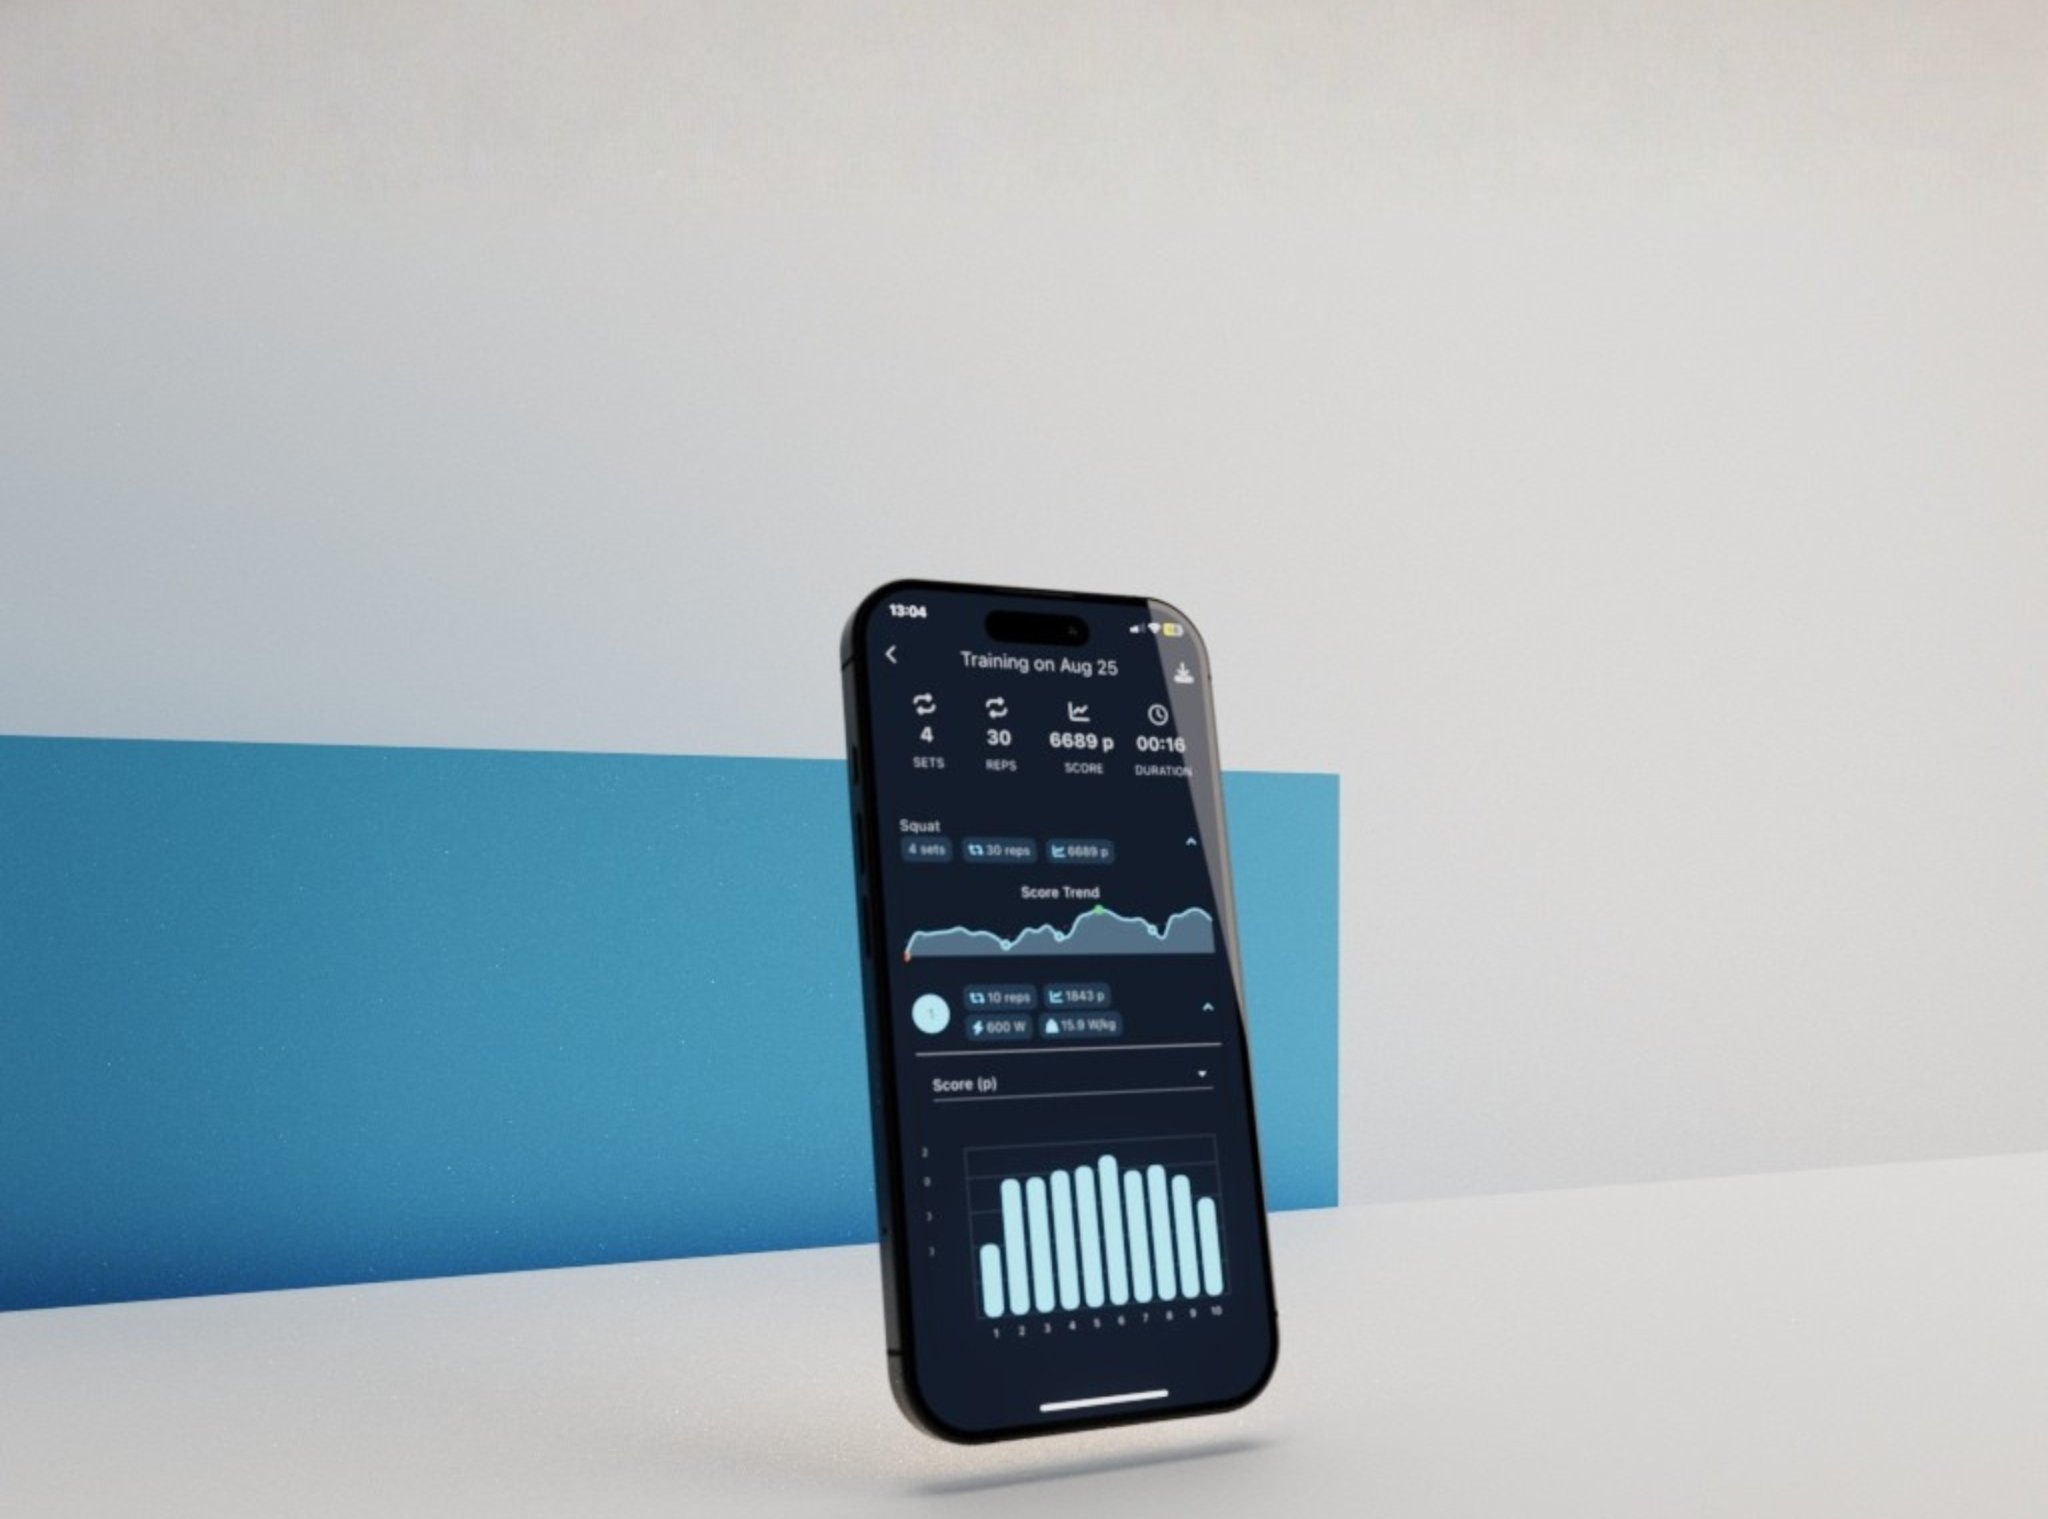
Connect to the Exxentric App to track your training data in real-time.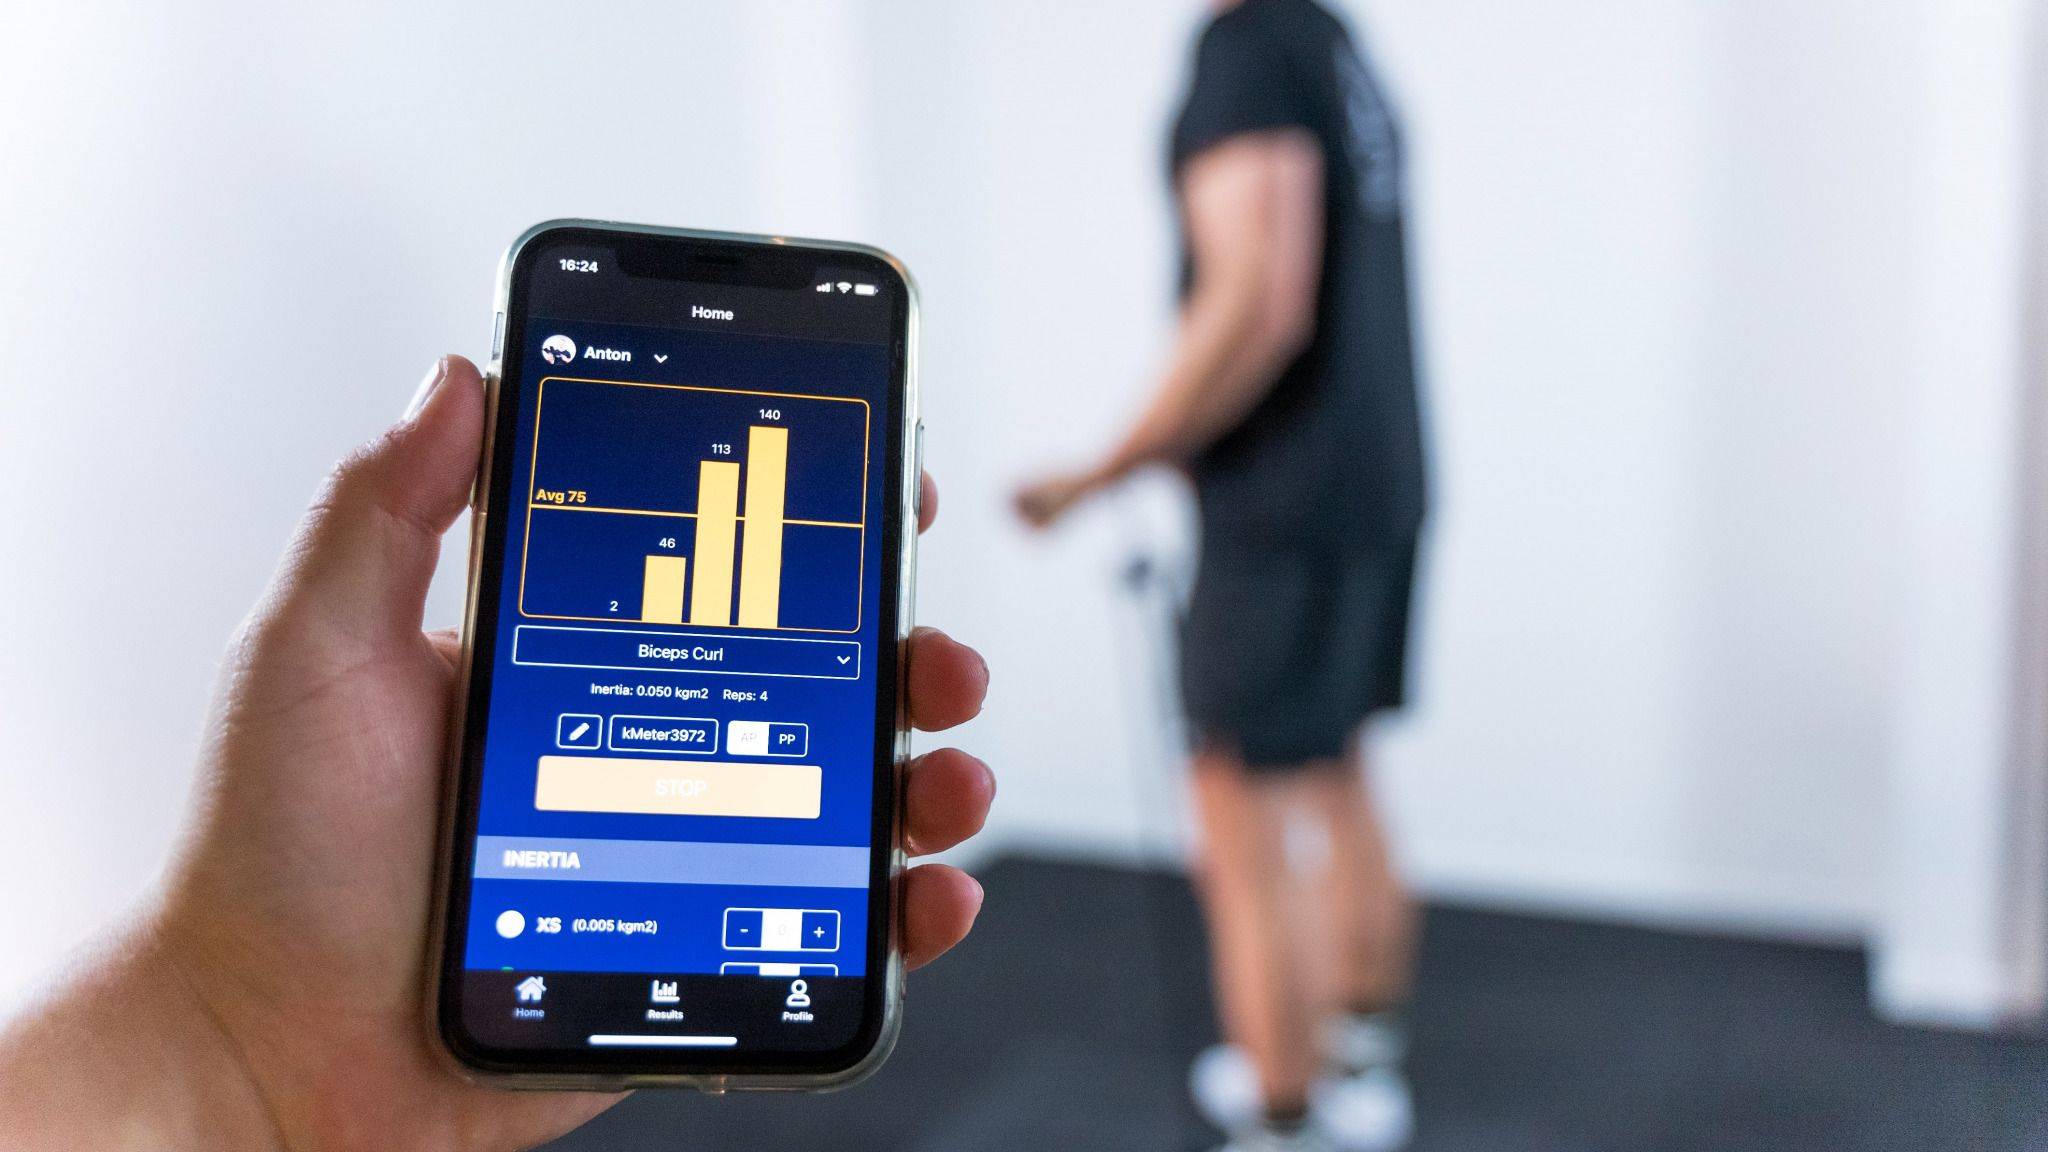
-
Step 7:
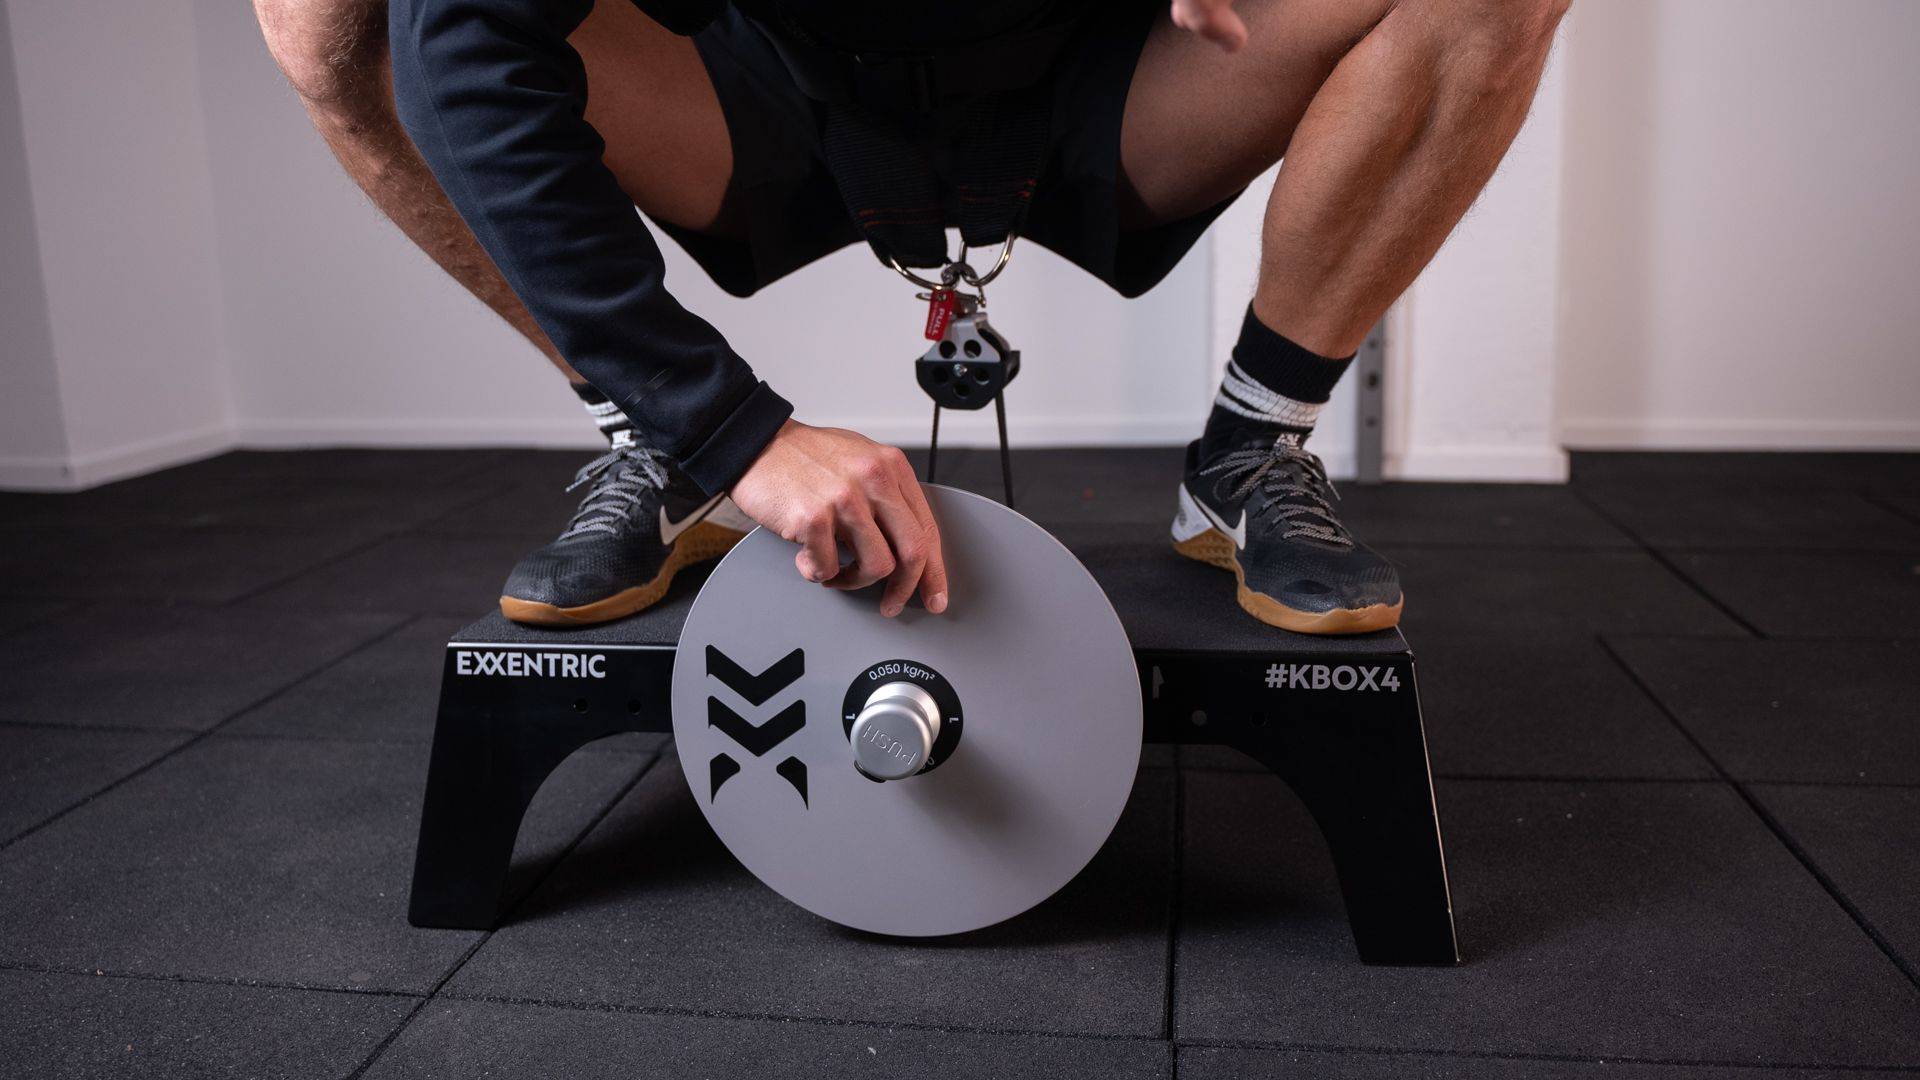
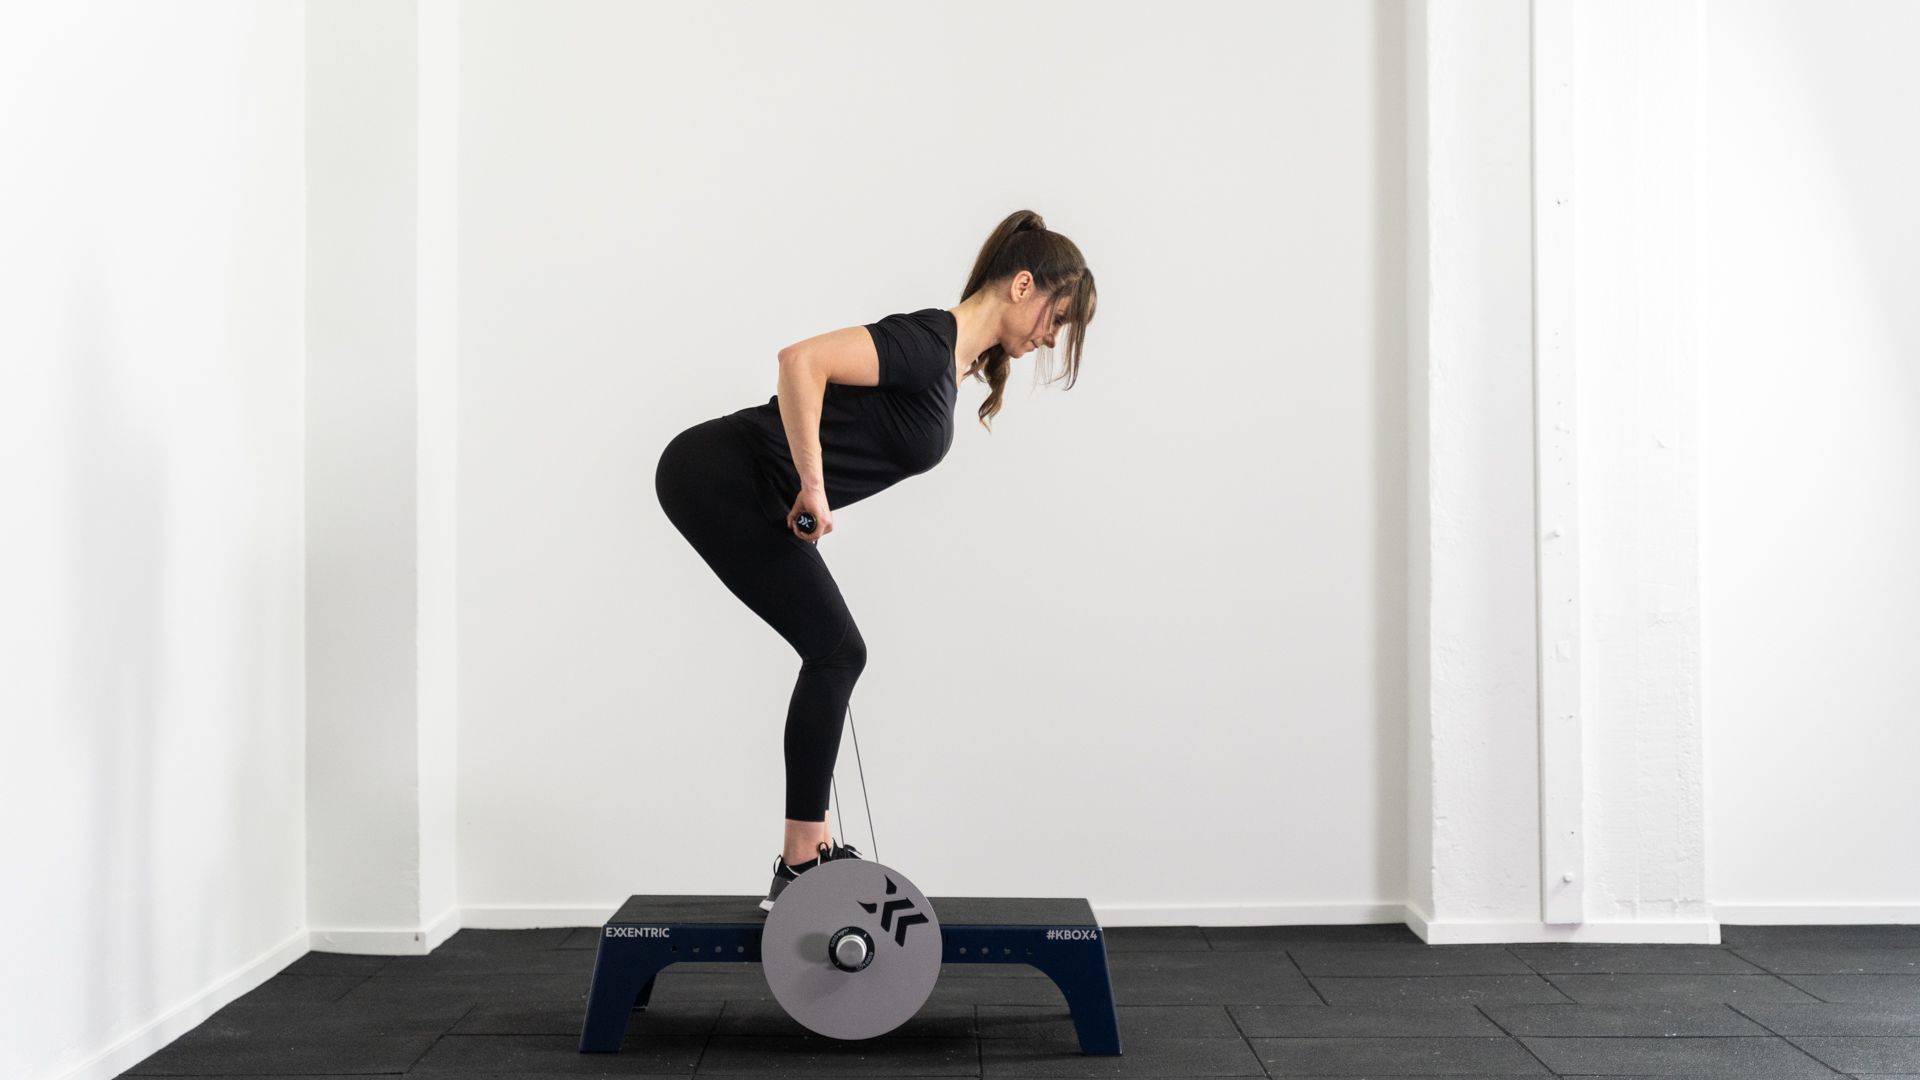
Spin the flywheel to start.
Slow down in the bottom position to finish the exercise.



-
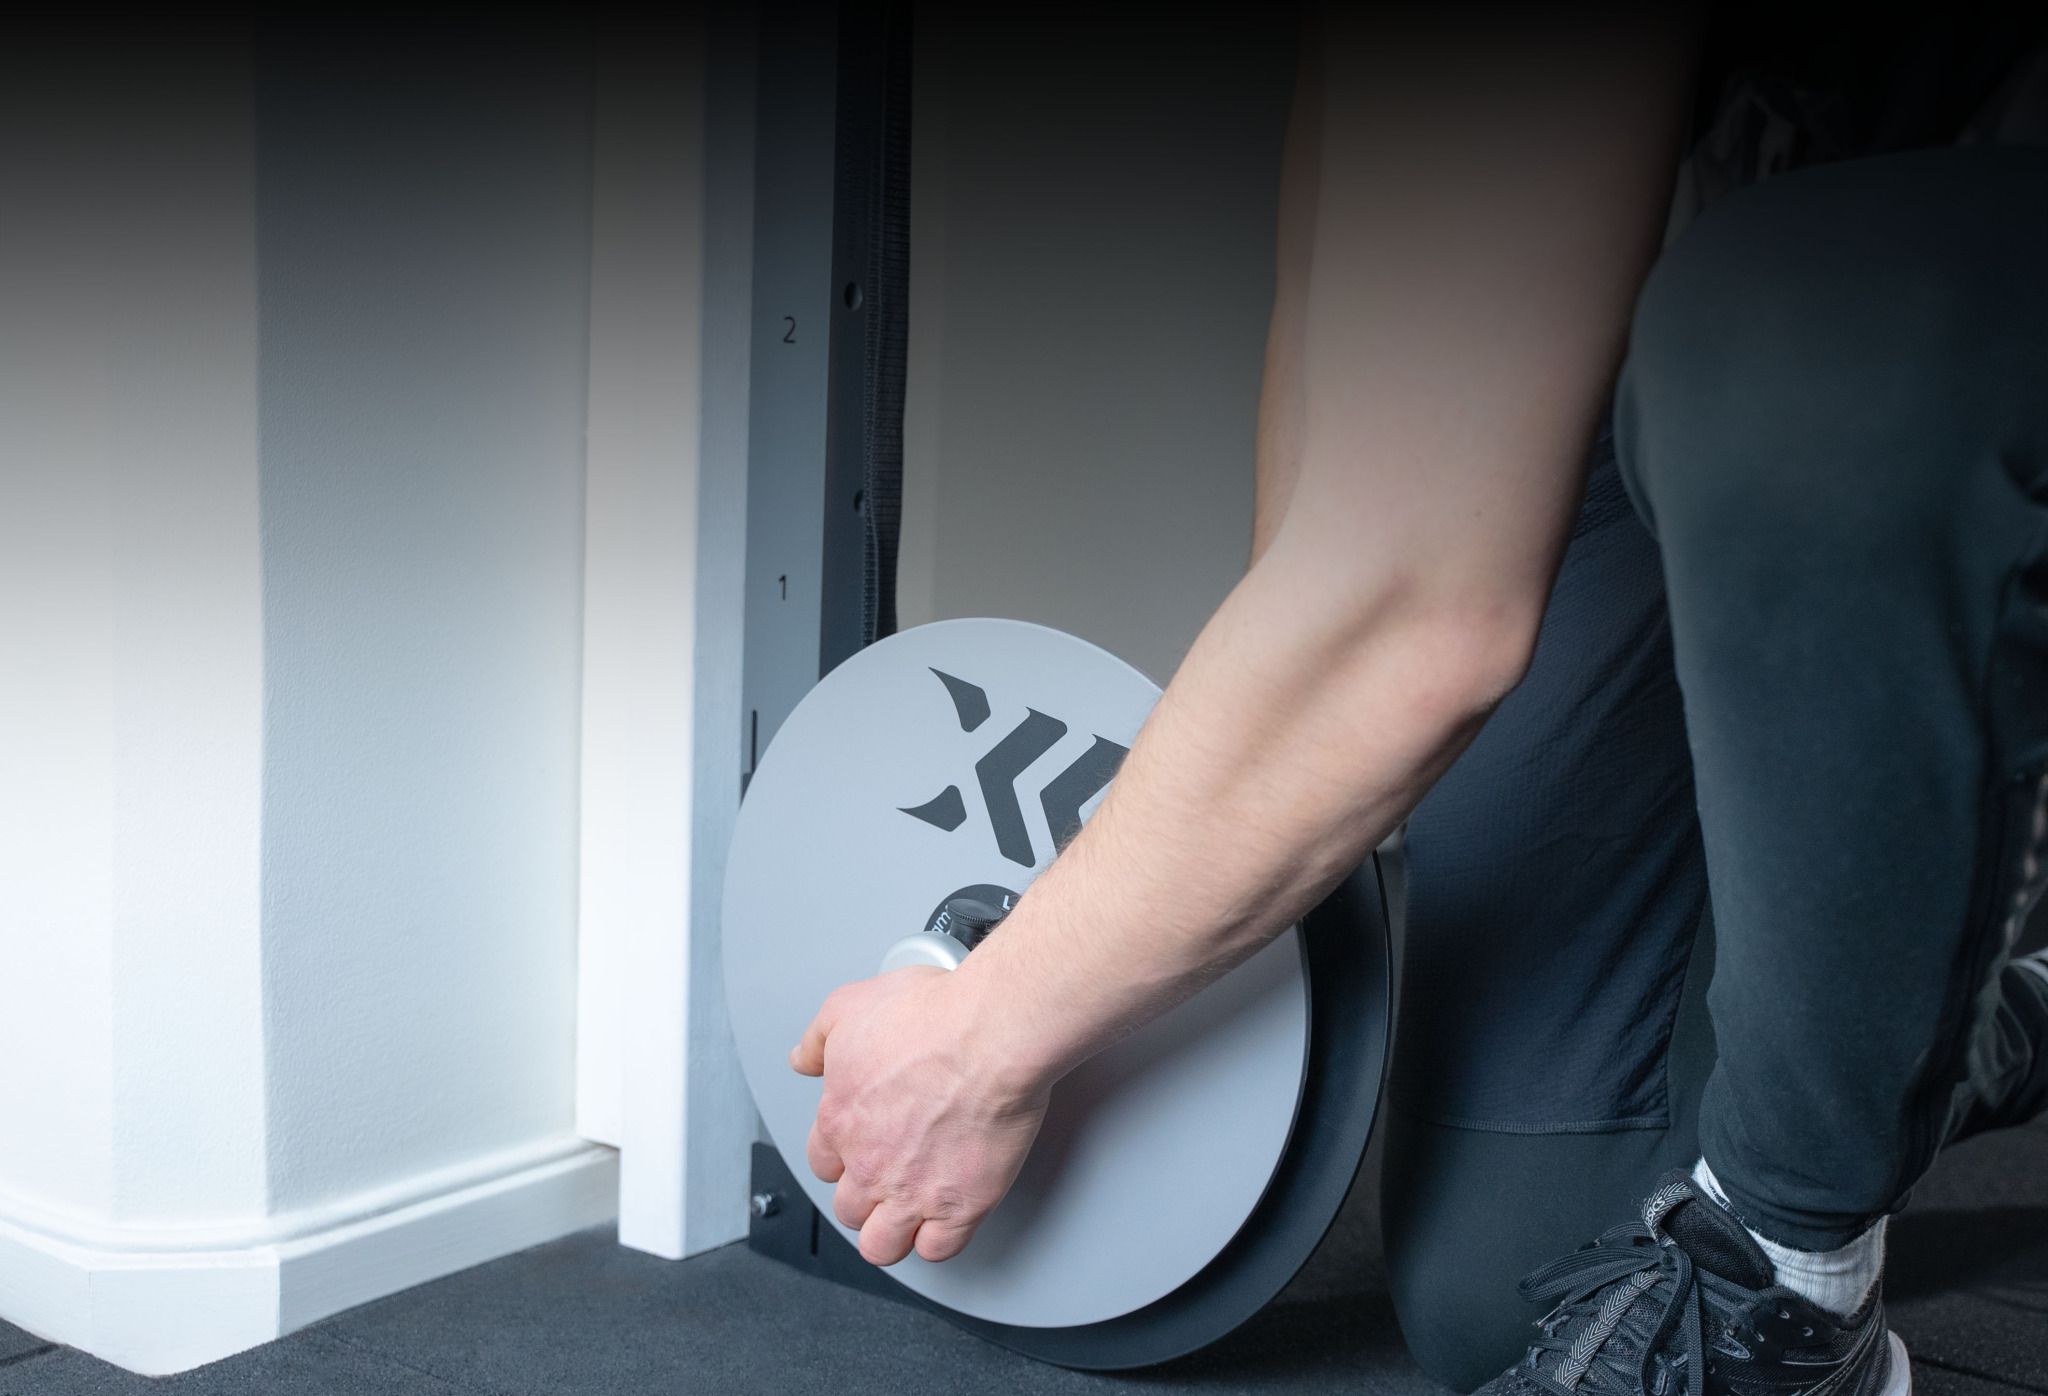
Step 1:
Mount the flywheel and push the knob.
-
Step 2:
Select and attach your accessory.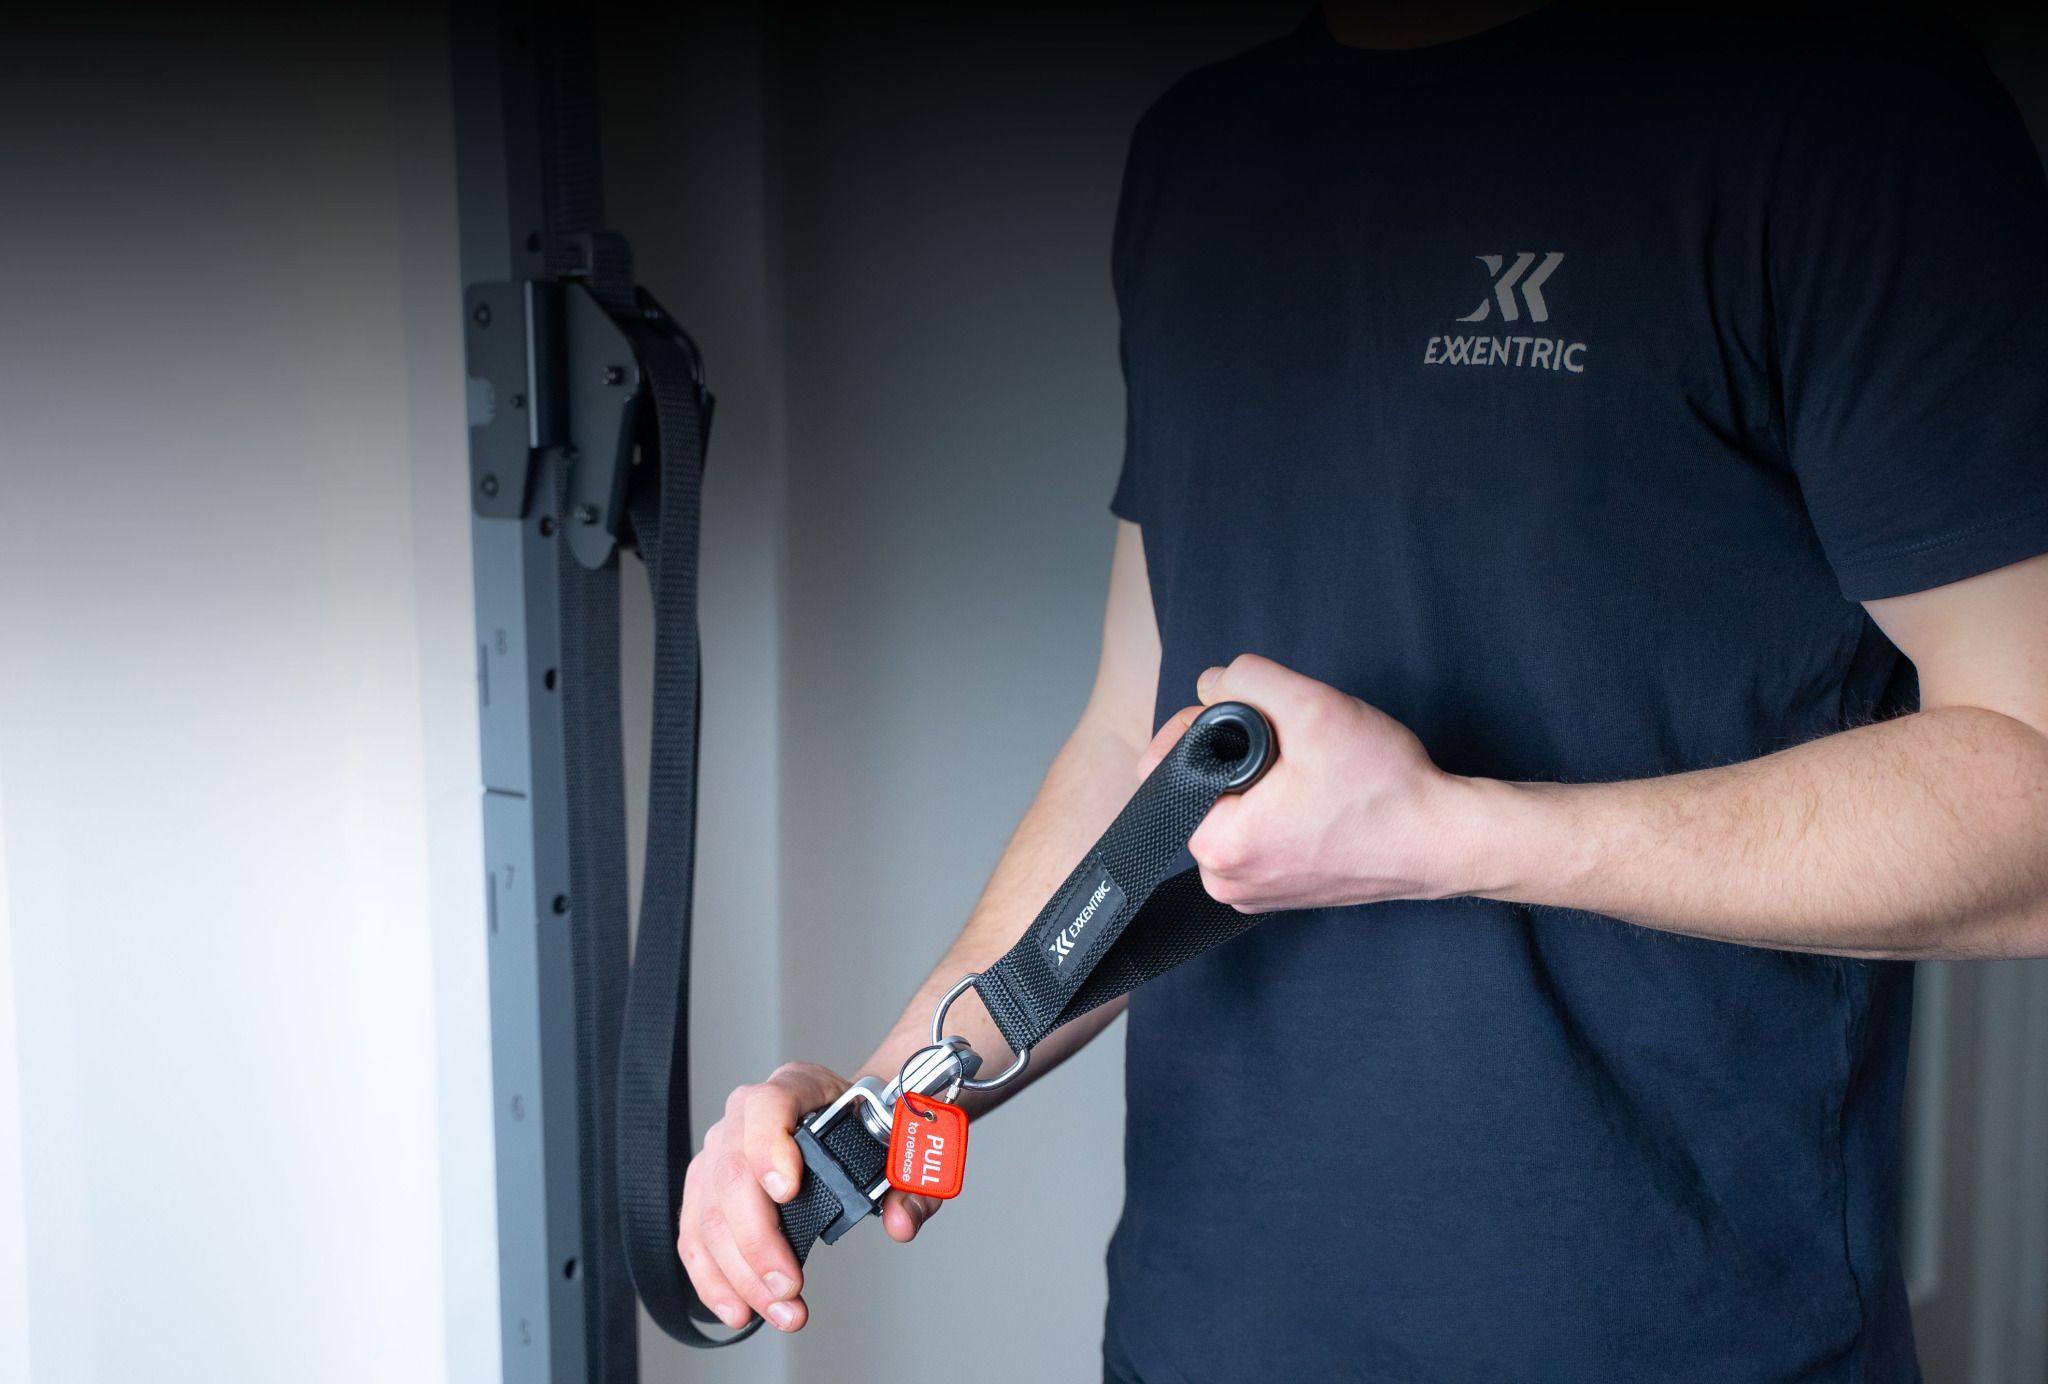
-
Step 3:
Pull the height adjuster pin and move it up or down to your desired height.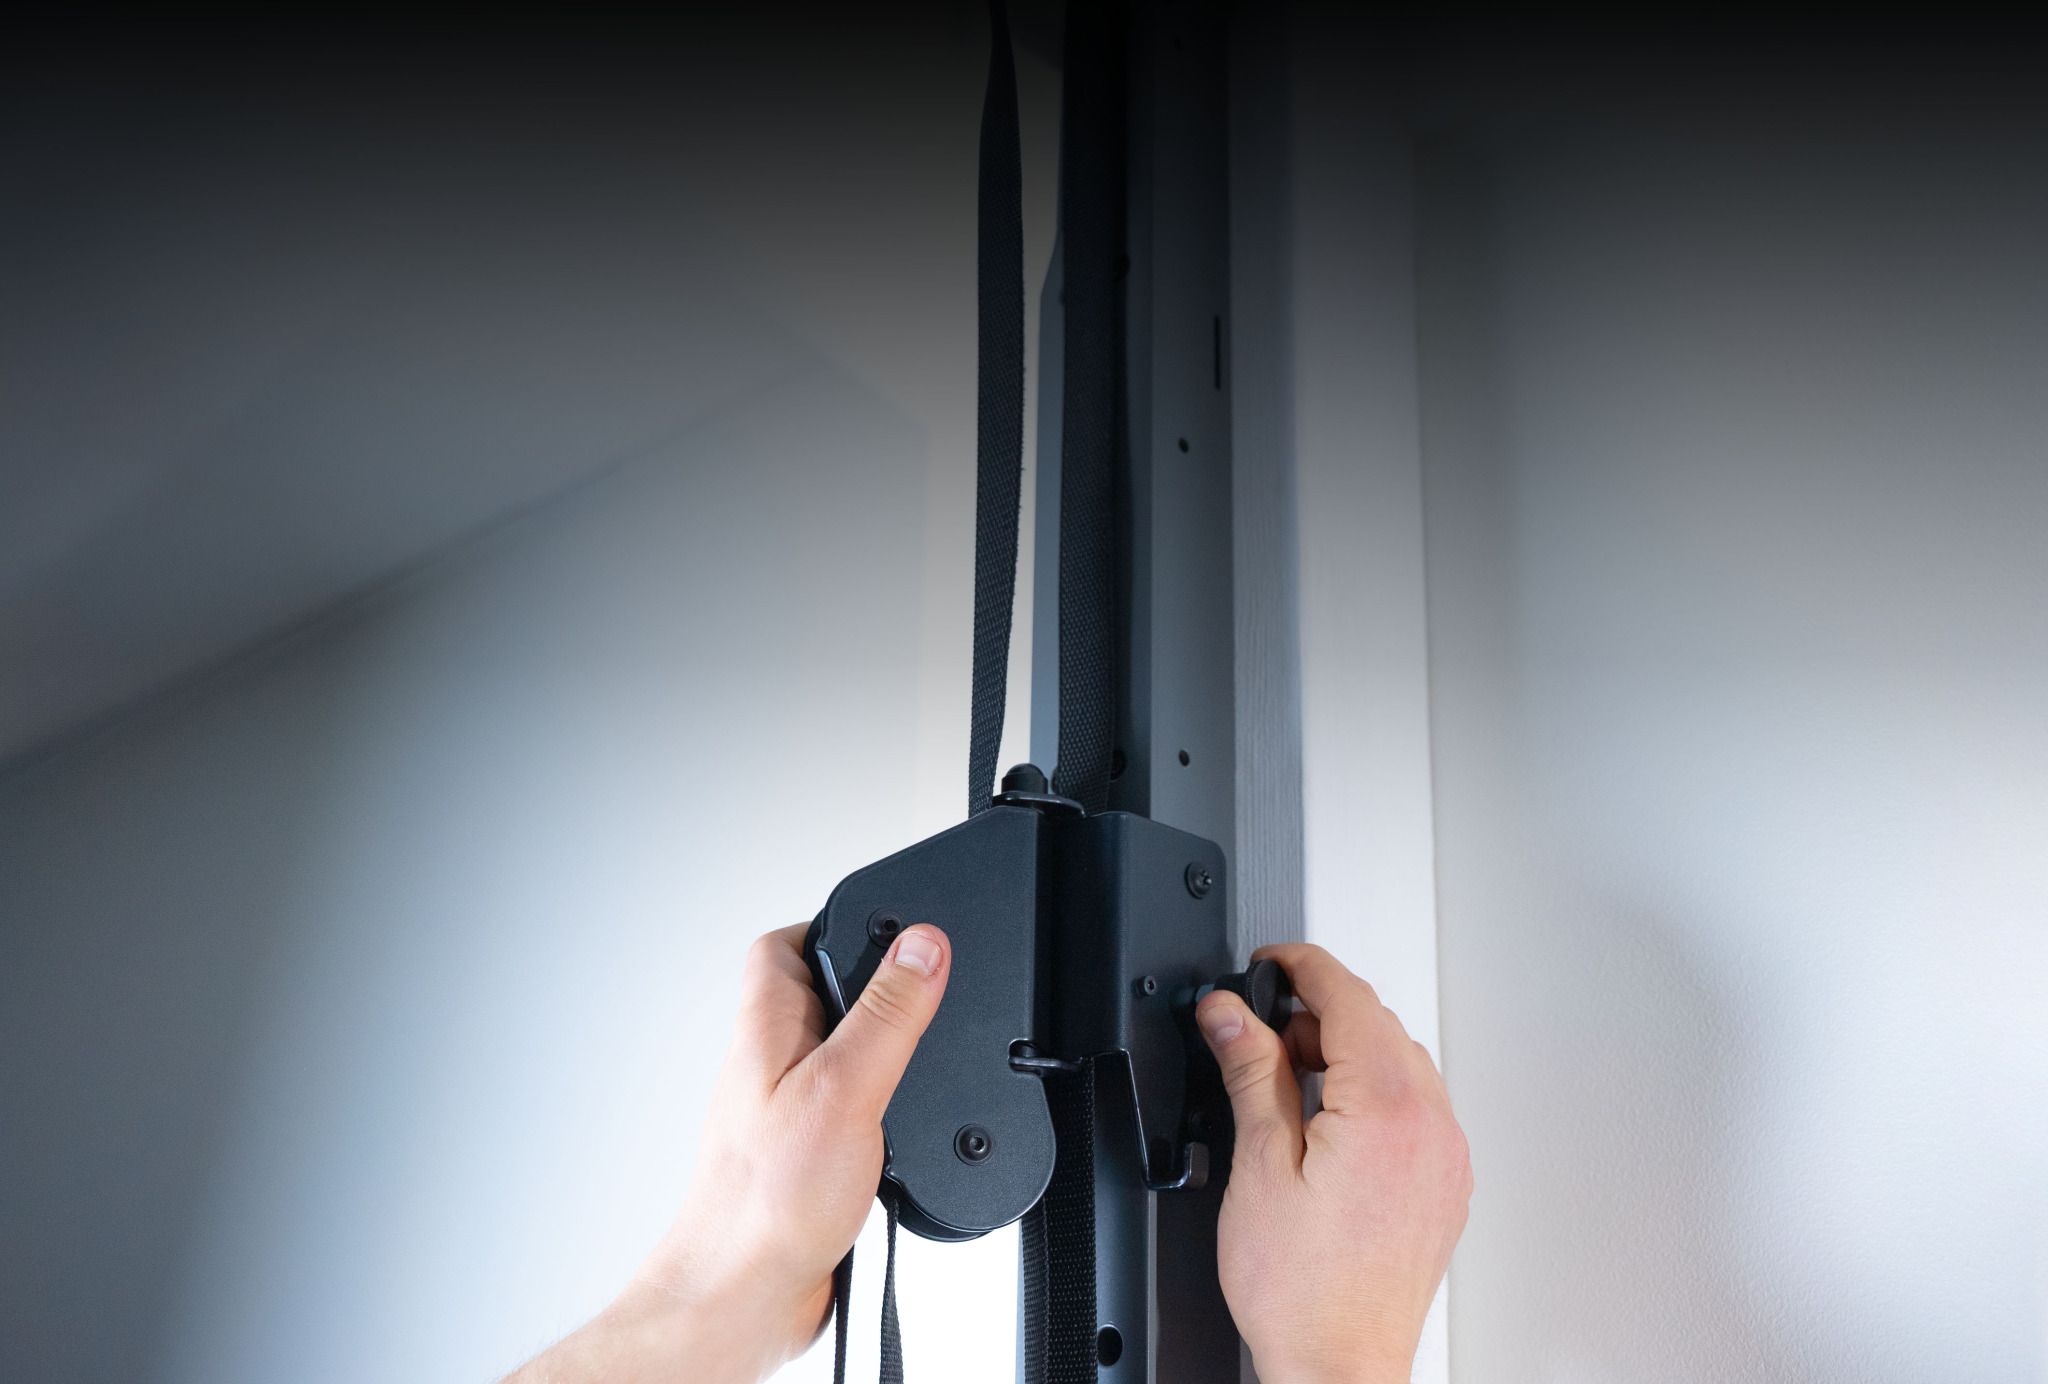
-
Step 4:
Adjust the drive belt length by pressing the red button. Either extend or retract the belt to the desired length.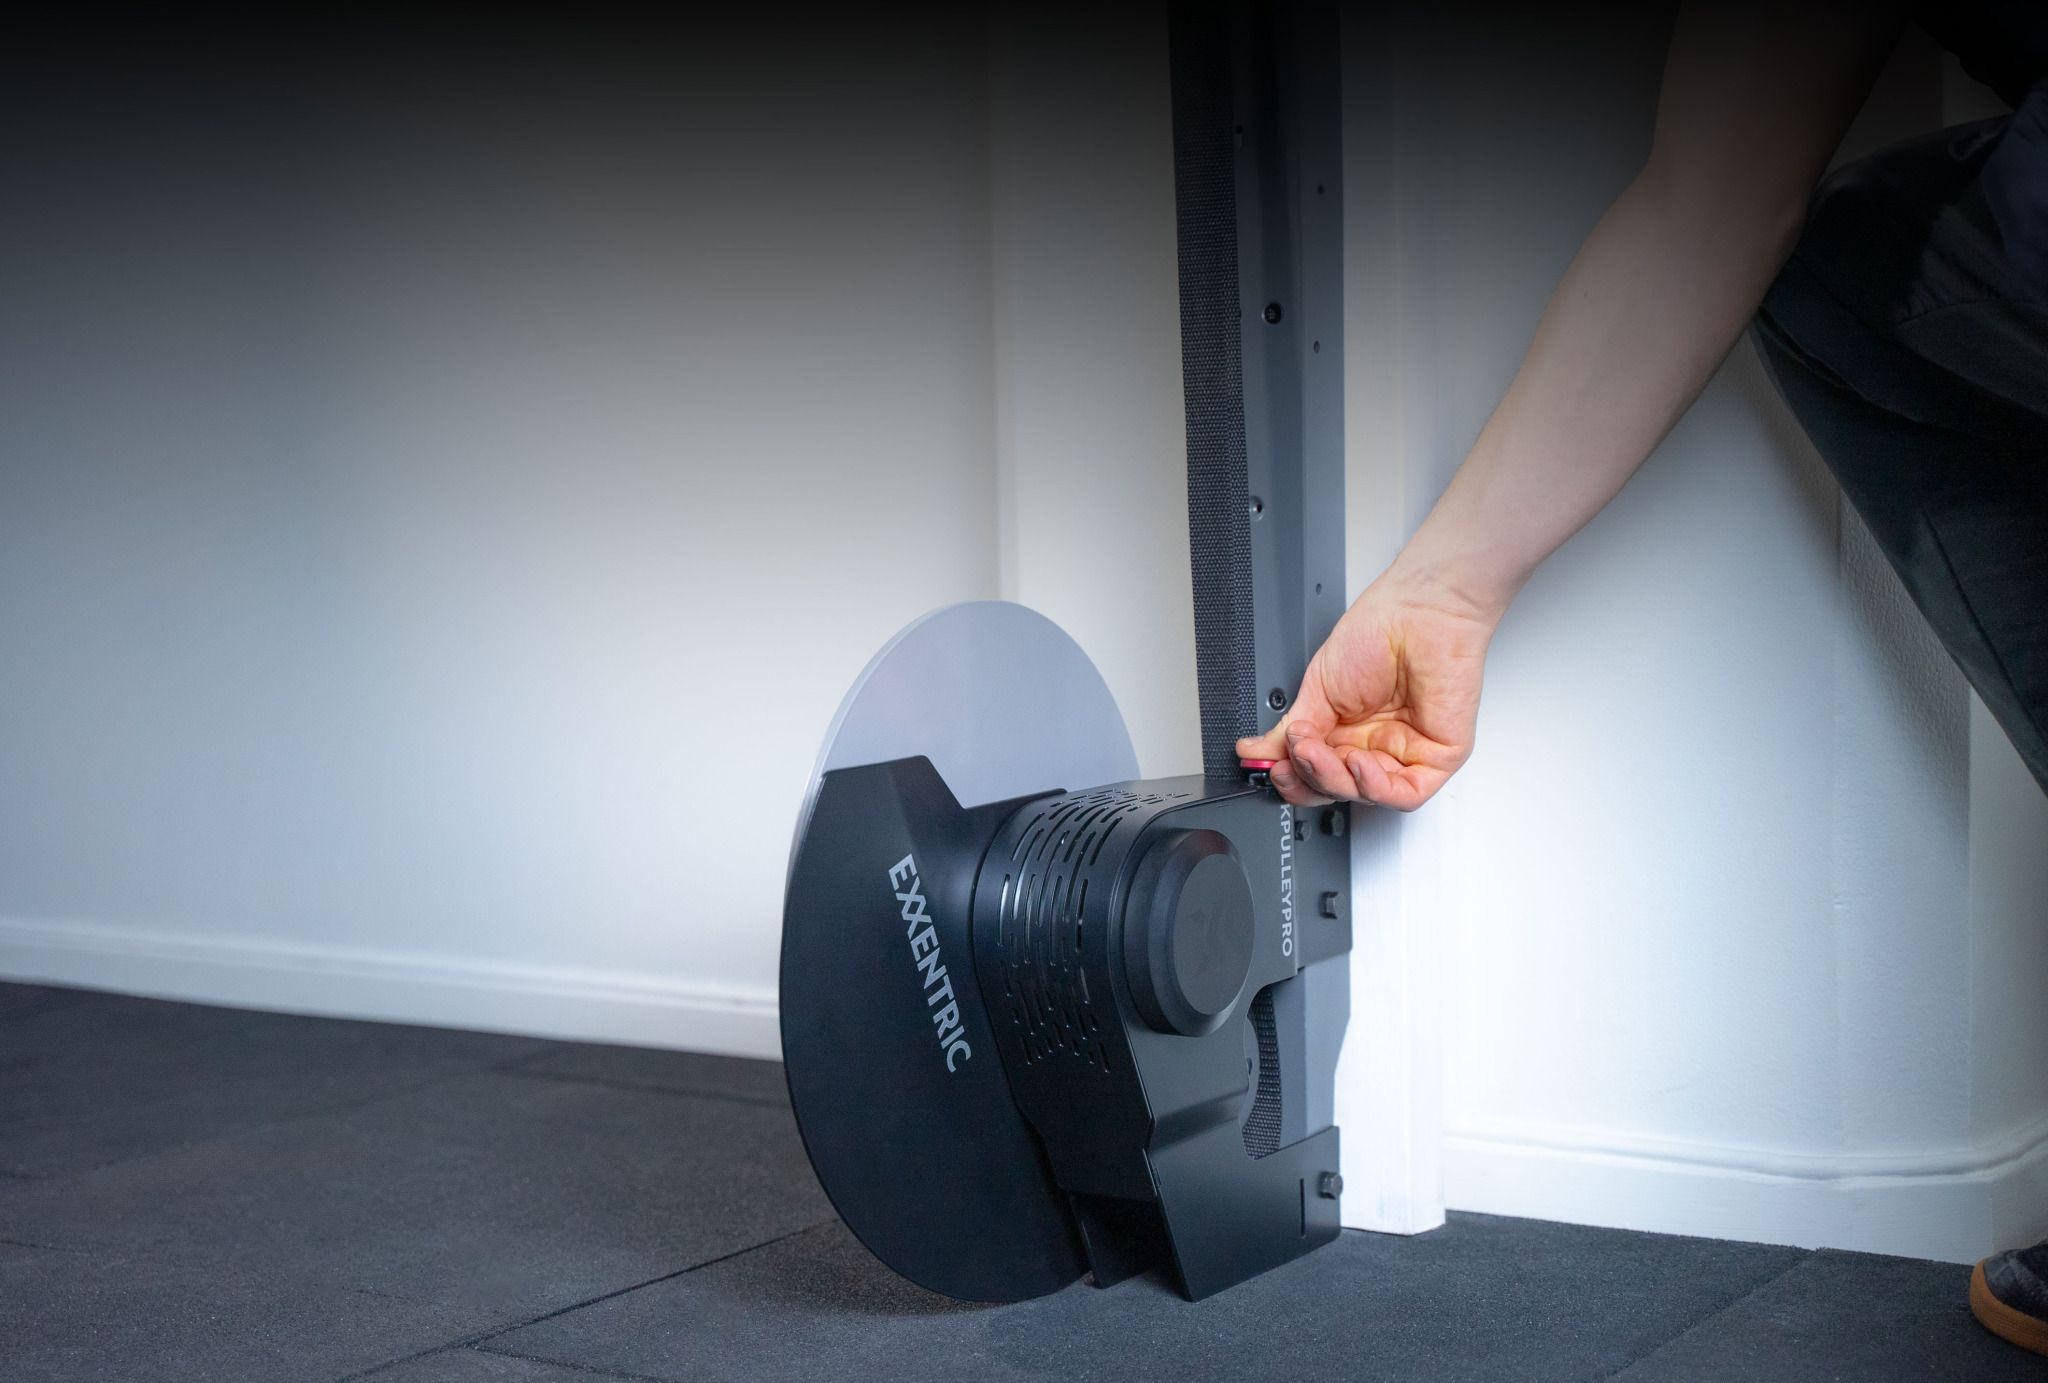
-
Step 5:
Find your top/end position in the exercise.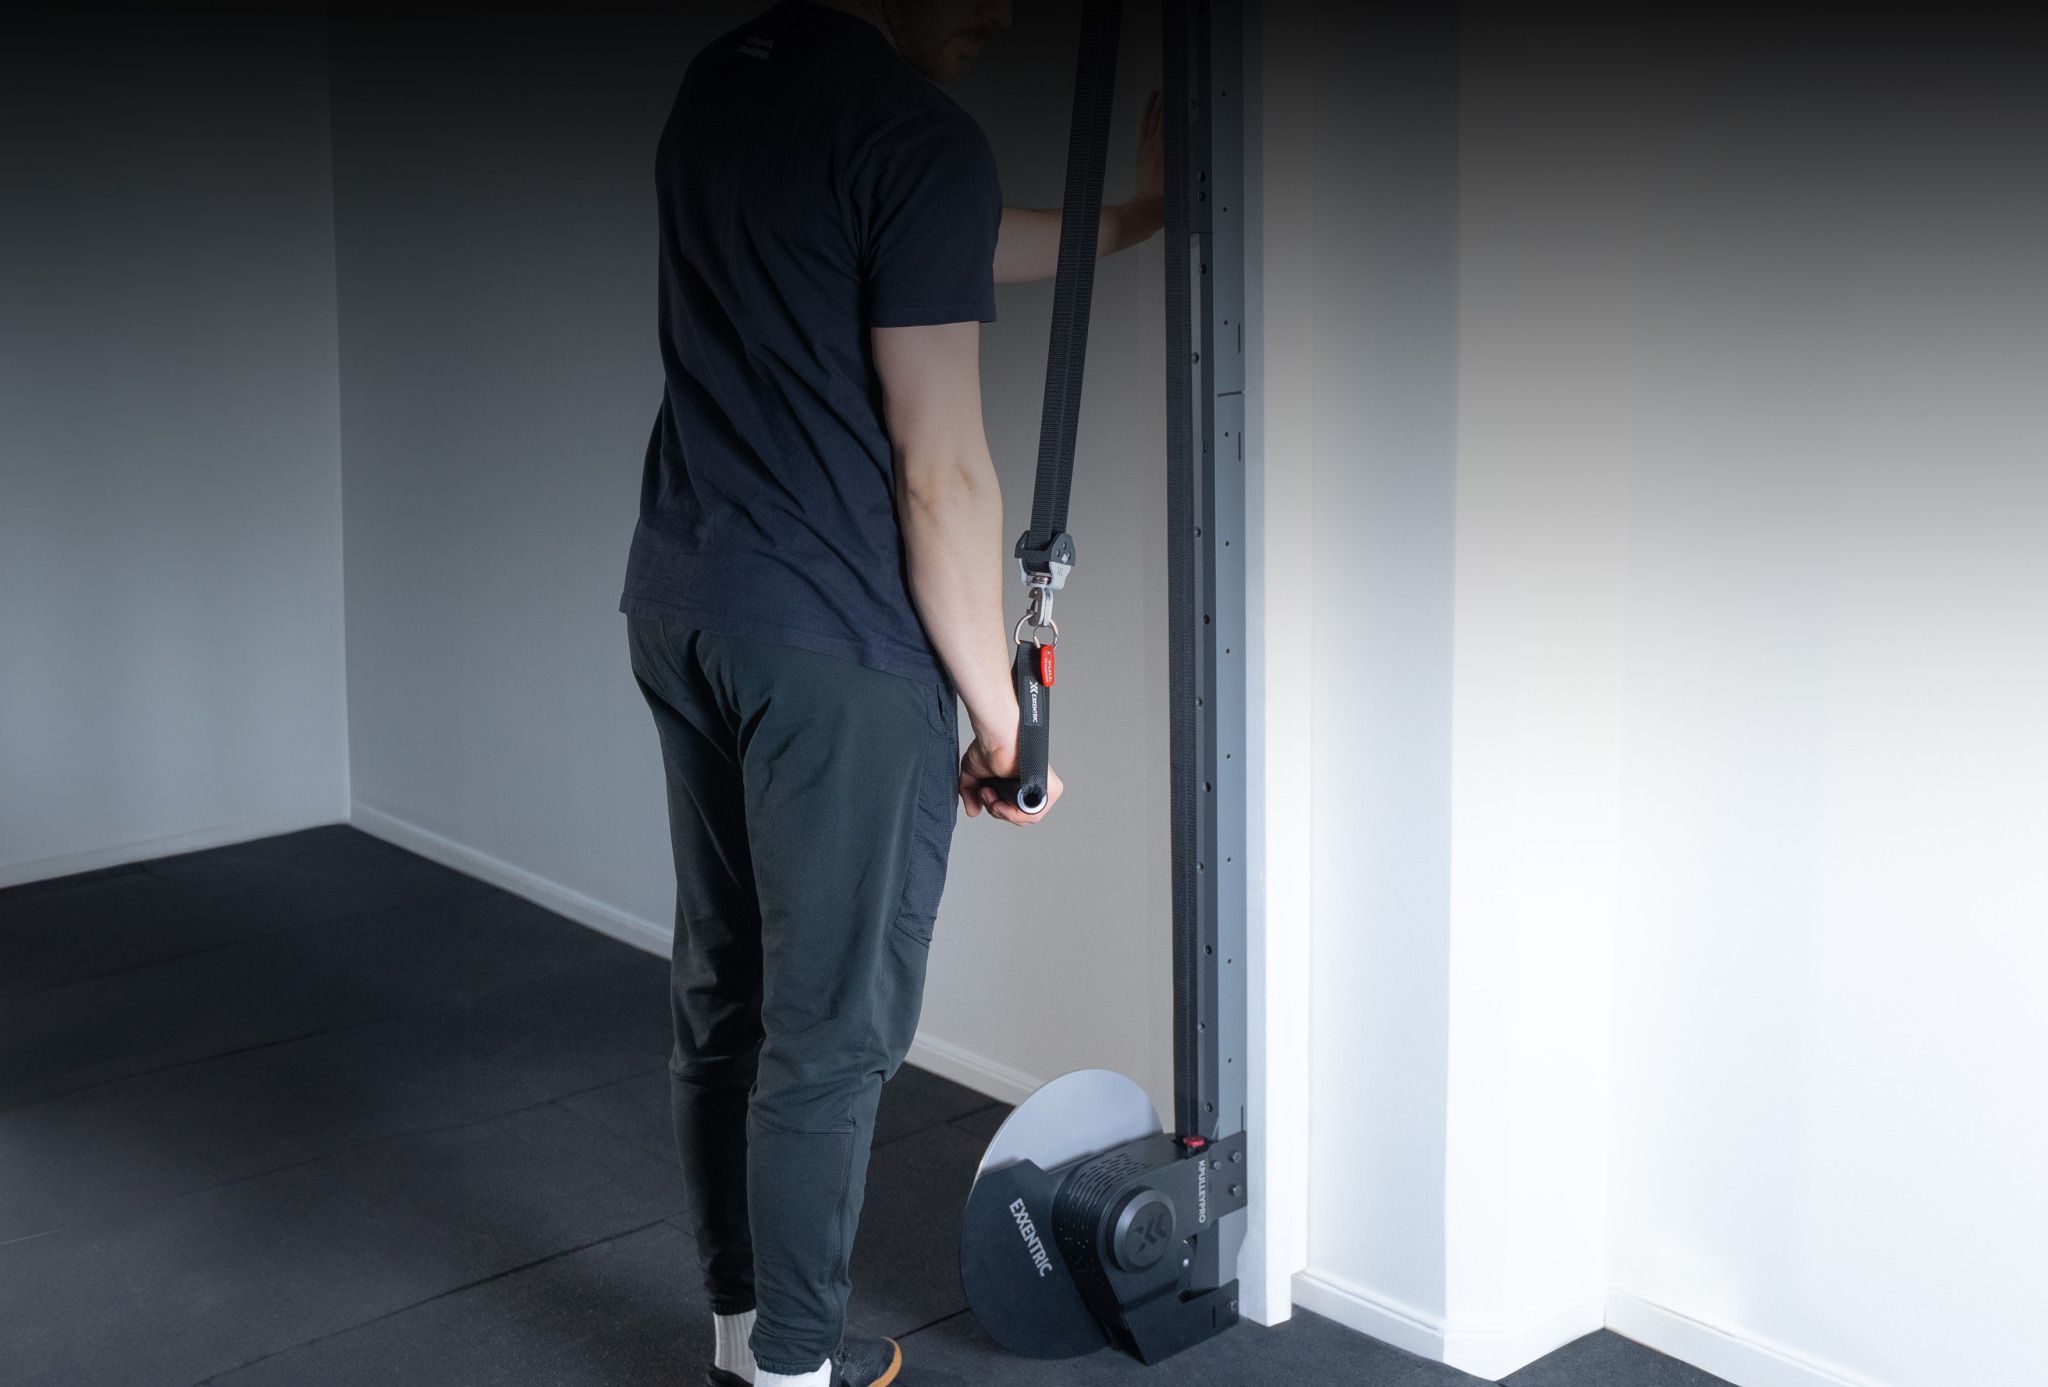
-
Step 6:
Connect to the Exxentric App to track your training data in real time.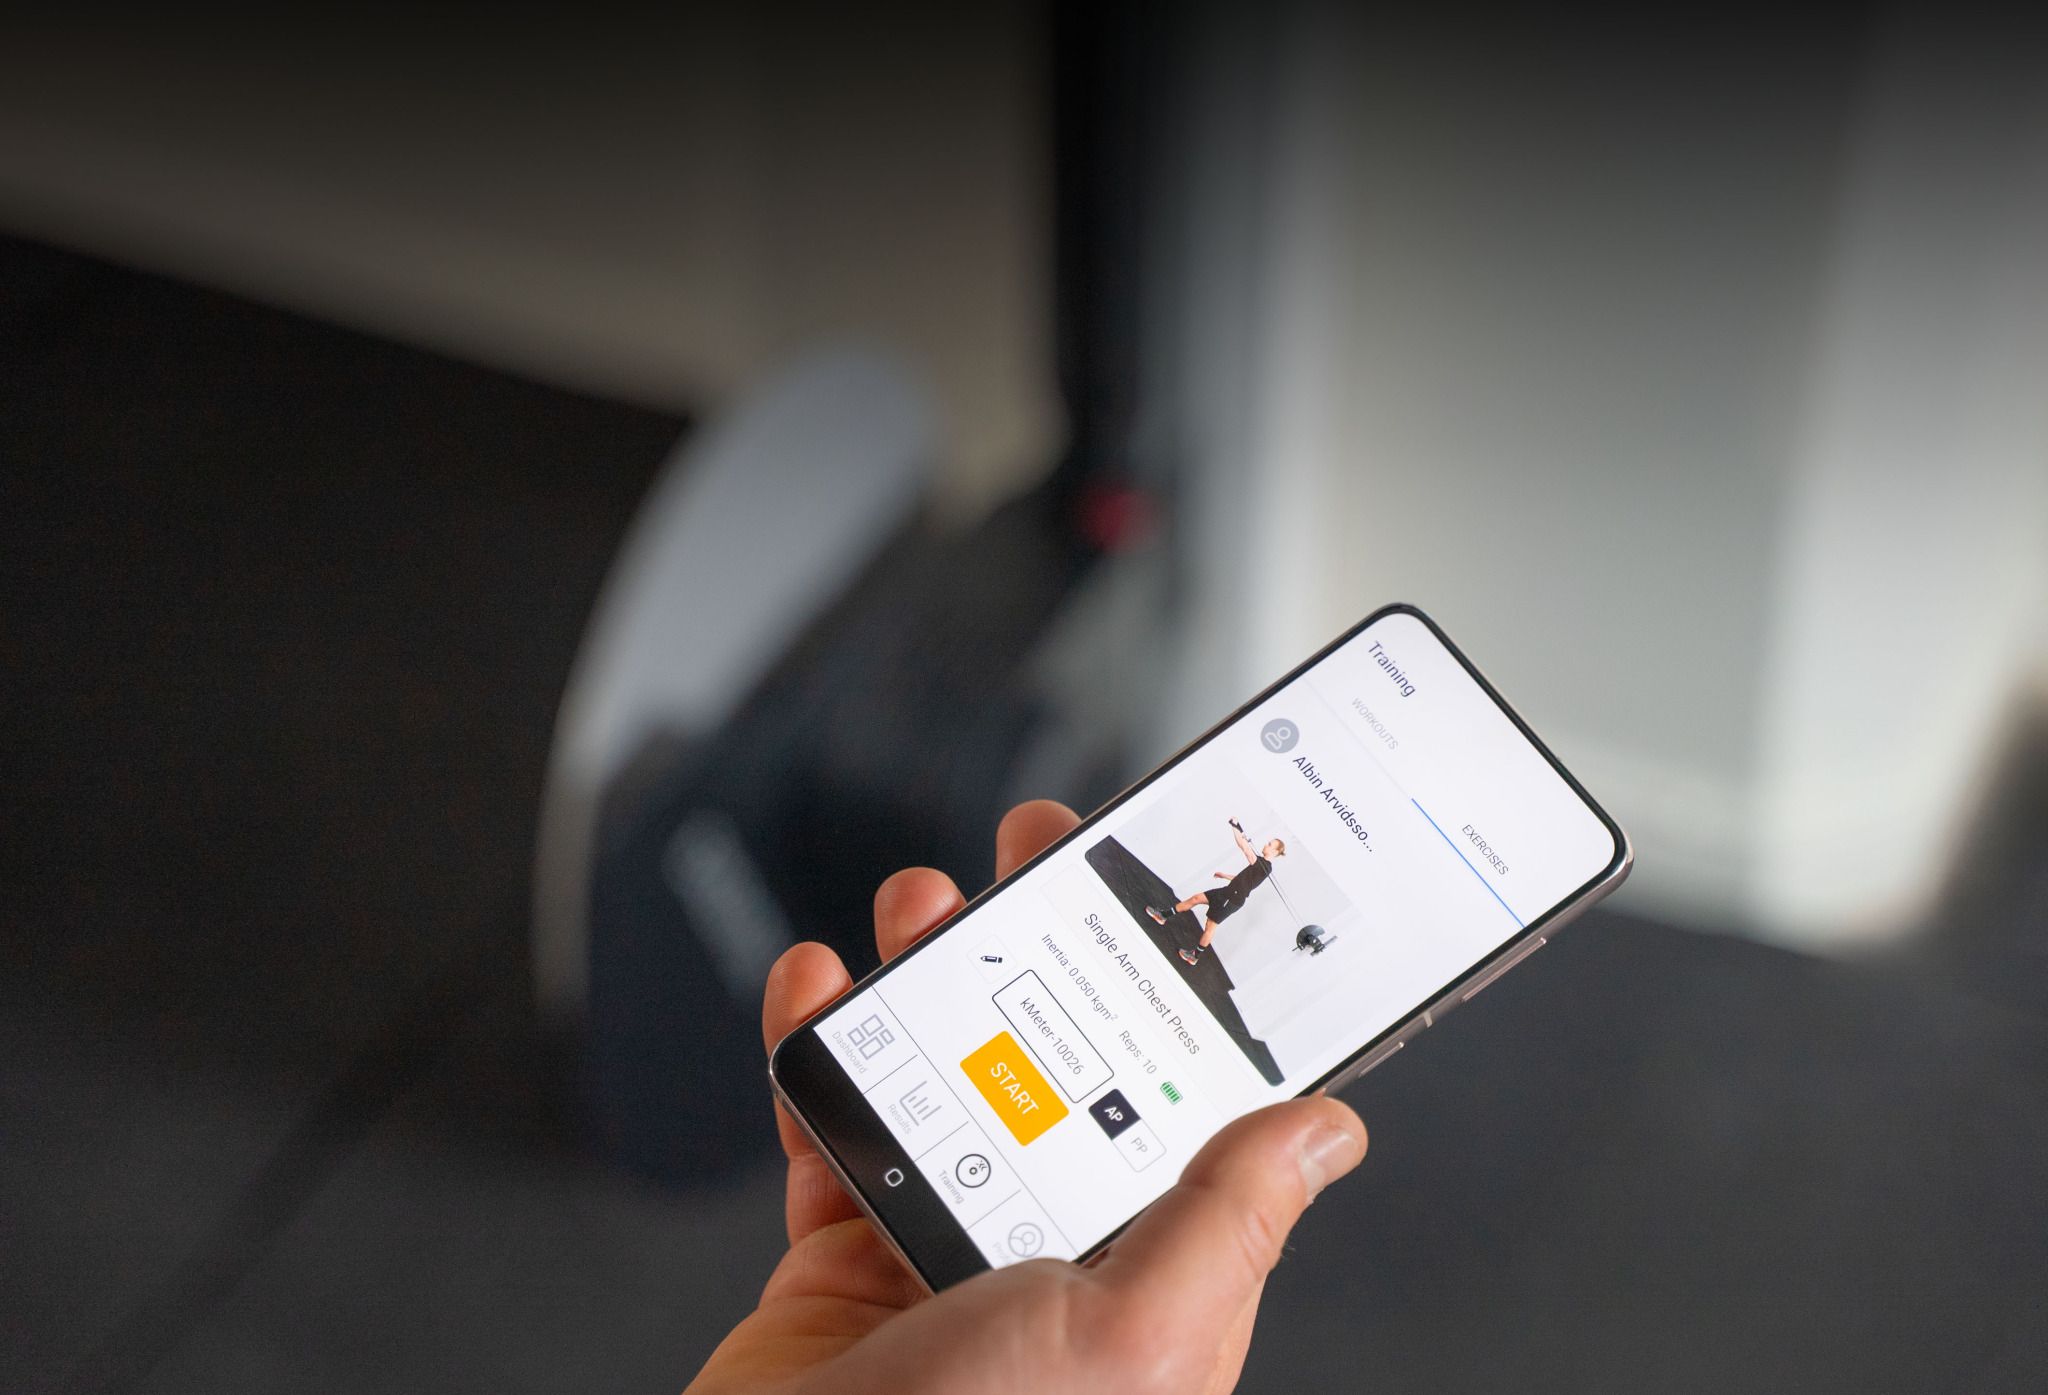
-
Step 7:
Spin the flywheel to start.
Decelerate the flywheel(s) to finish the exercise.
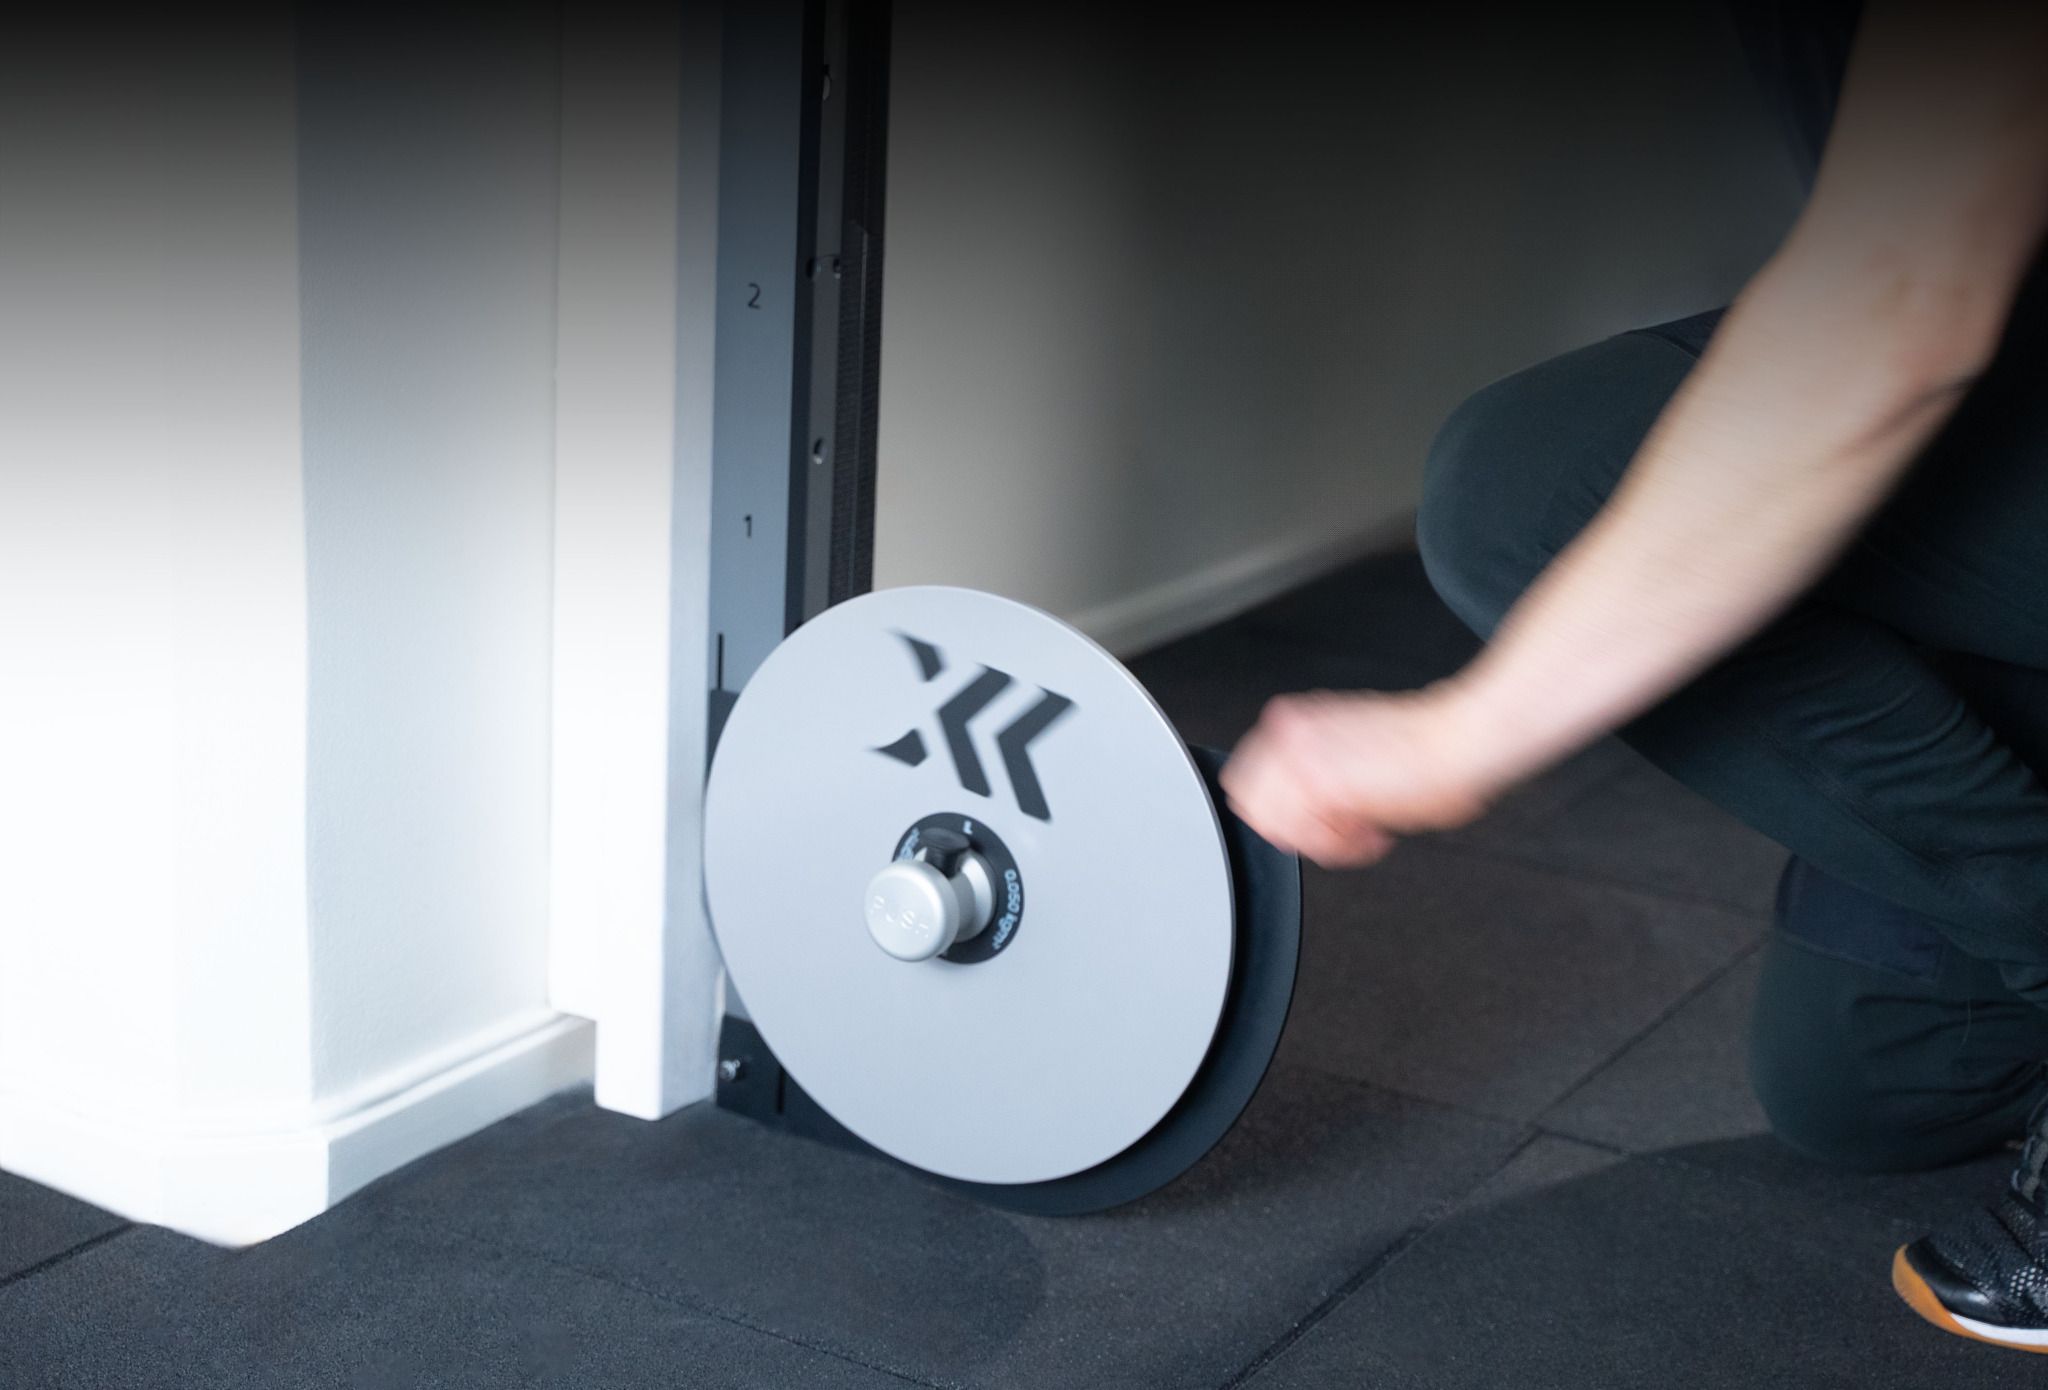
Step 1
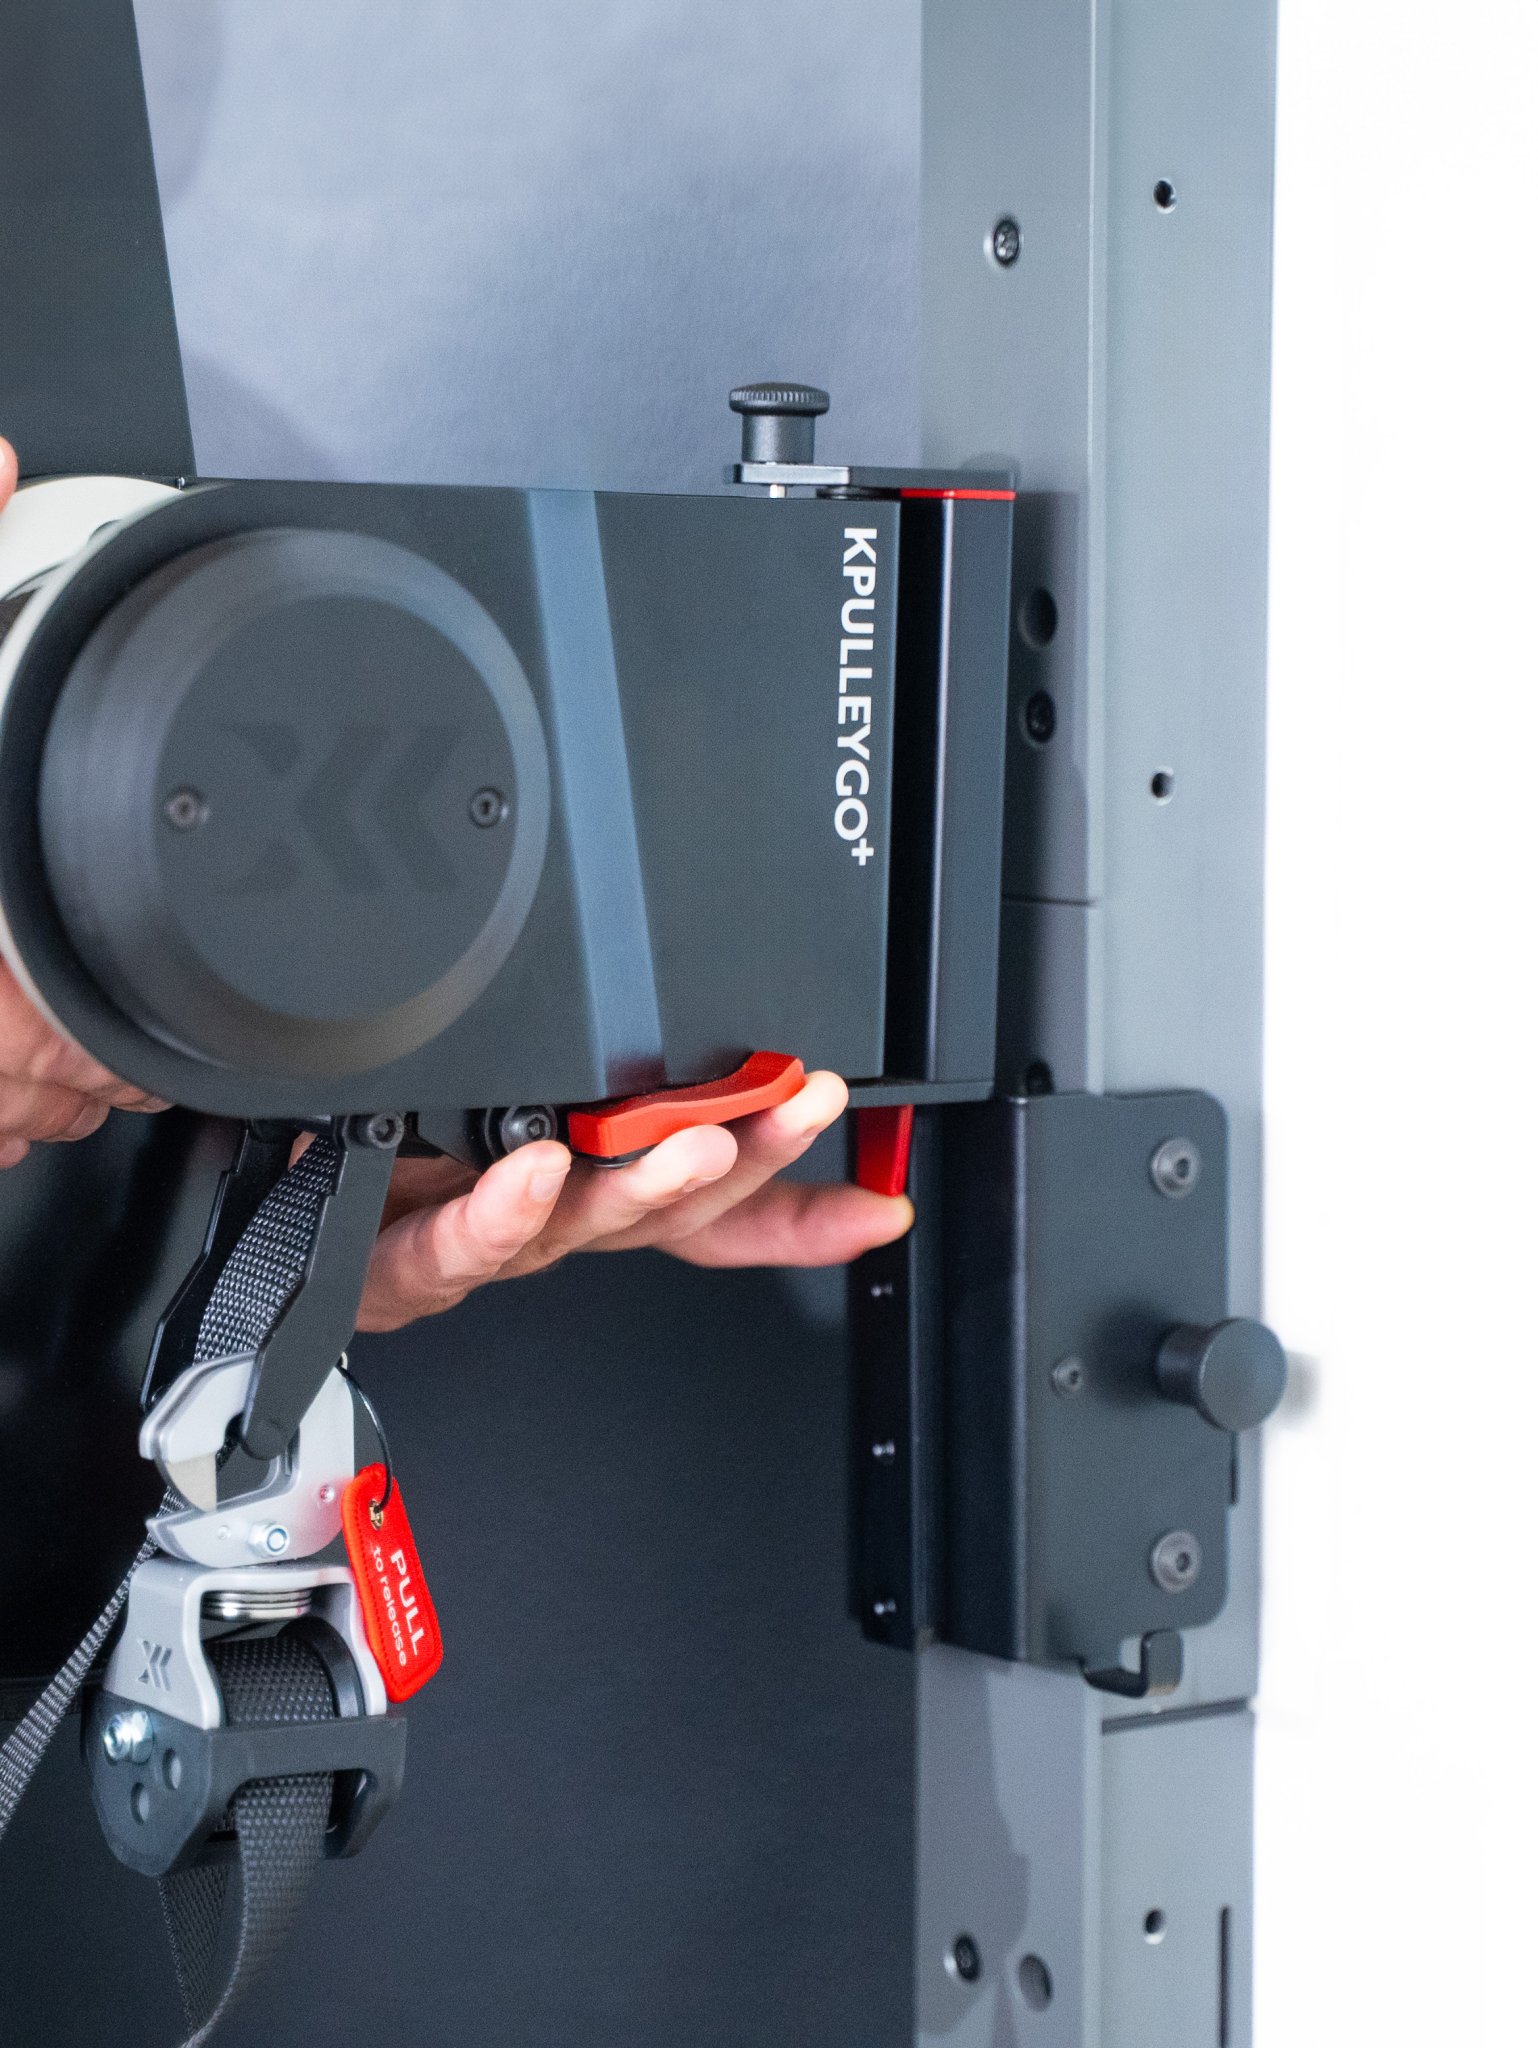
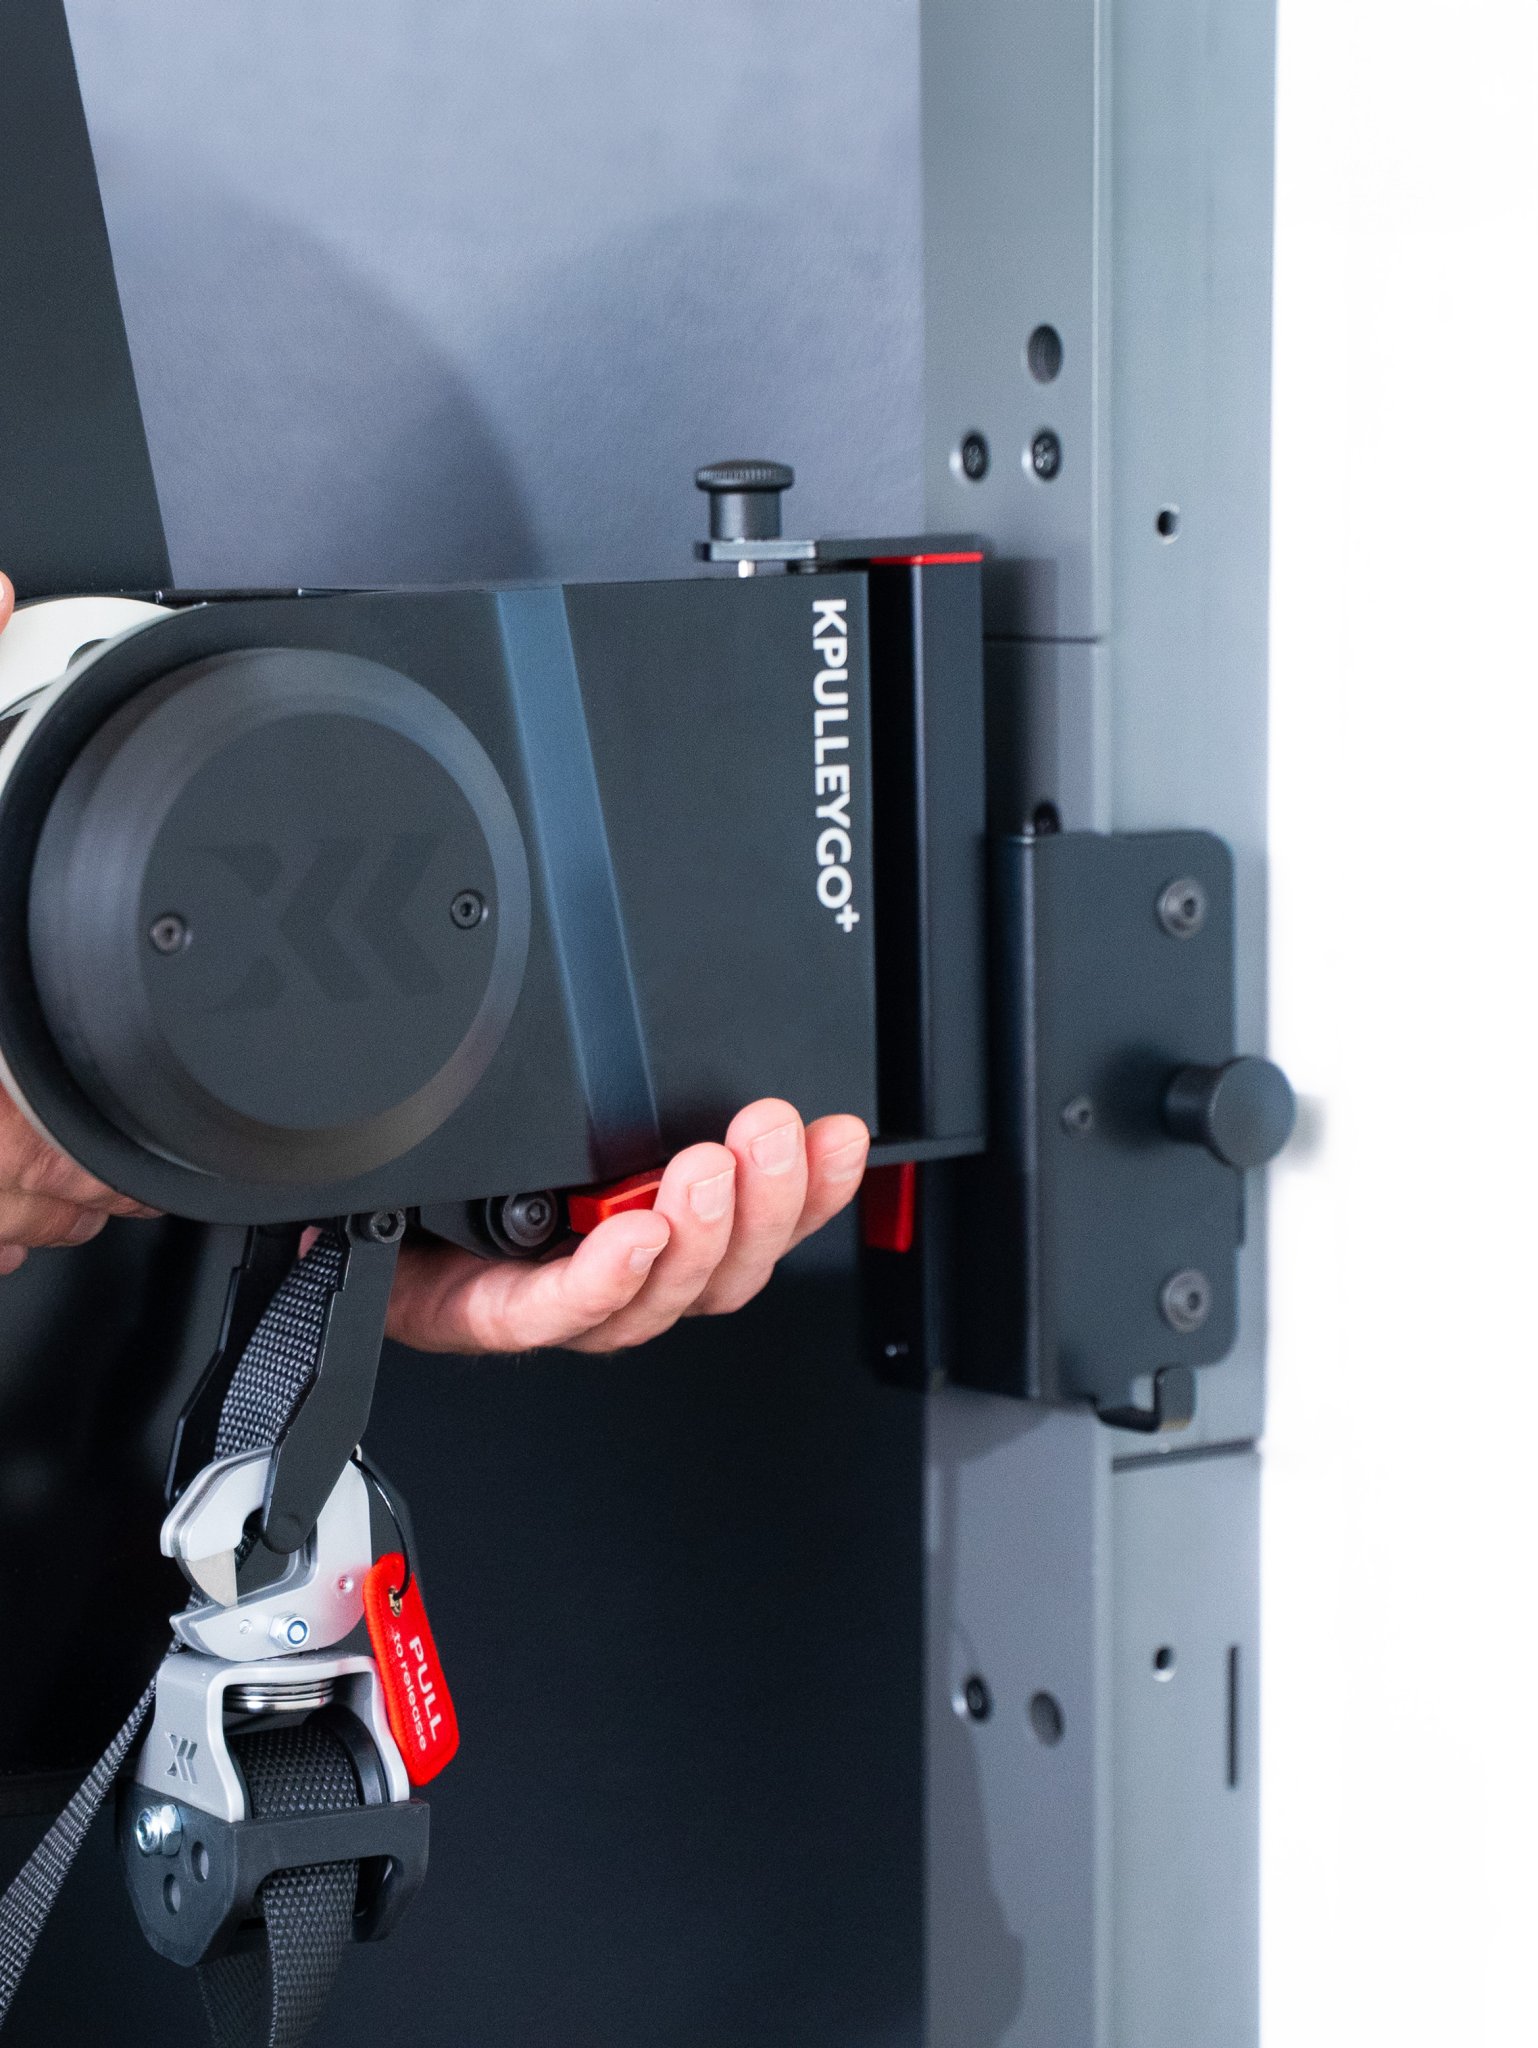
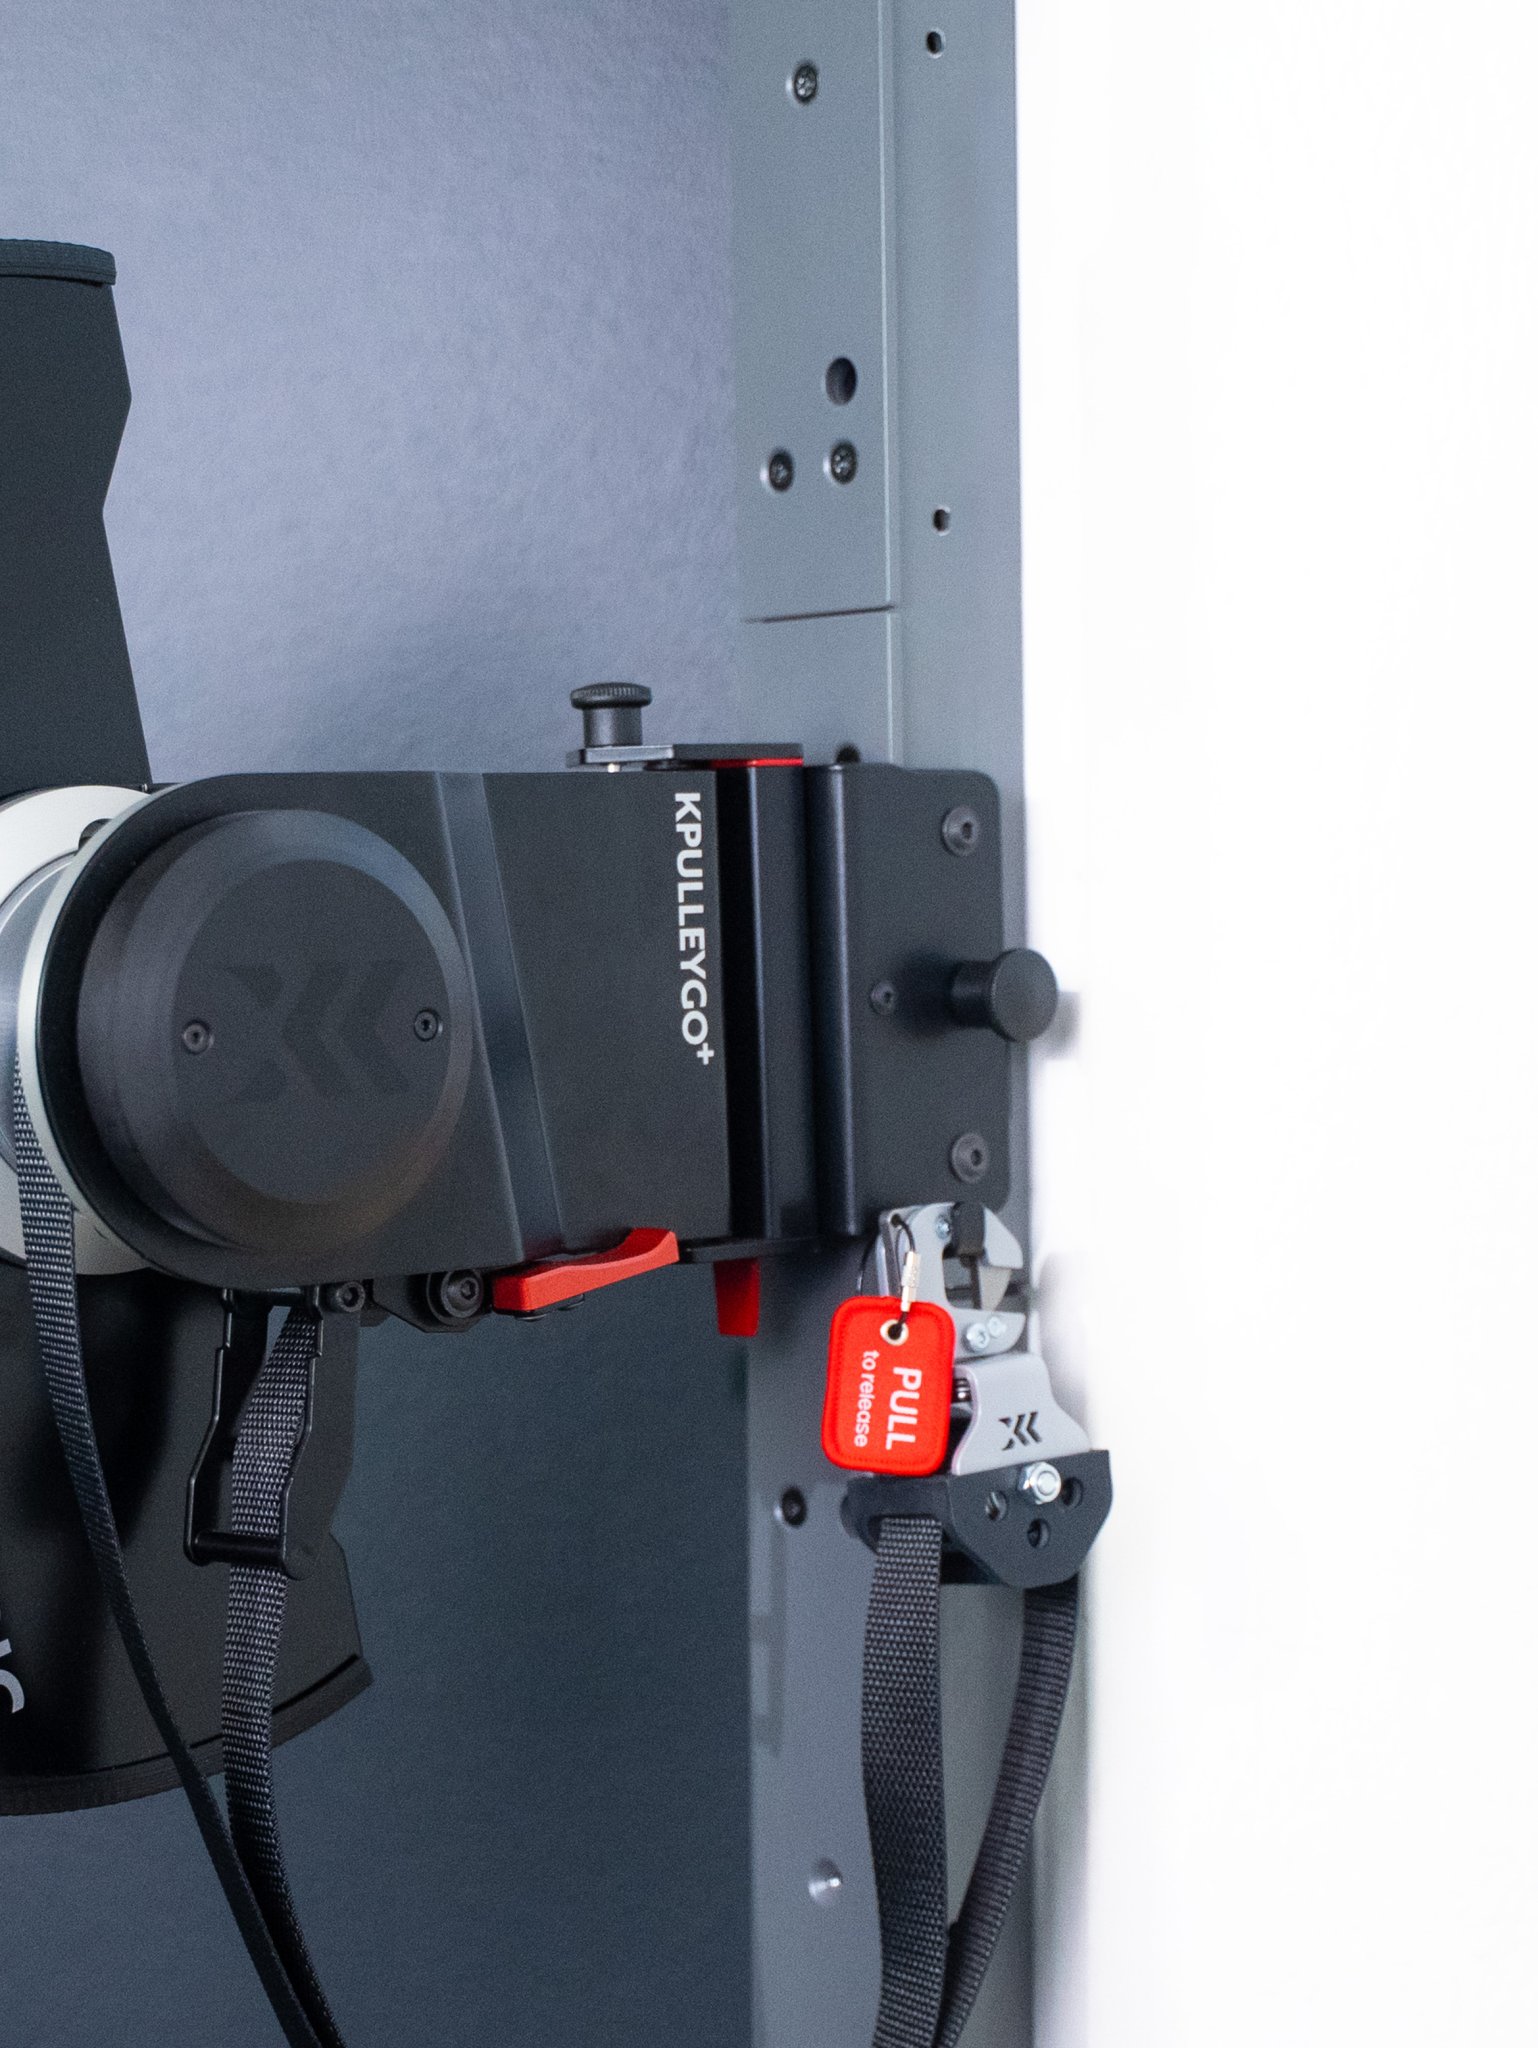
-
Step 2:
Mount the flywheel and push the knob.
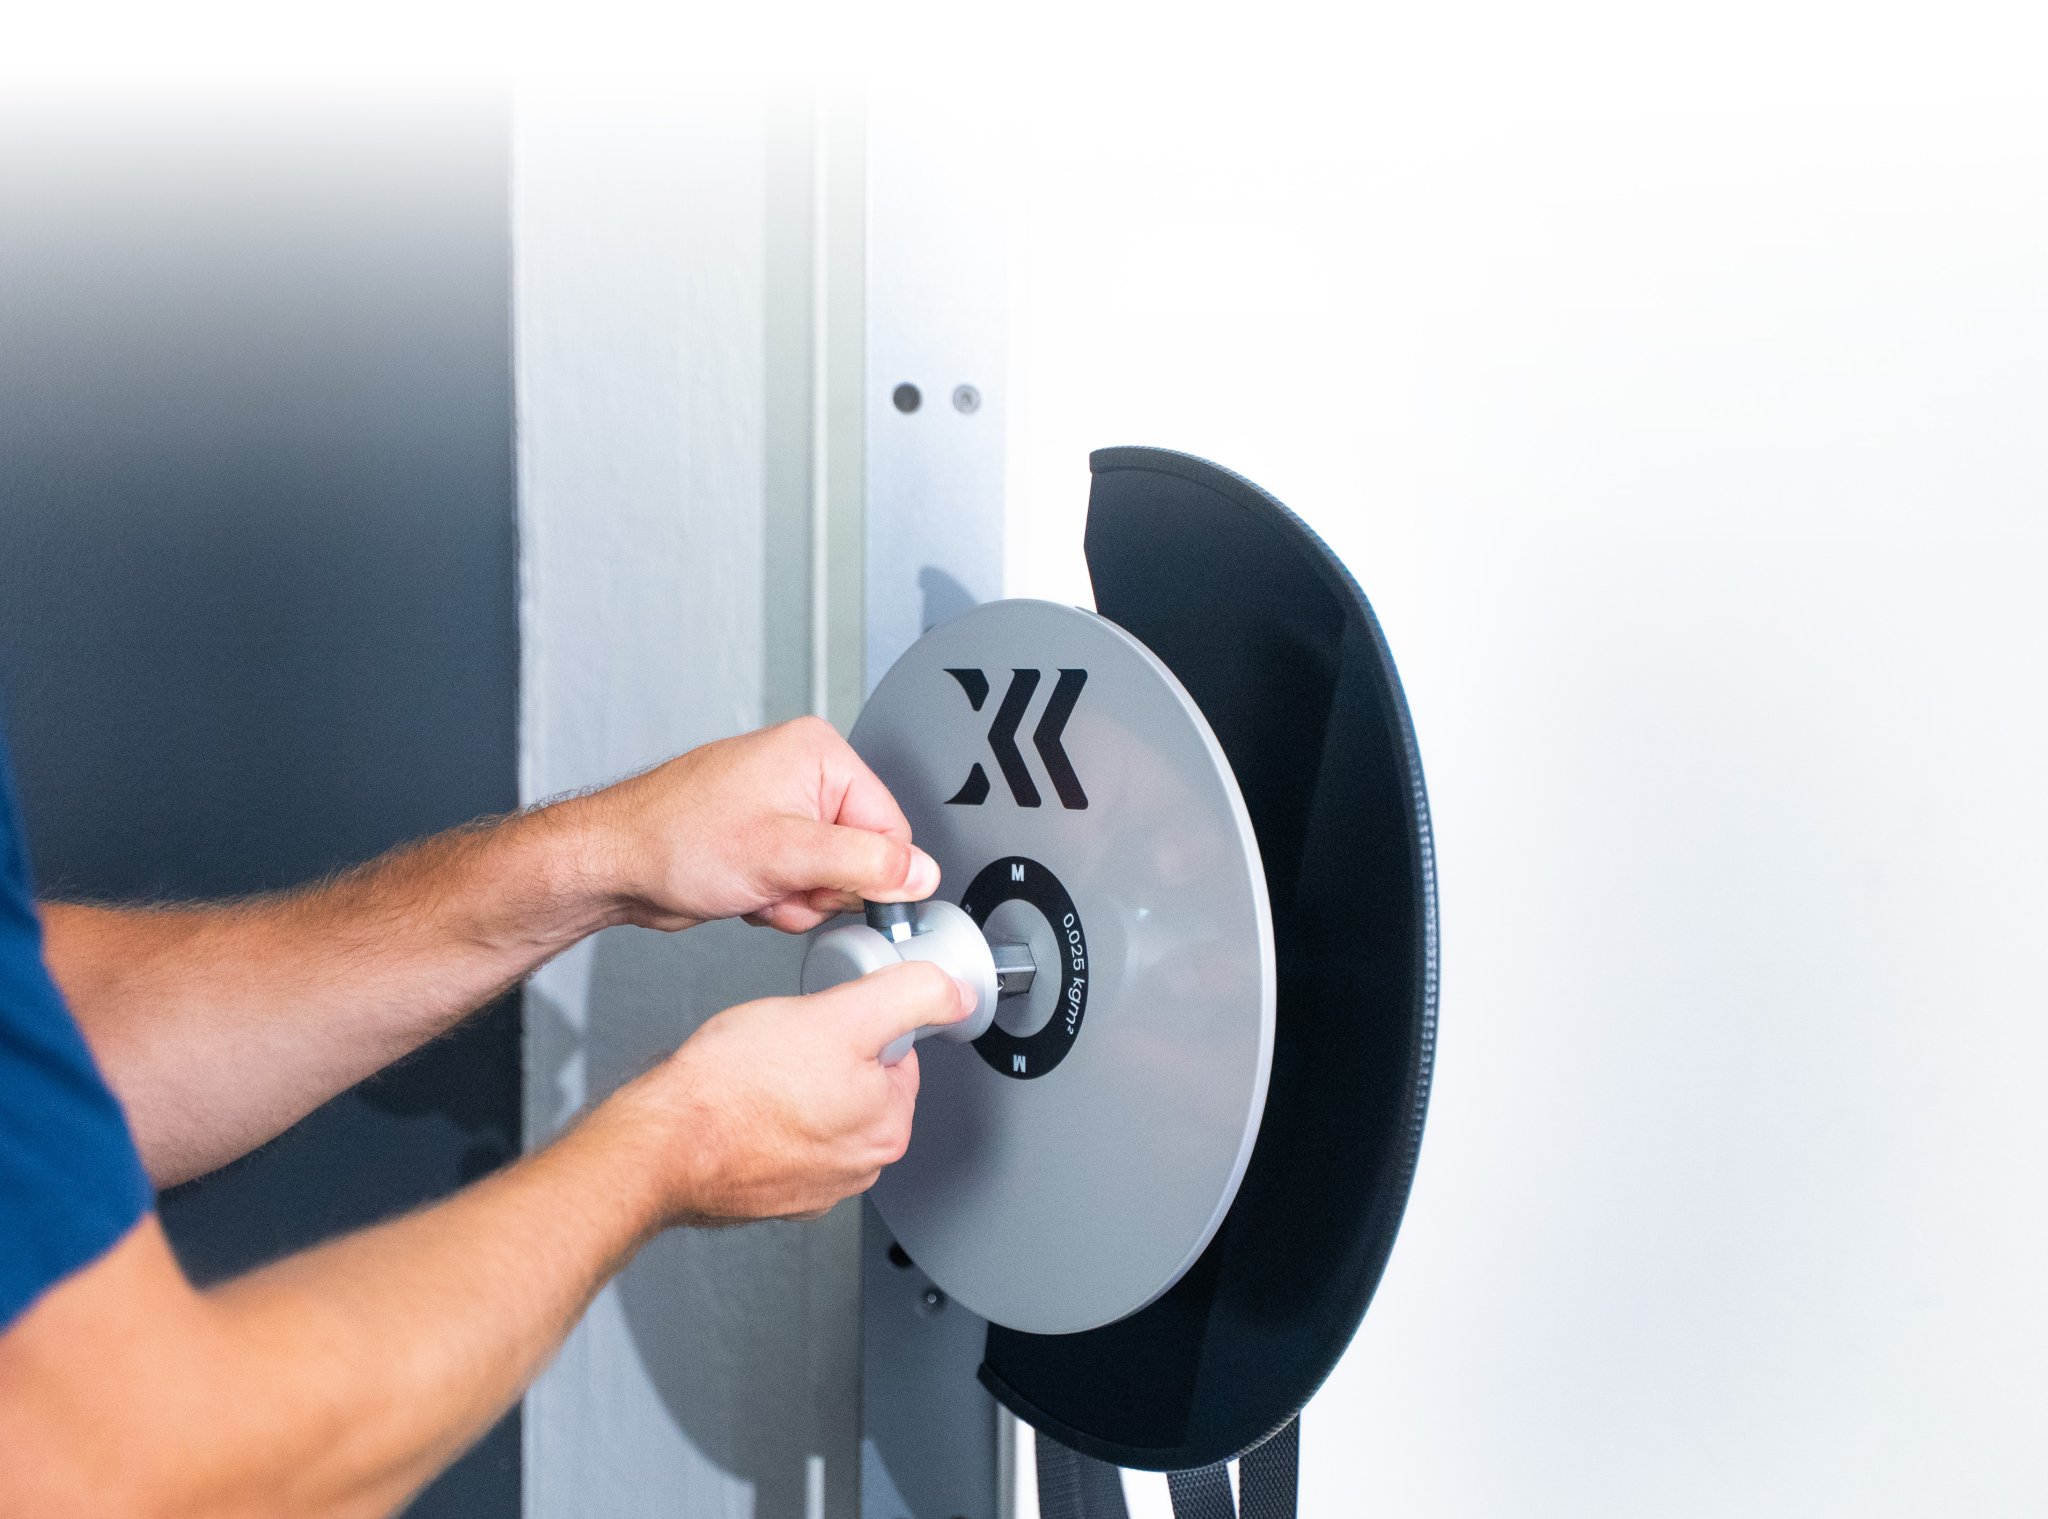
-
Step 3:
Select and attach your accessory.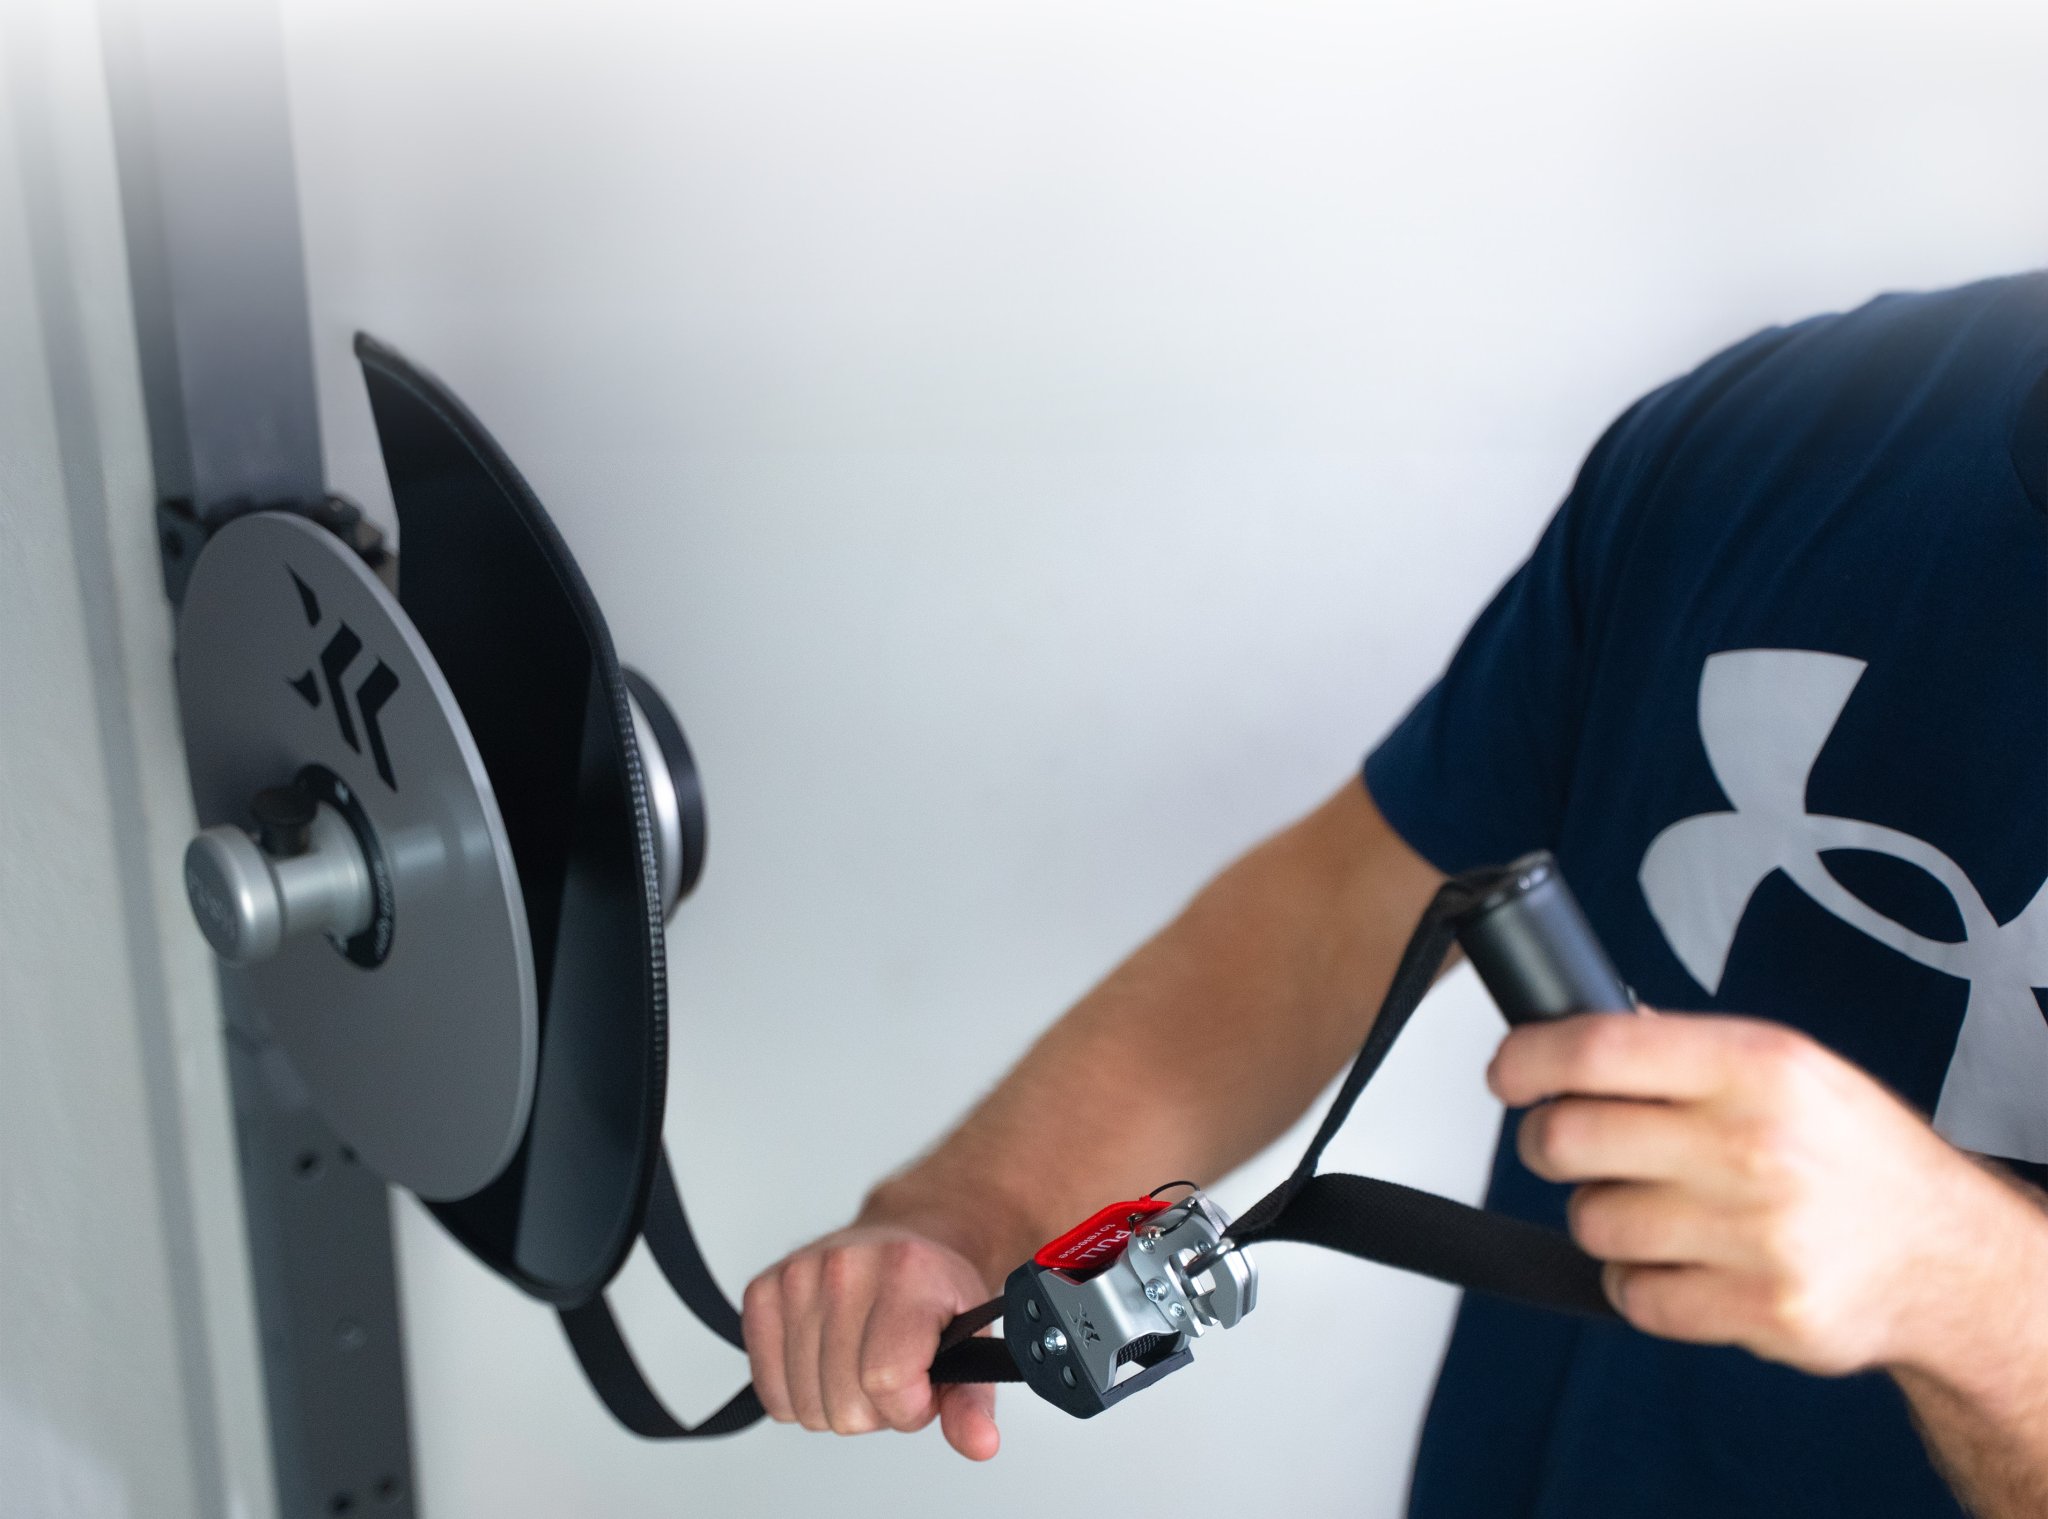
-
Step 4:
Set your range of motion (ROM).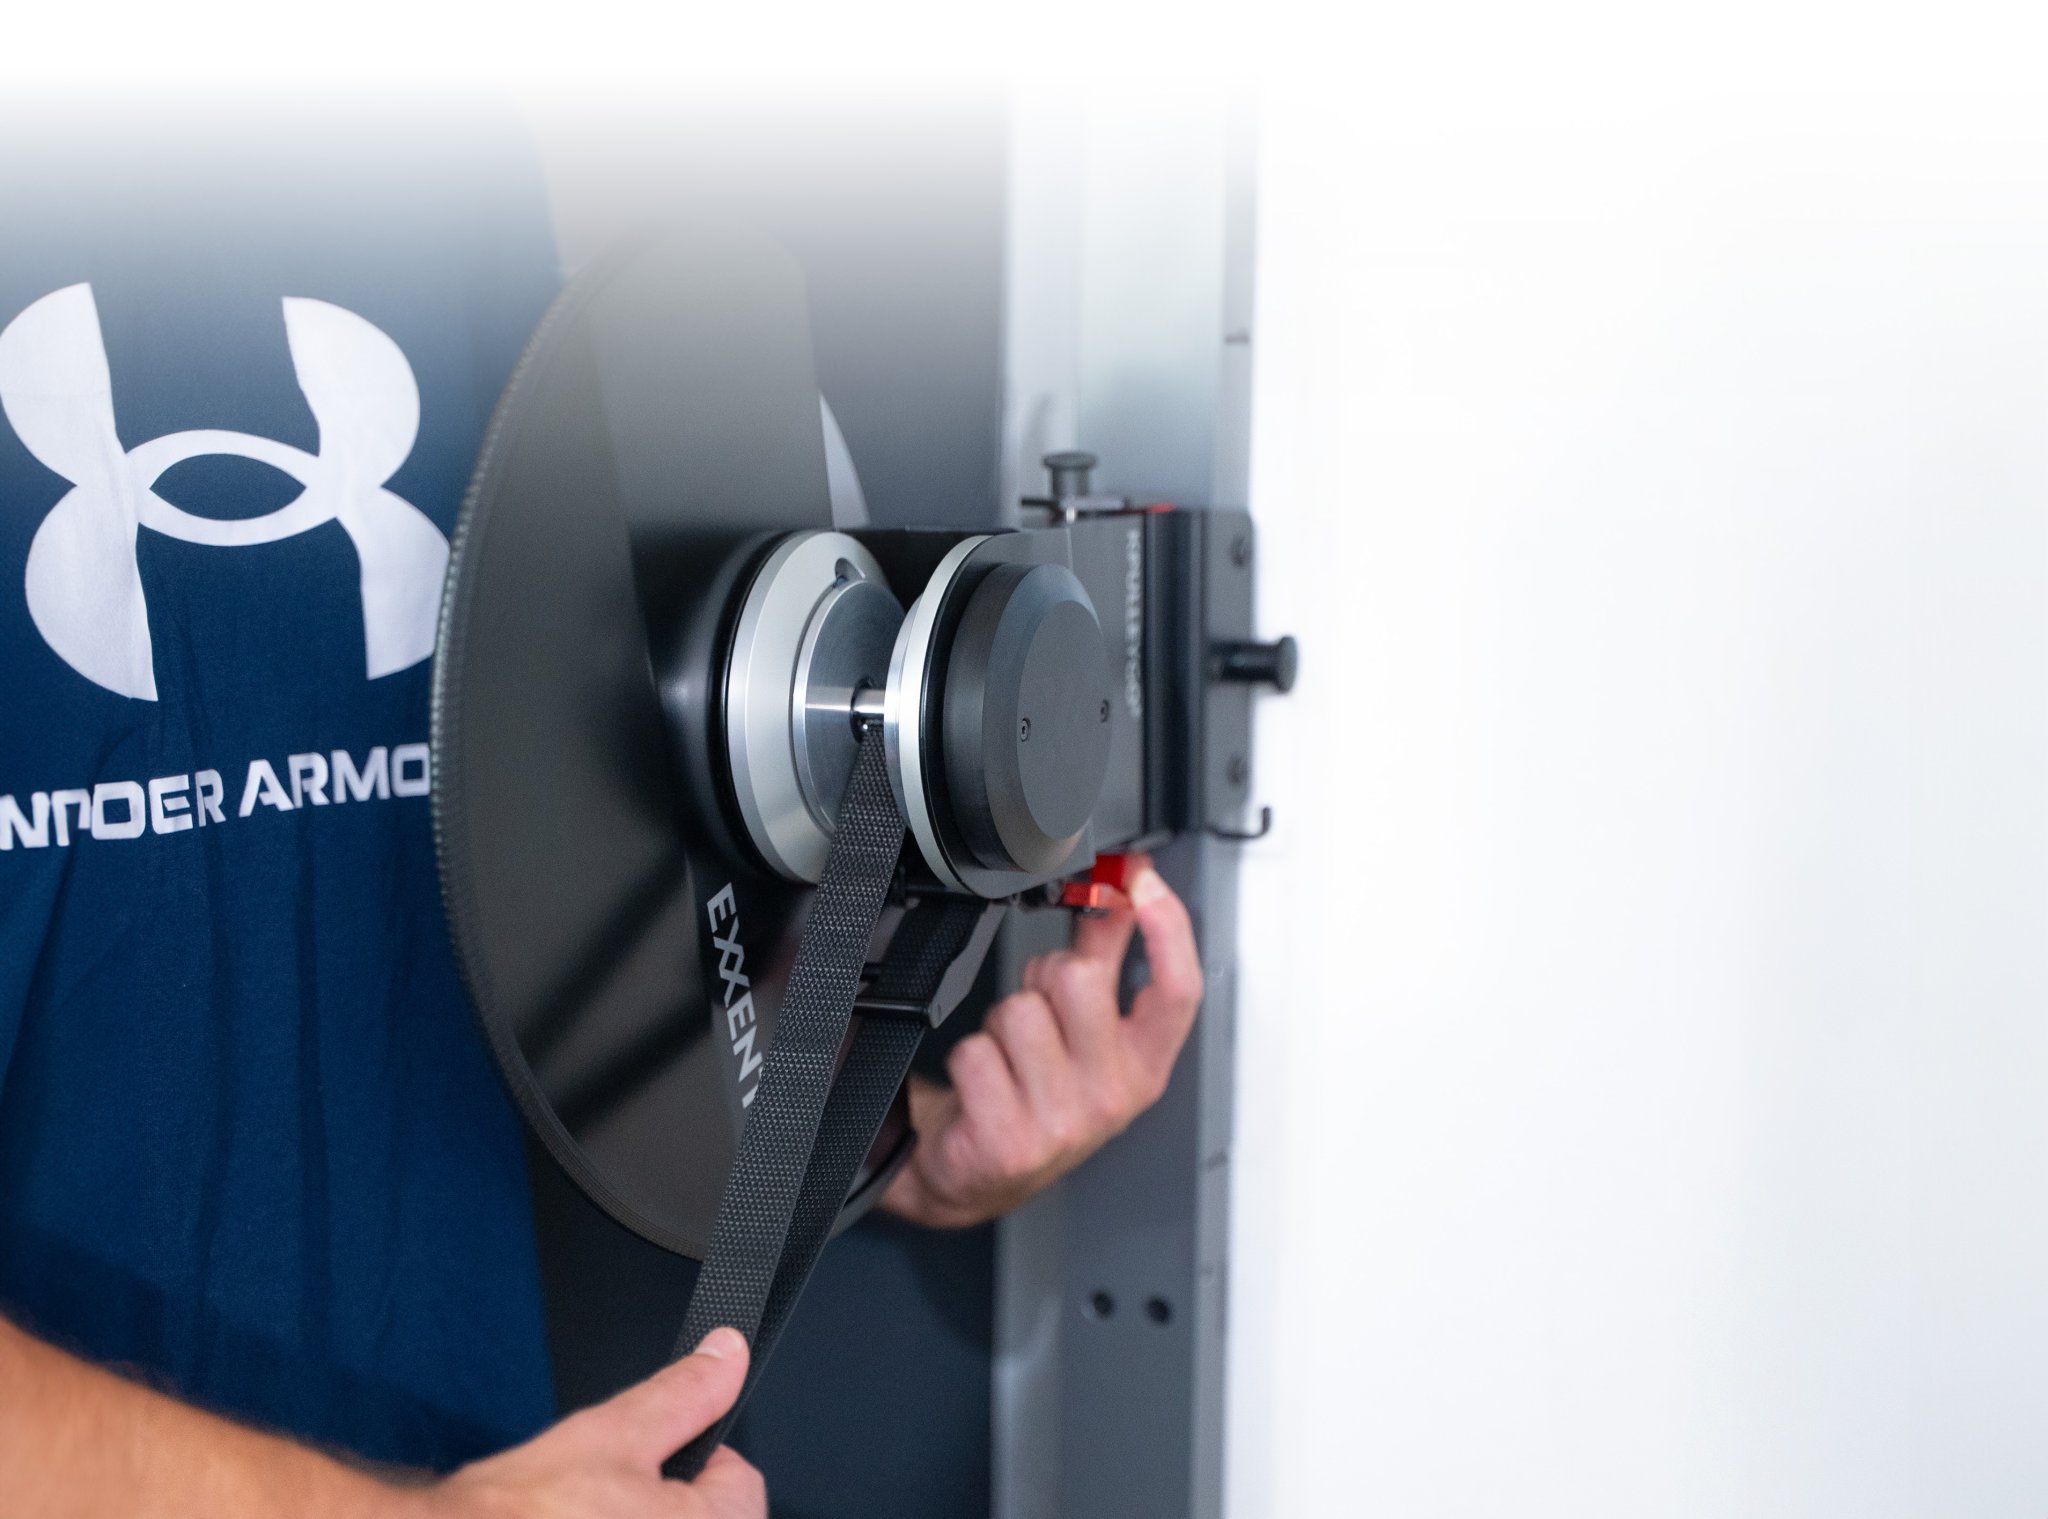
-
Step 5:
Find your starting position.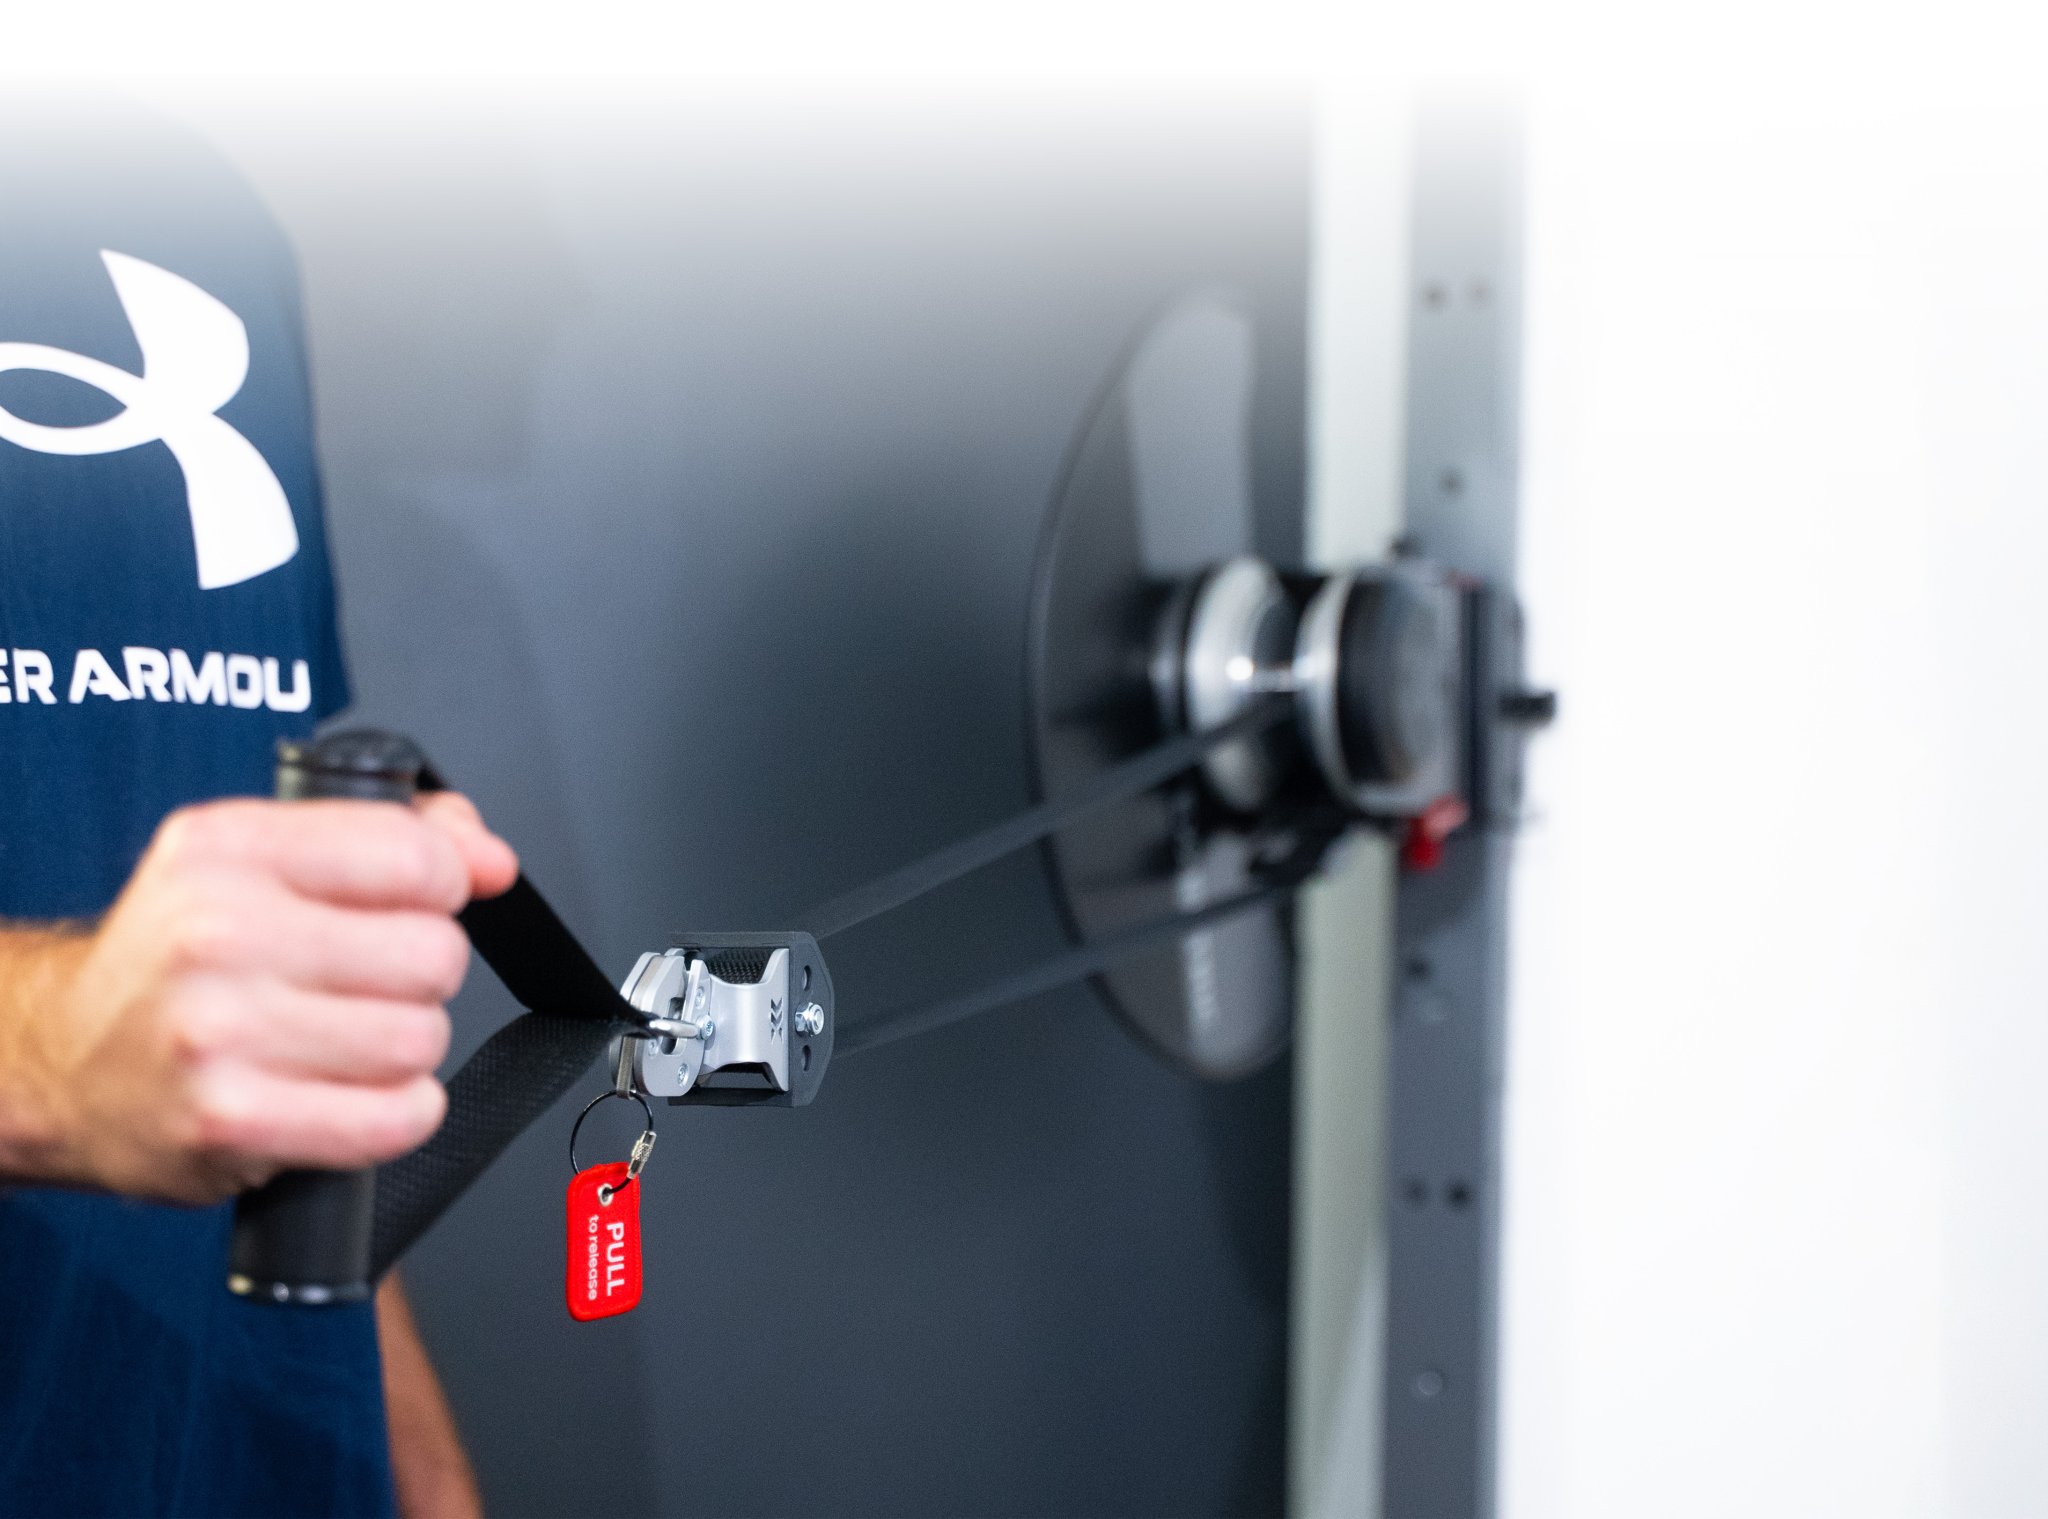
-
Step 6:
Connect to the Exxentric App to track your training data in real time.
kMeter add-on is available for the standard kPulley Go
-
Step 7:
Spin the flywheel to start.
Decelerate the flywheel(s) to finish the exercise.
Own an older kPulley Device? Contact us HERE for guidance on getting started.
First-Time Exercise Recommendations
More Exercises-
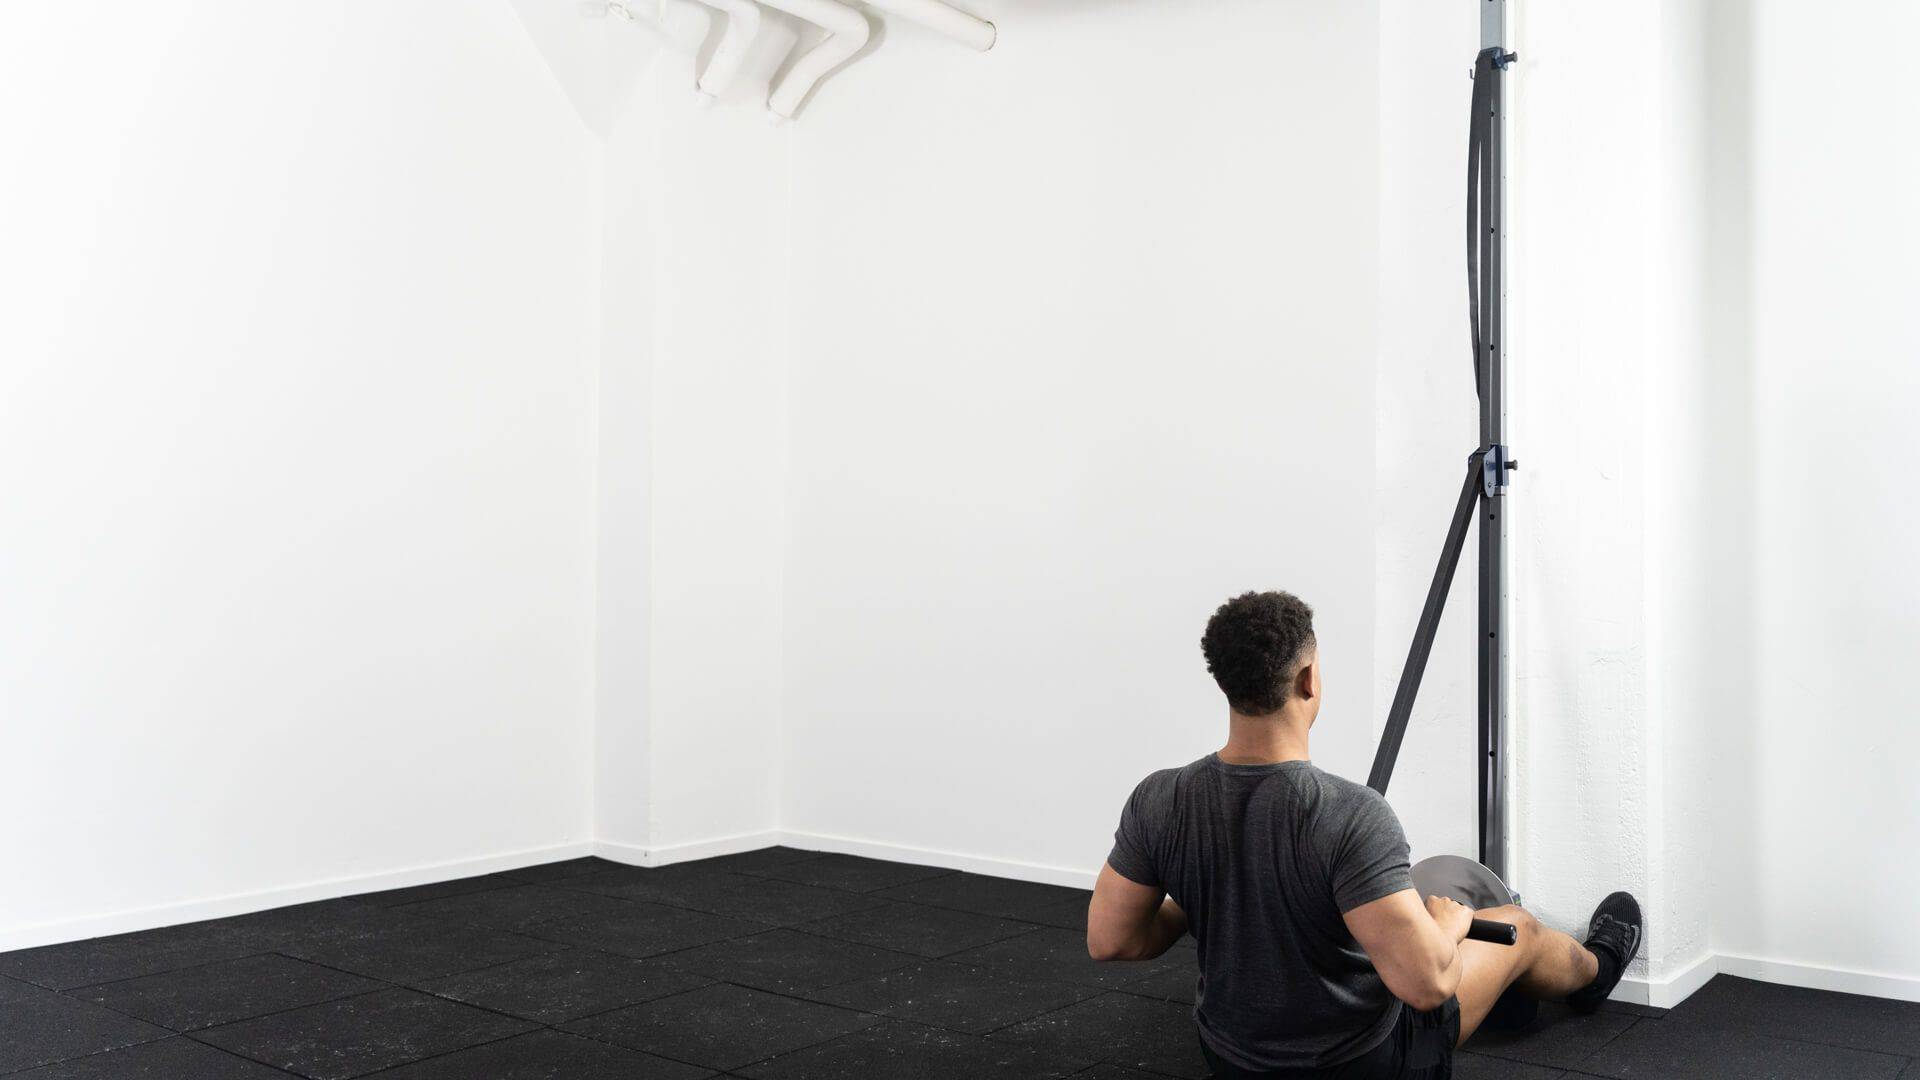
kPulley Seated Row
-
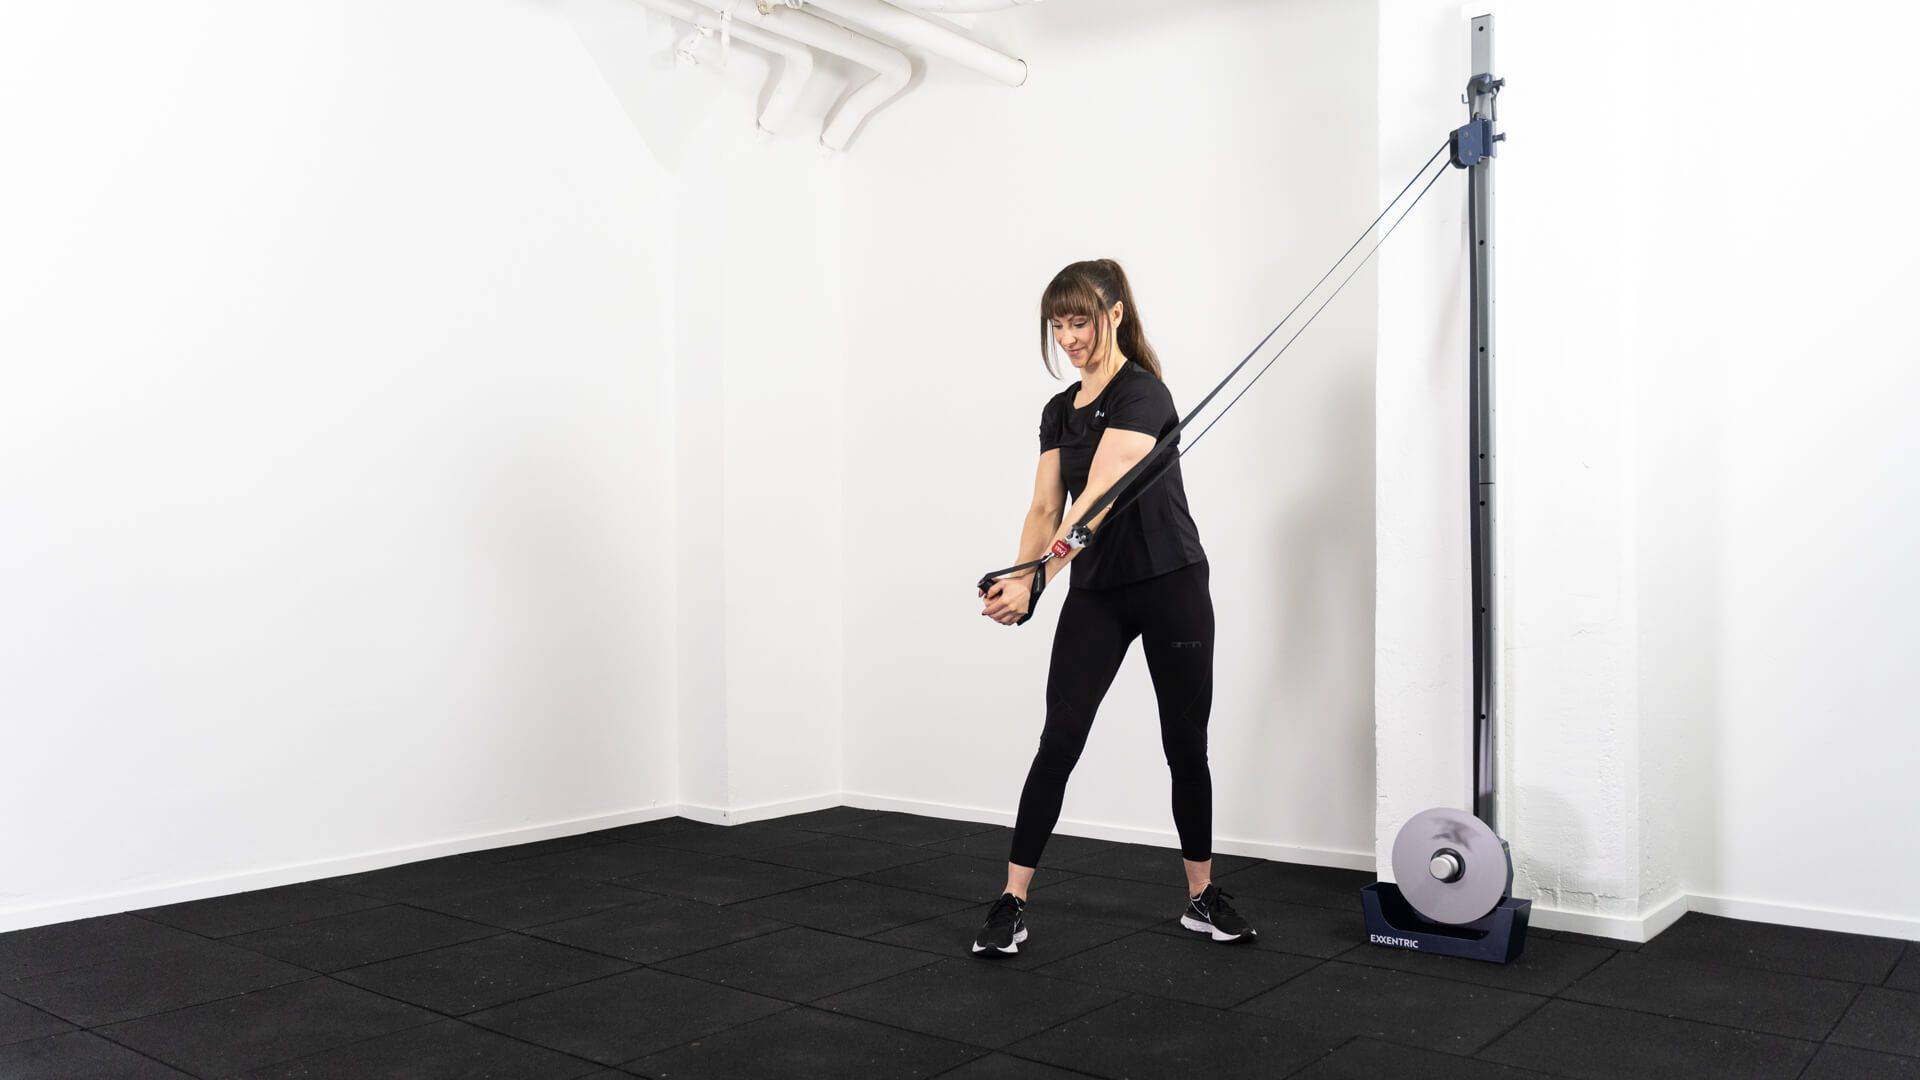
kPulley Standing Wood Chop
-

kPulley Triceps Extension
kPulley Seated Row
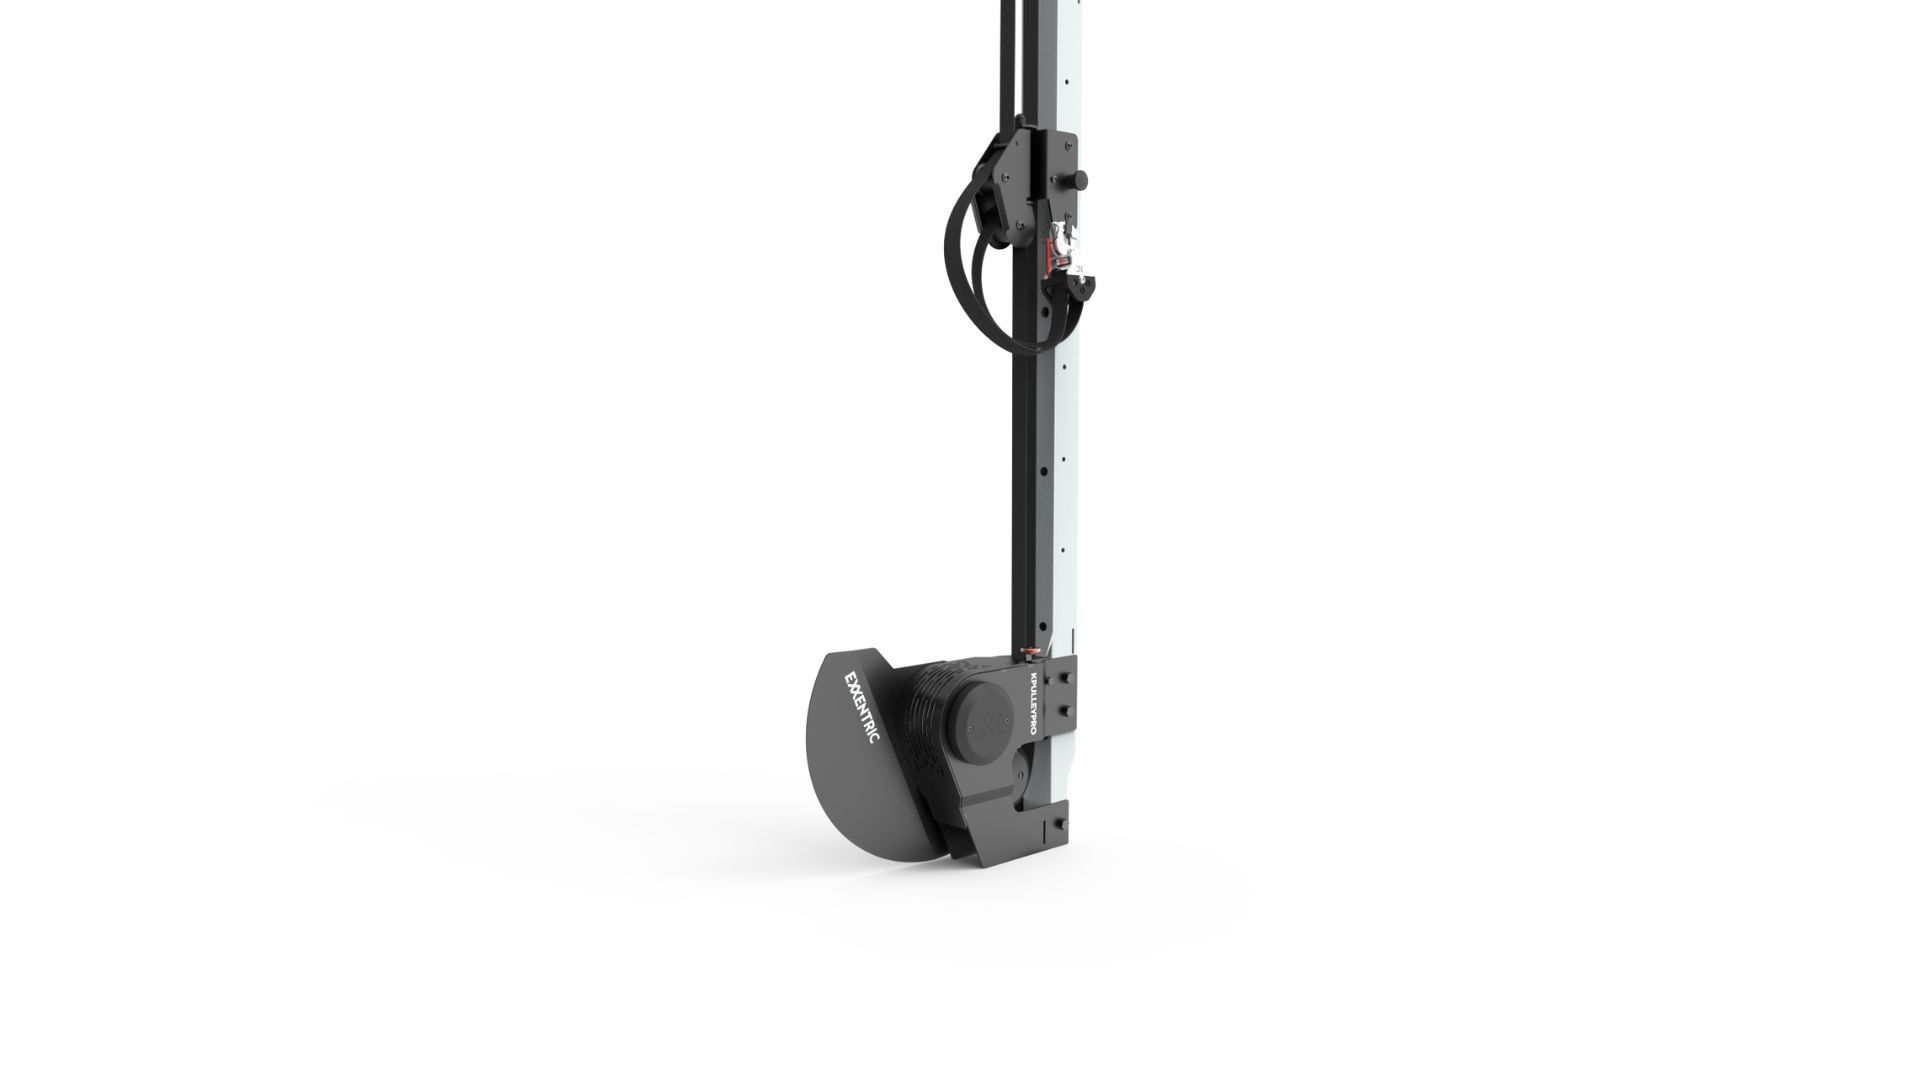
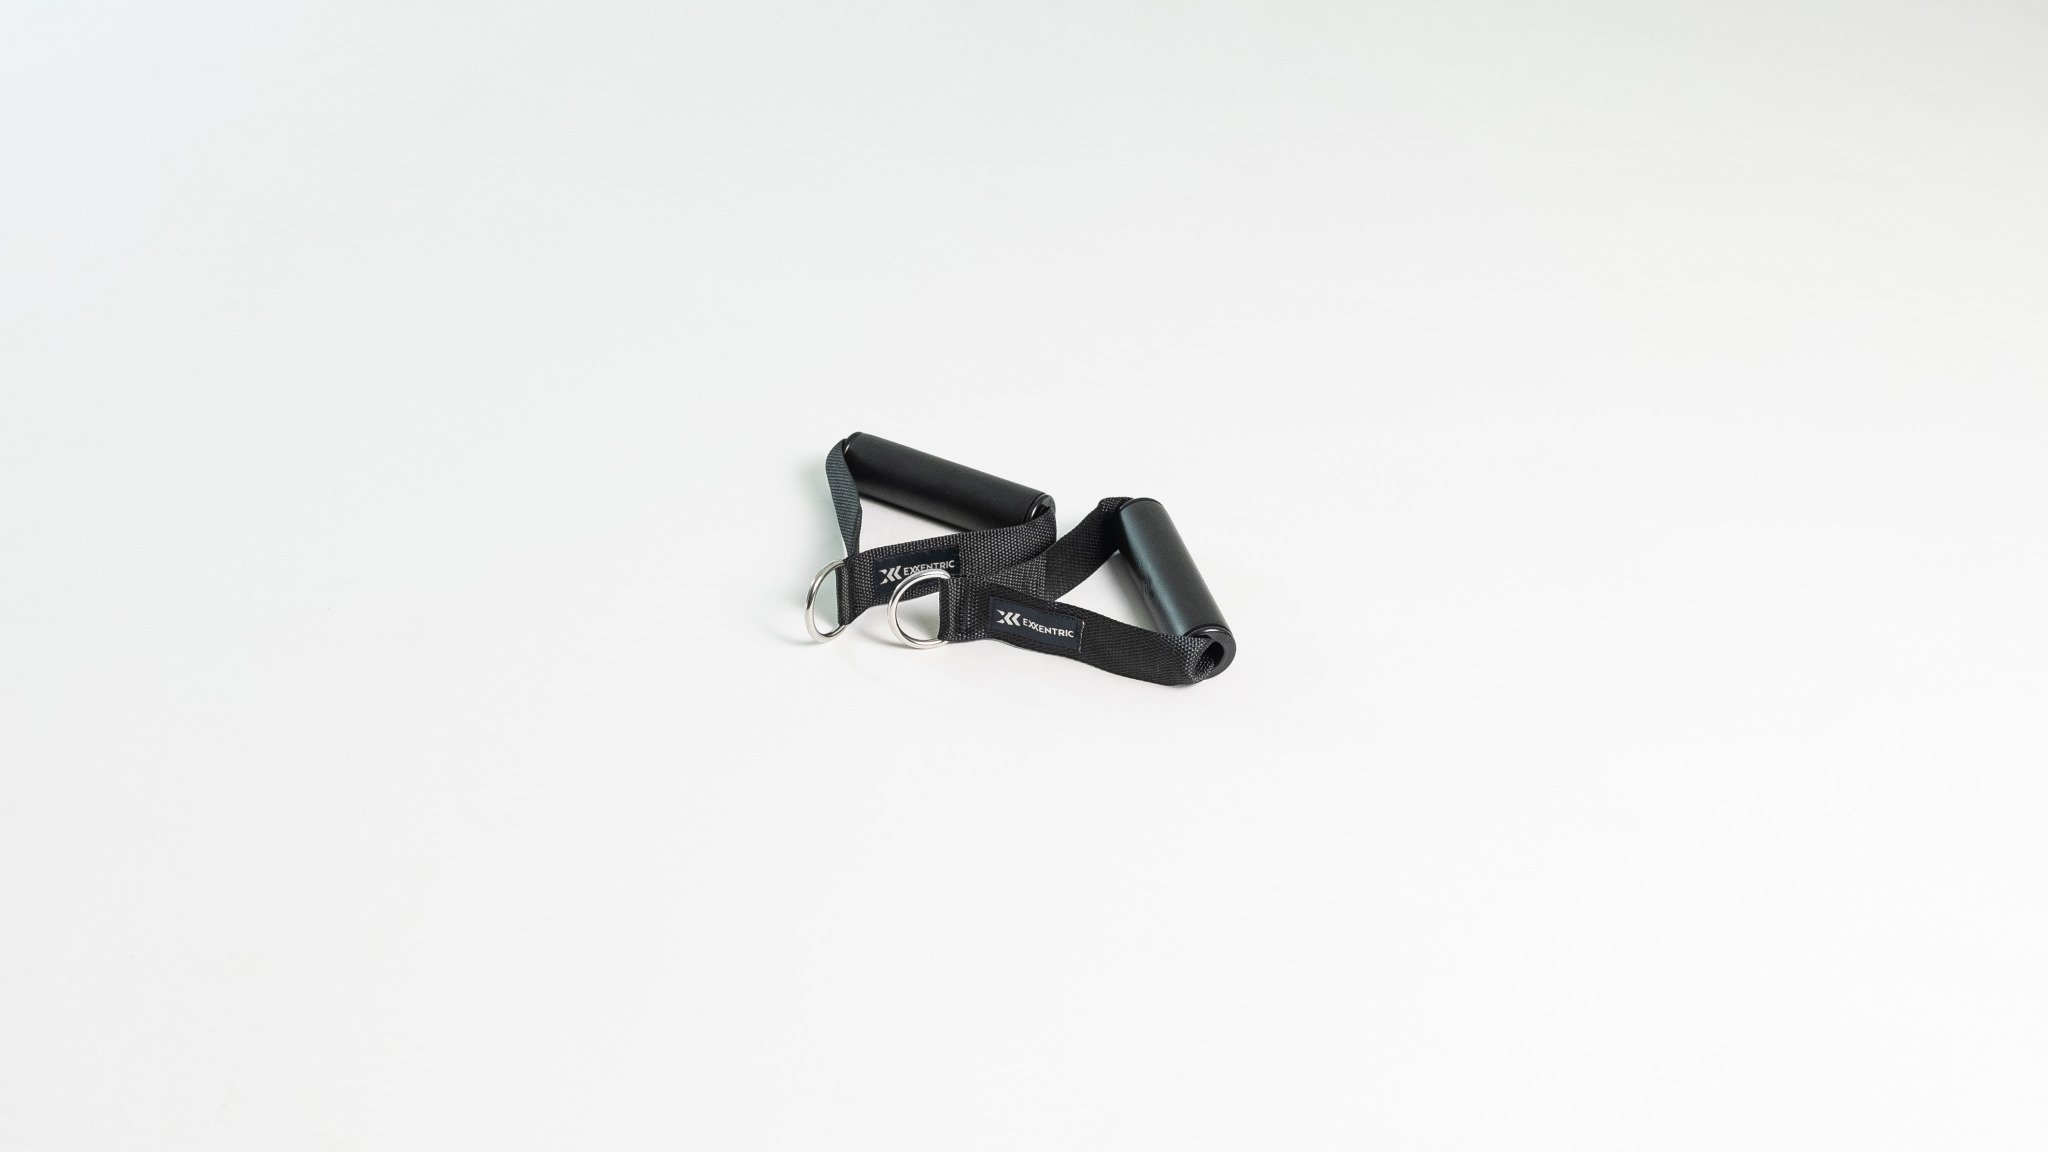
What you need:
kPulley Triceps Extension
What you need:
-
Step 1:
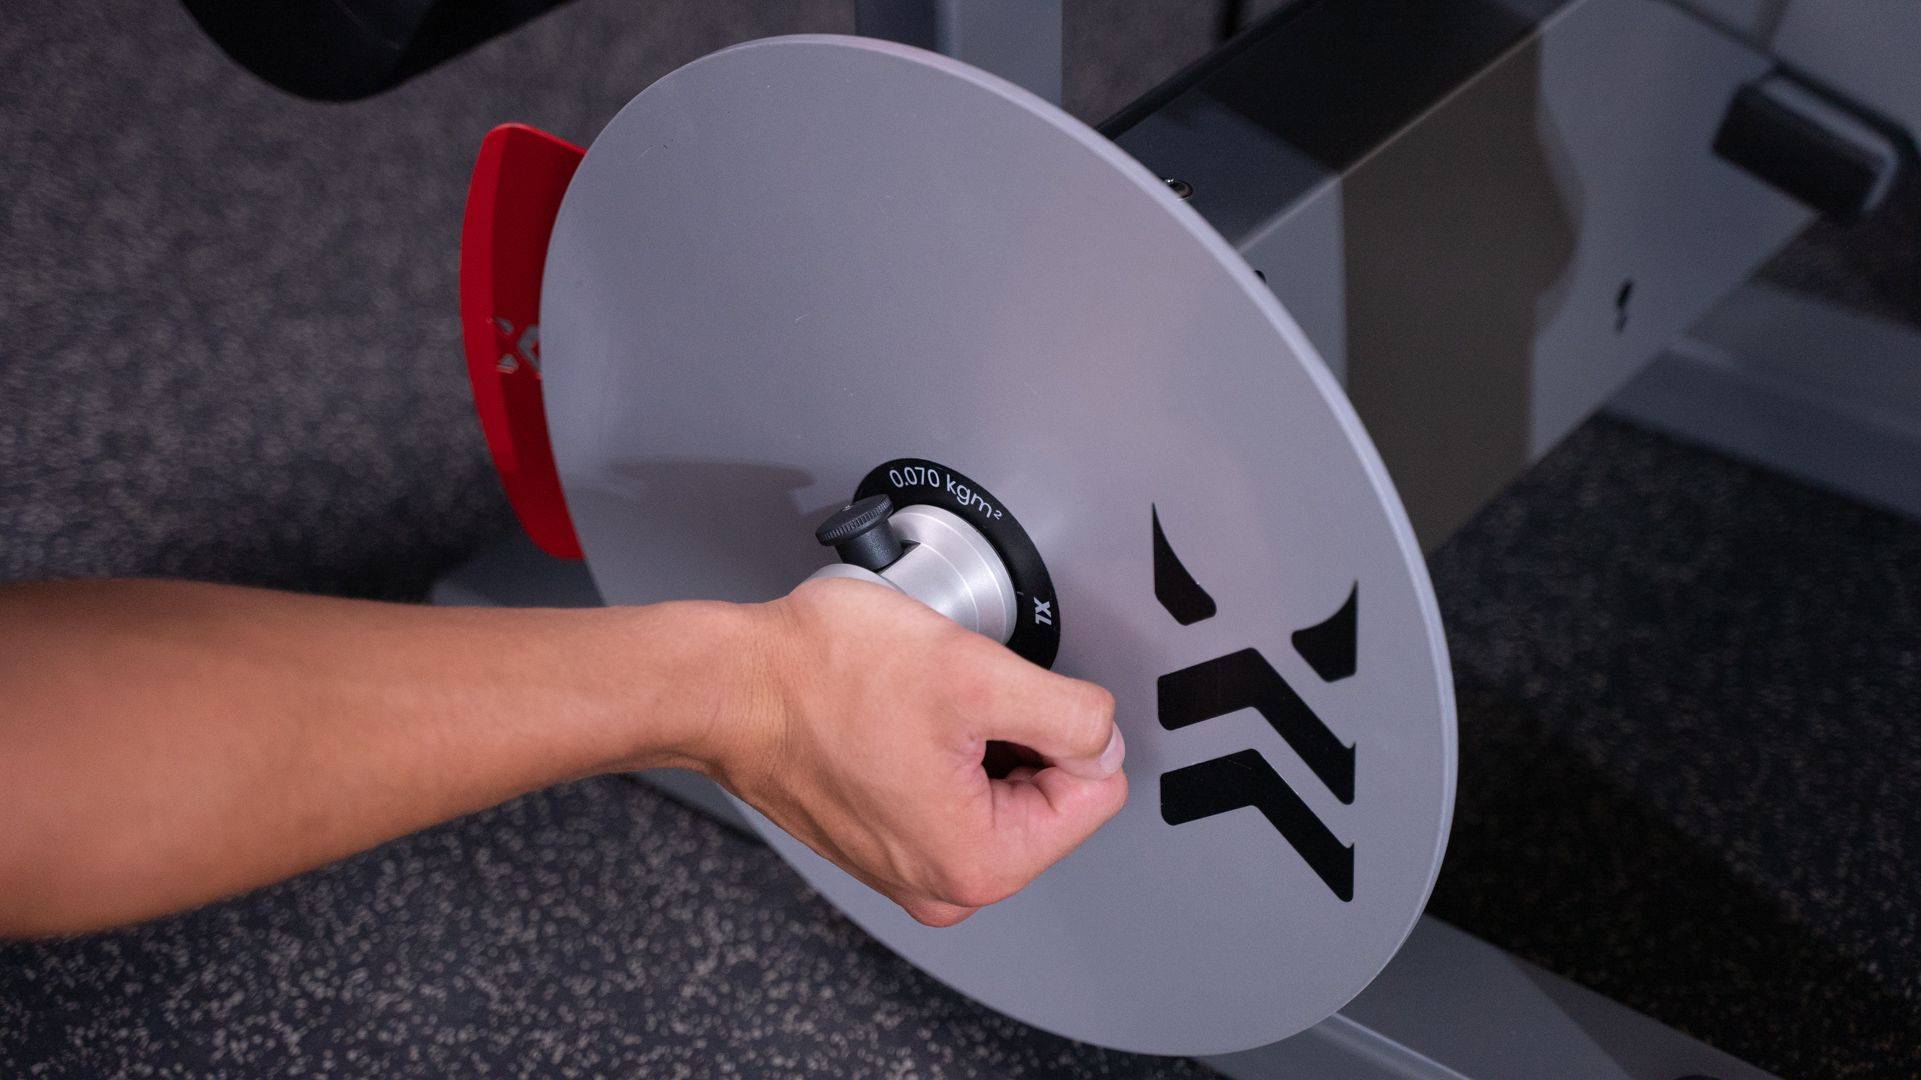
Select inertia and secure the flywheel knob.
-
Step 2:
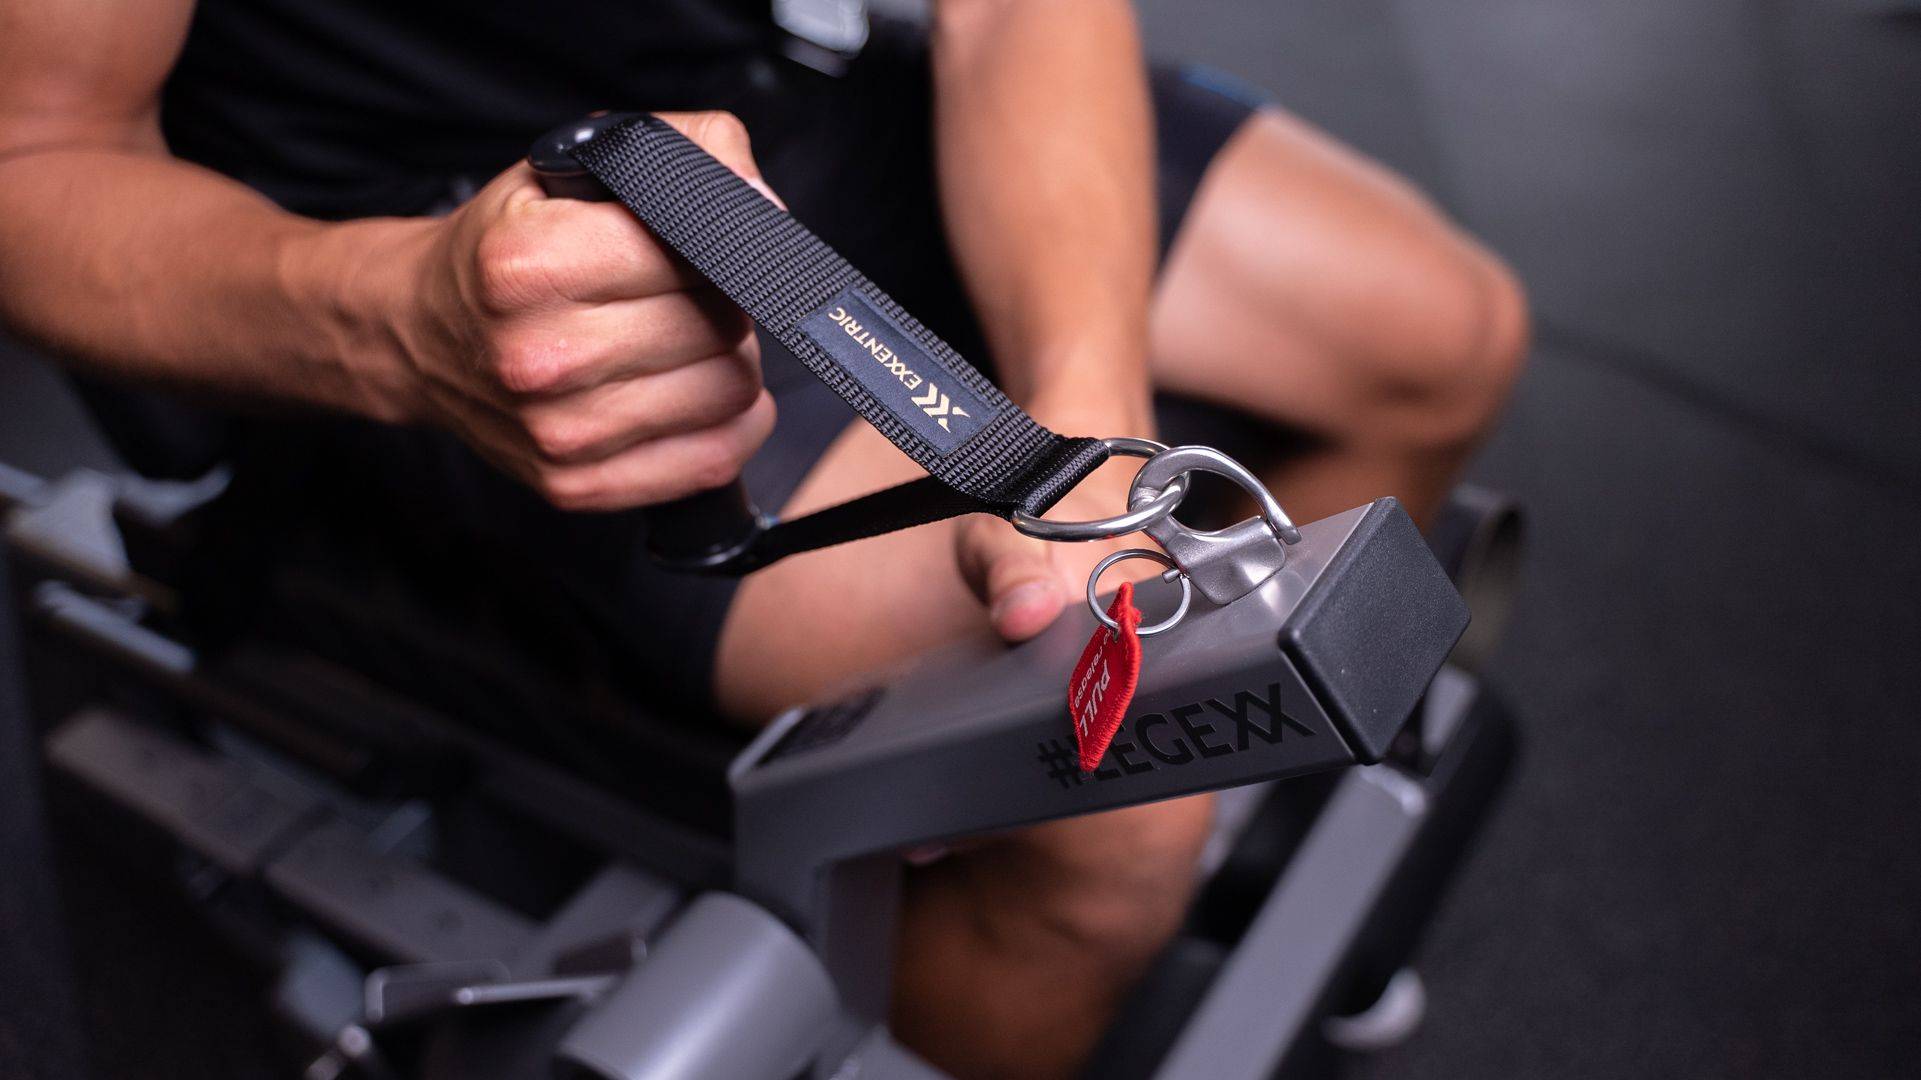
Attach the kGrip.
Optional step for assisted overload training.
-
Step 3:
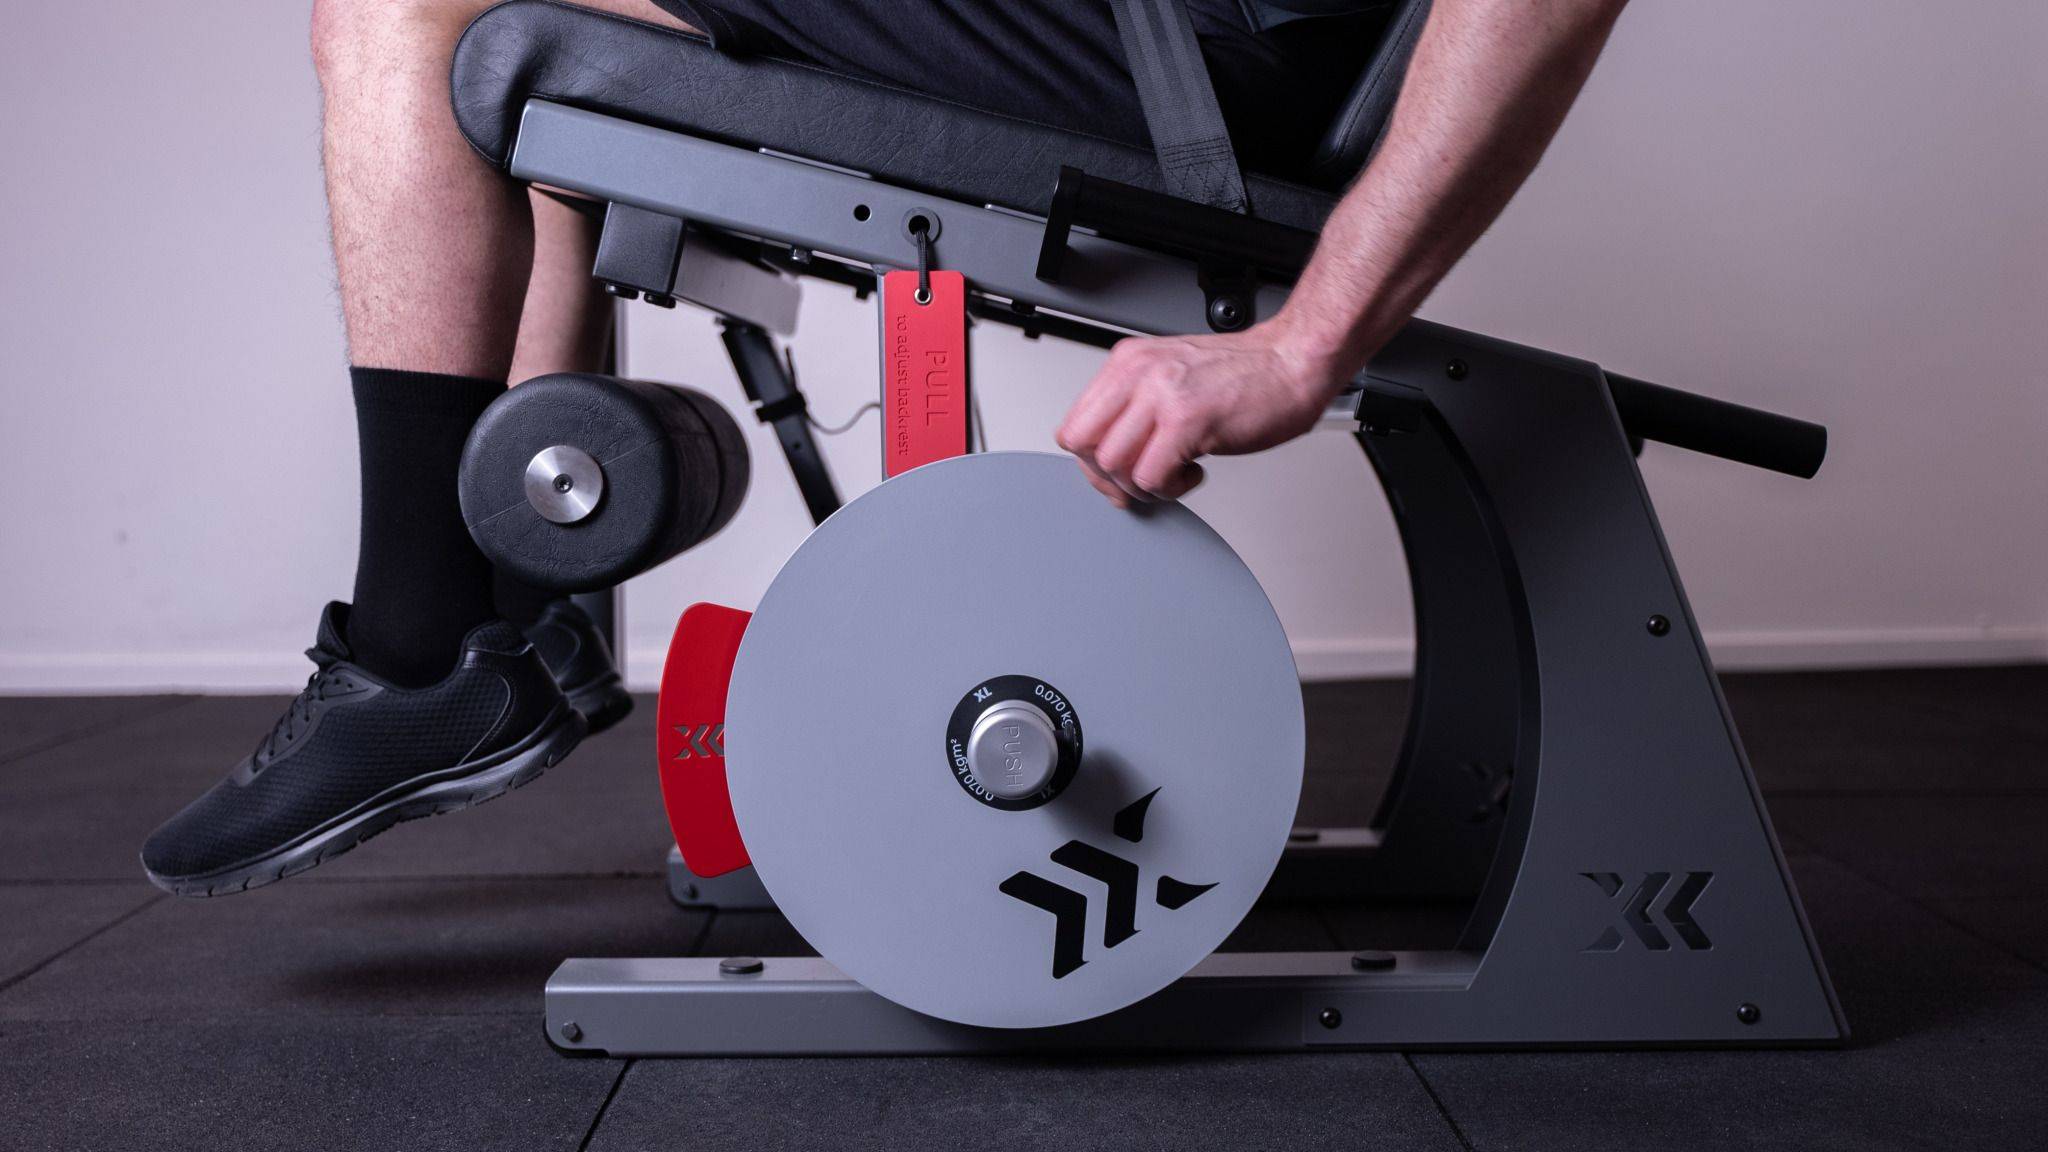
Set backrest position by pulling the lever and sliding the backrest.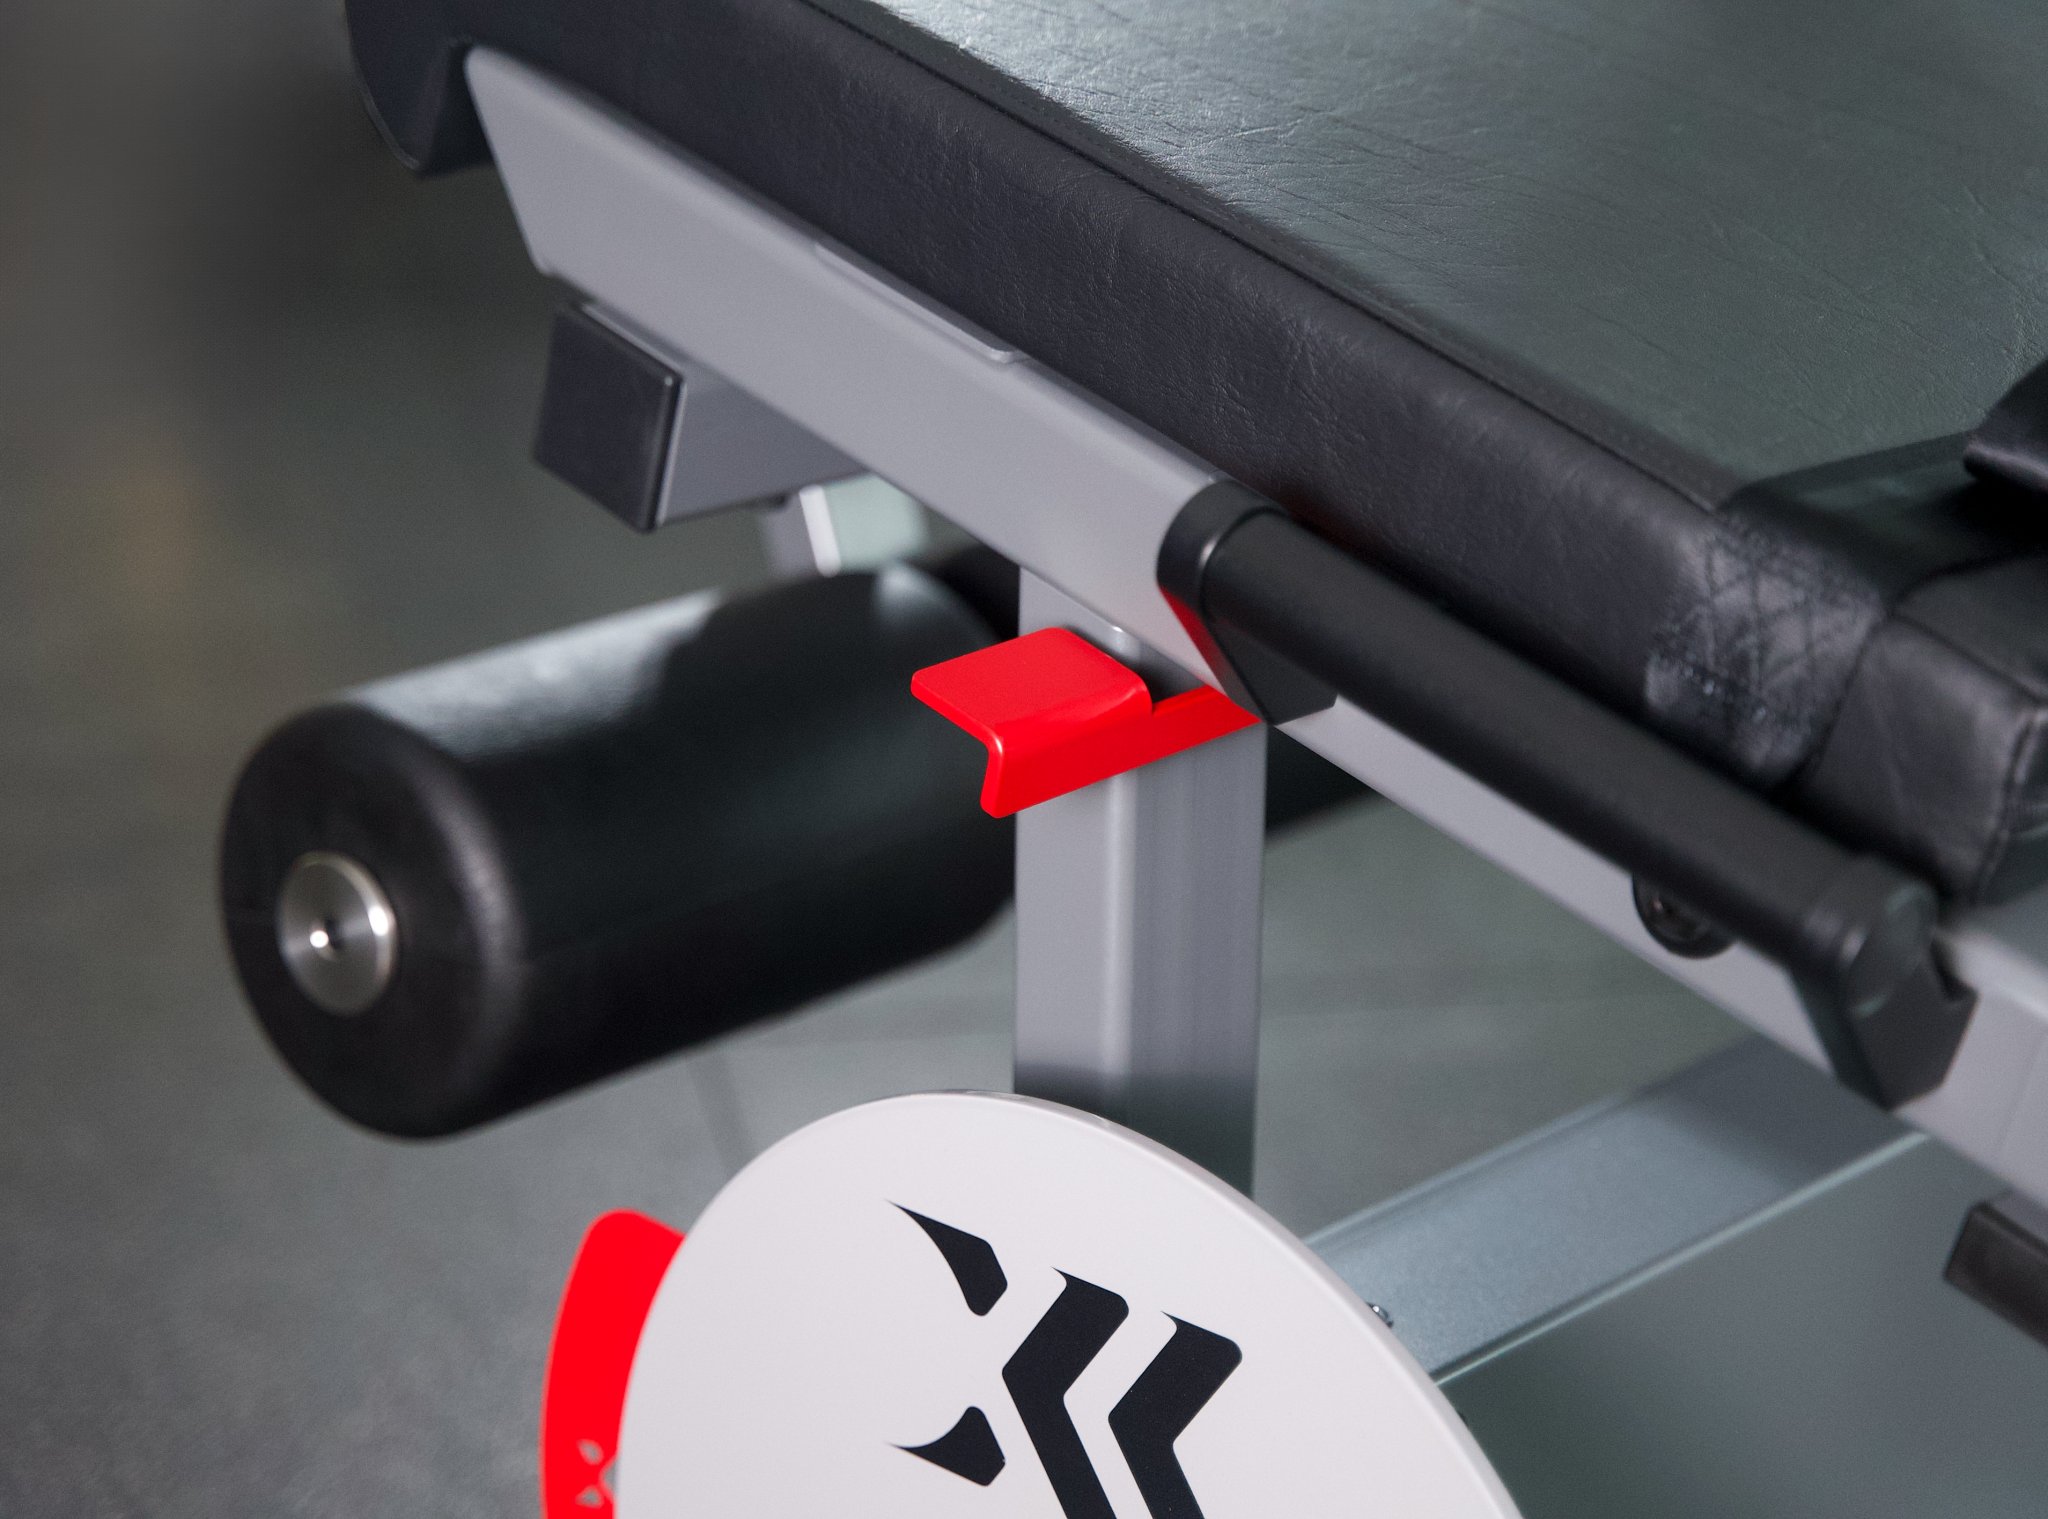
-
Step 4:
Adjust the angle of the backrest.
(1) Push the backrest forward.
(2) Pull and hold the red handle.
(3) Let go of the handle. Make sure it gets locked in by going all the way down.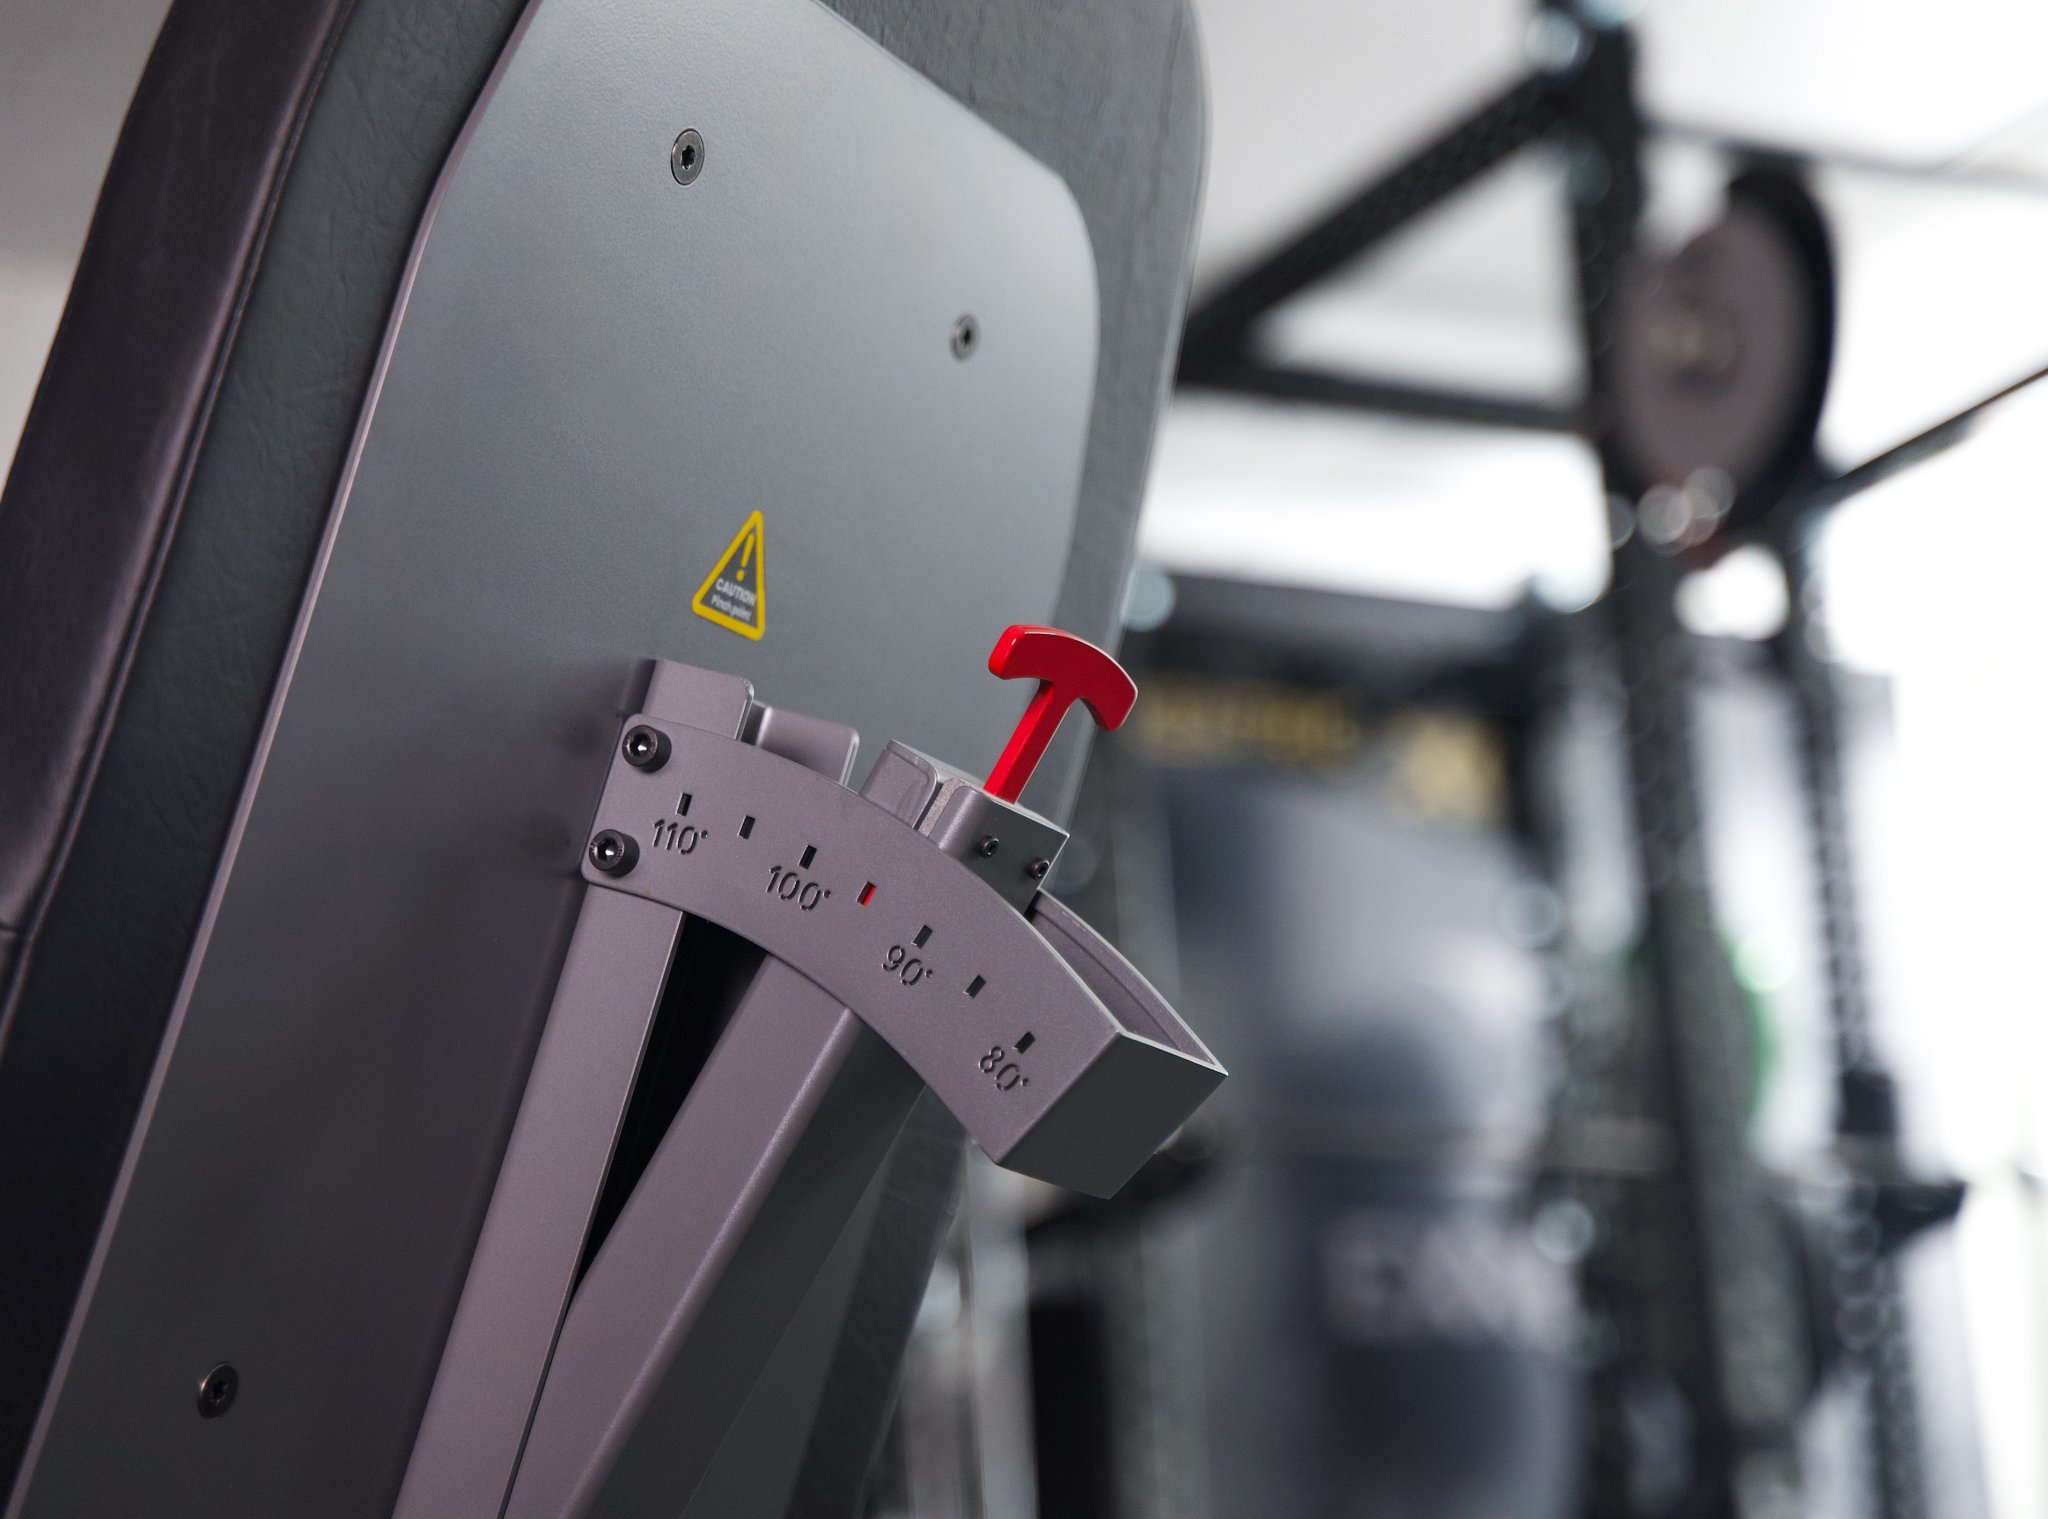
-
Step 5:
Adjust the height of the shin pads.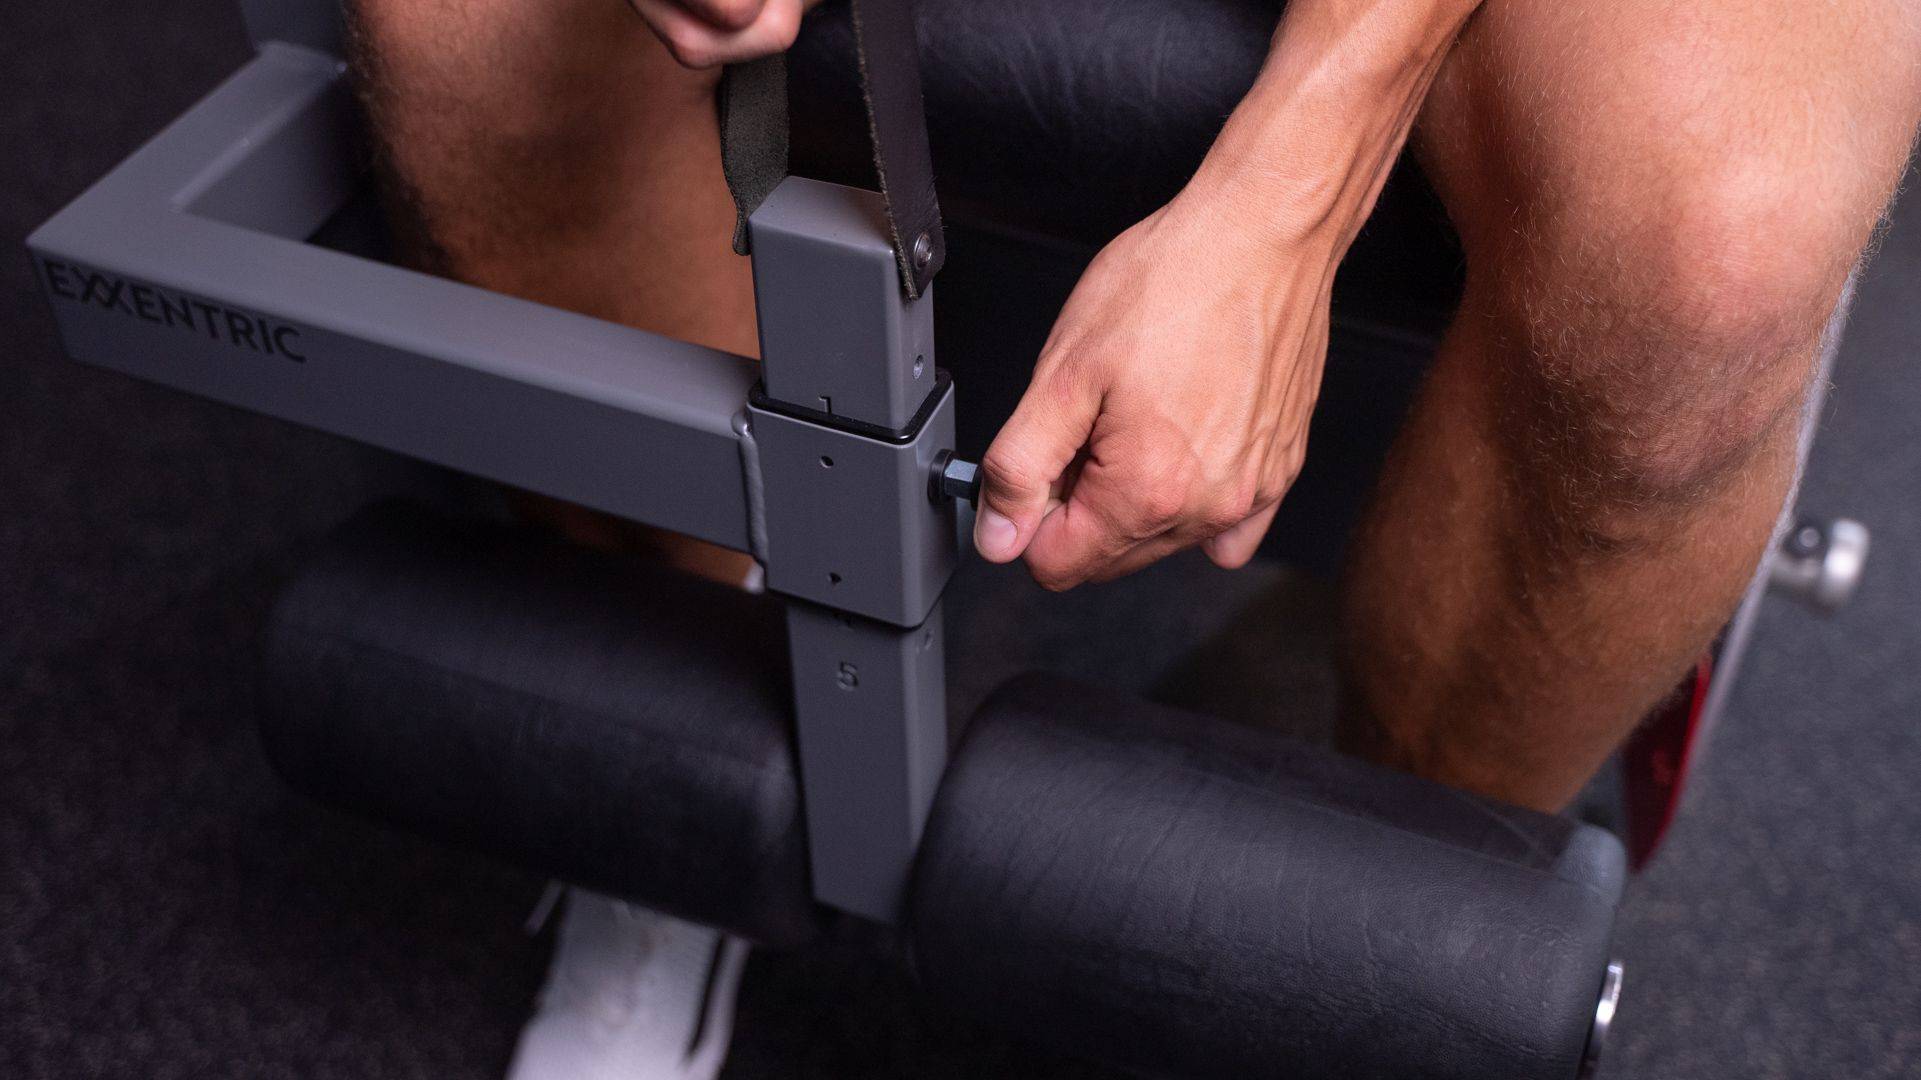
-
Step 6:
Set the end of the range of motion.
(1) By sliding the length adjuster forwards or backwards
(2) Or by adjusting the amount of excess belt coming out of the belt stop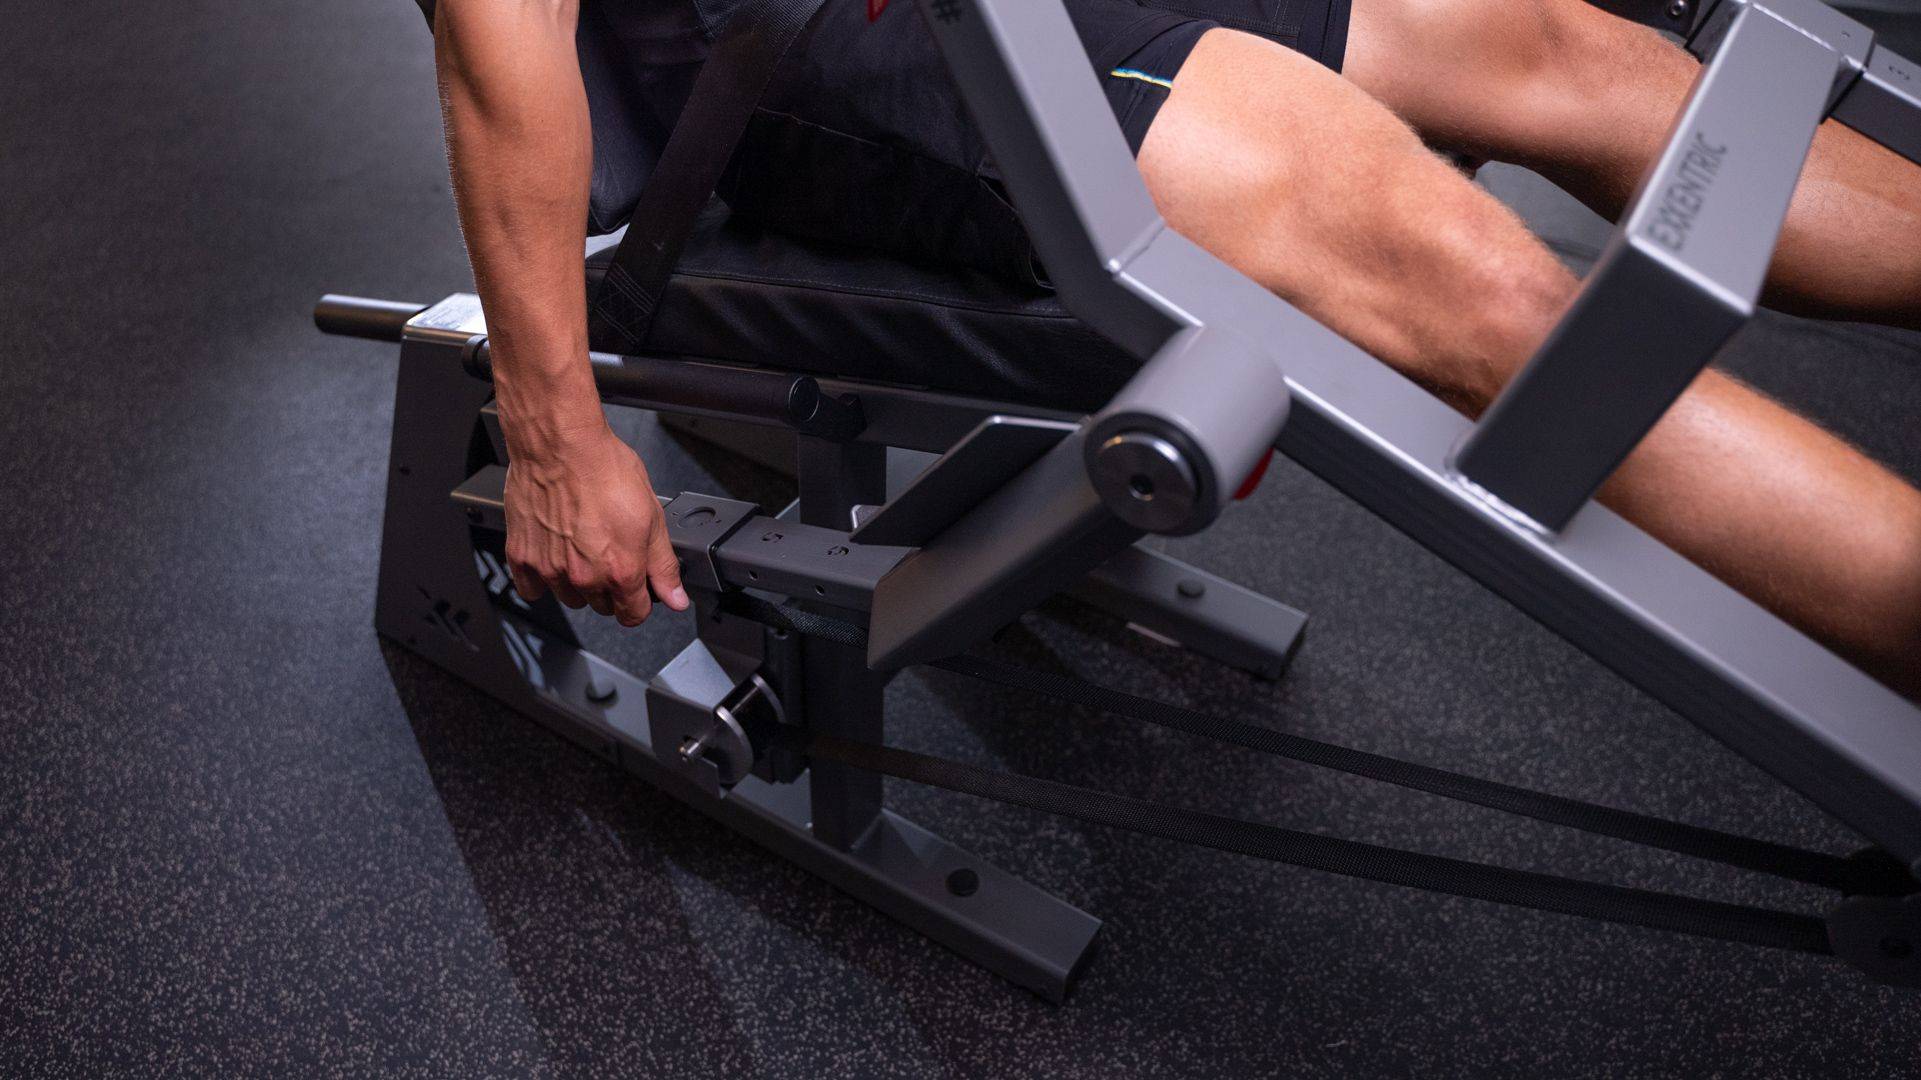
-
Step 7:
Adjust and attach seat belt.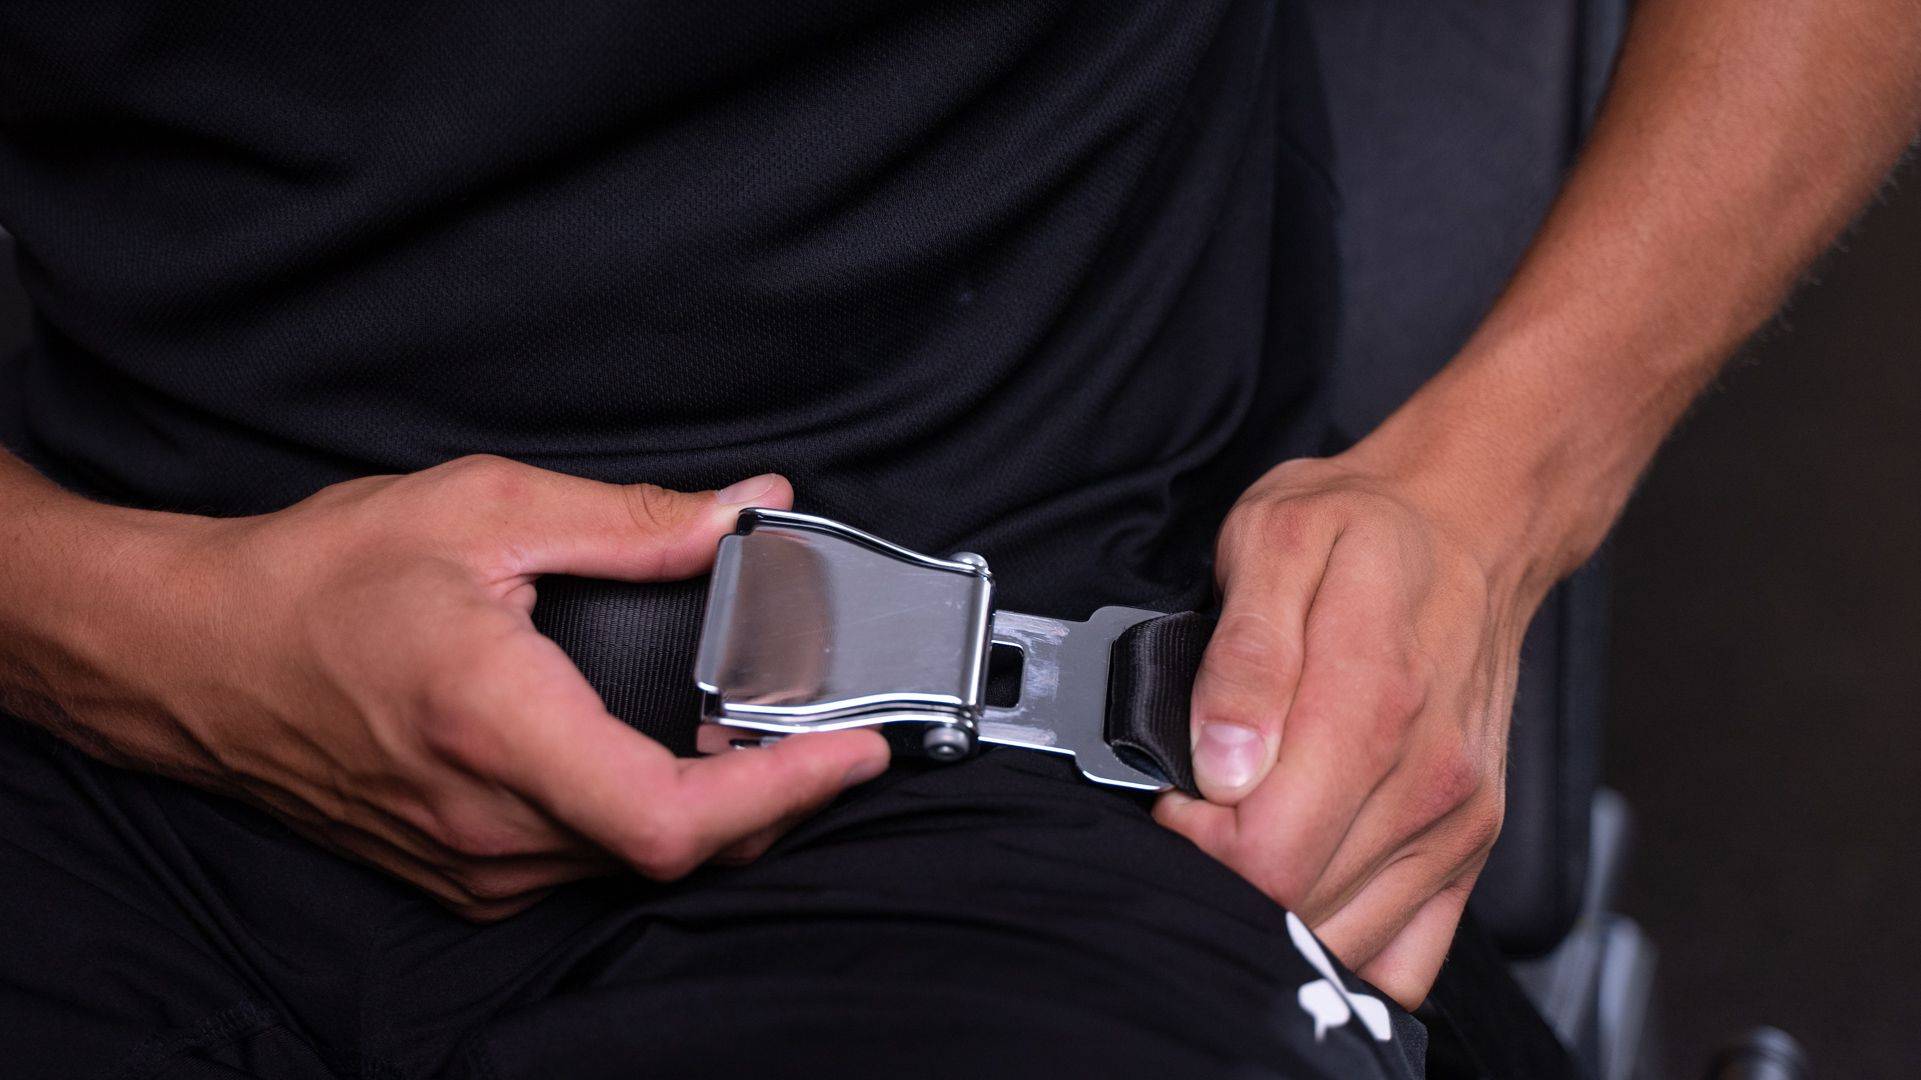
-
Step 8:
Connect to the Exxentric App to track your training data in real-time.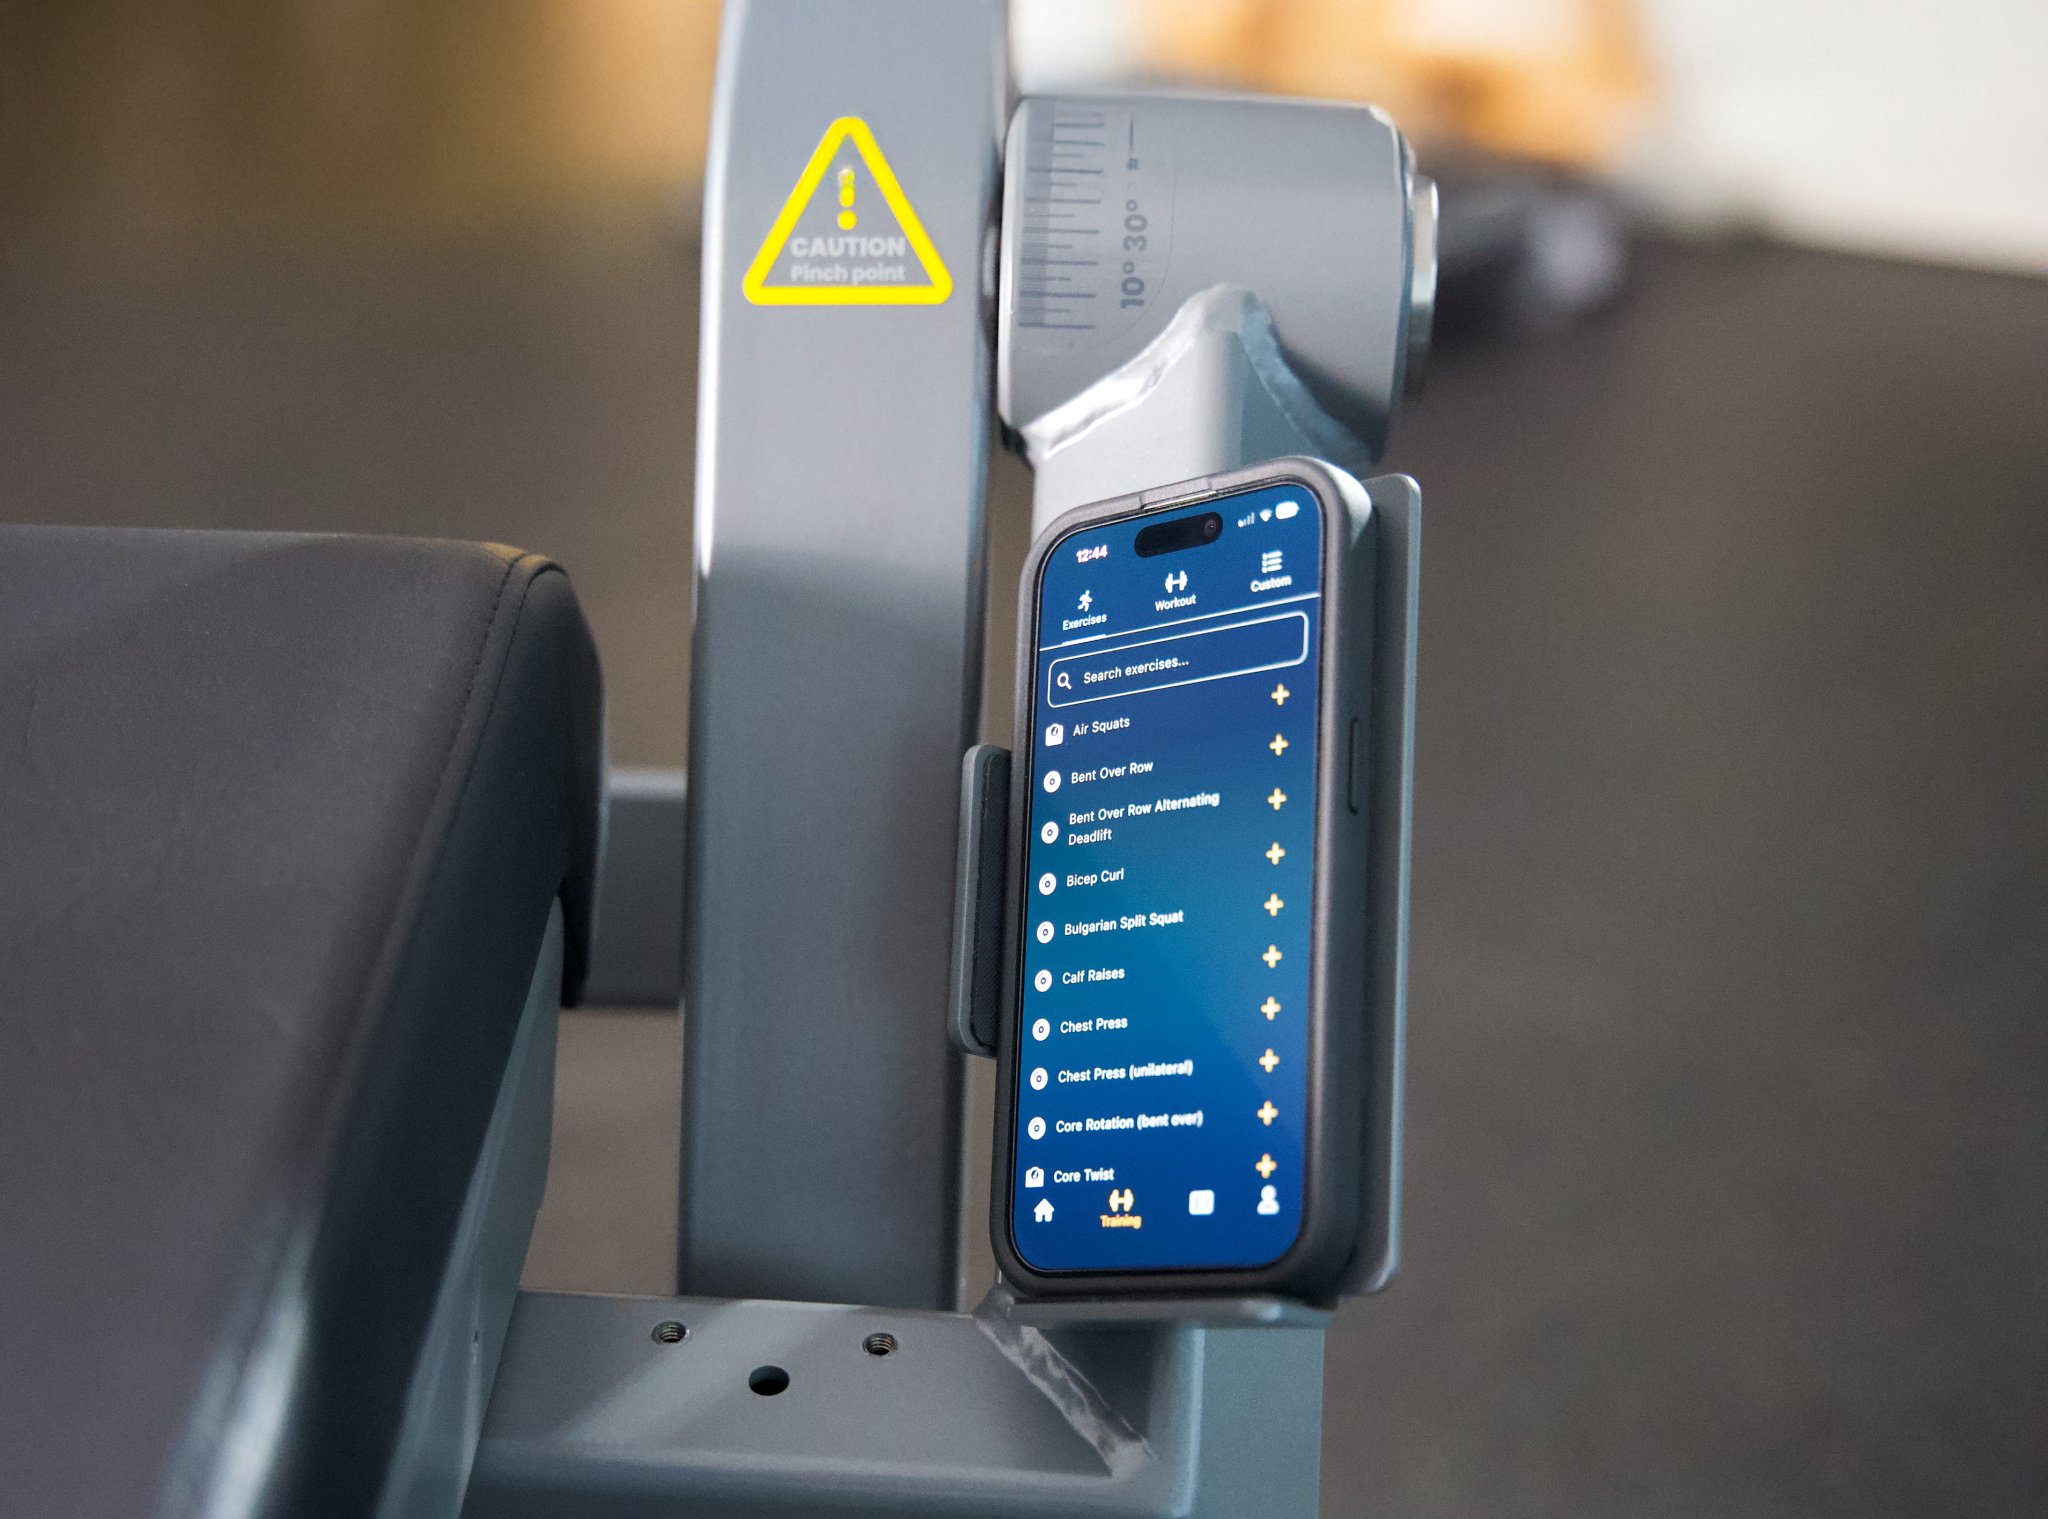
-
Step 9:
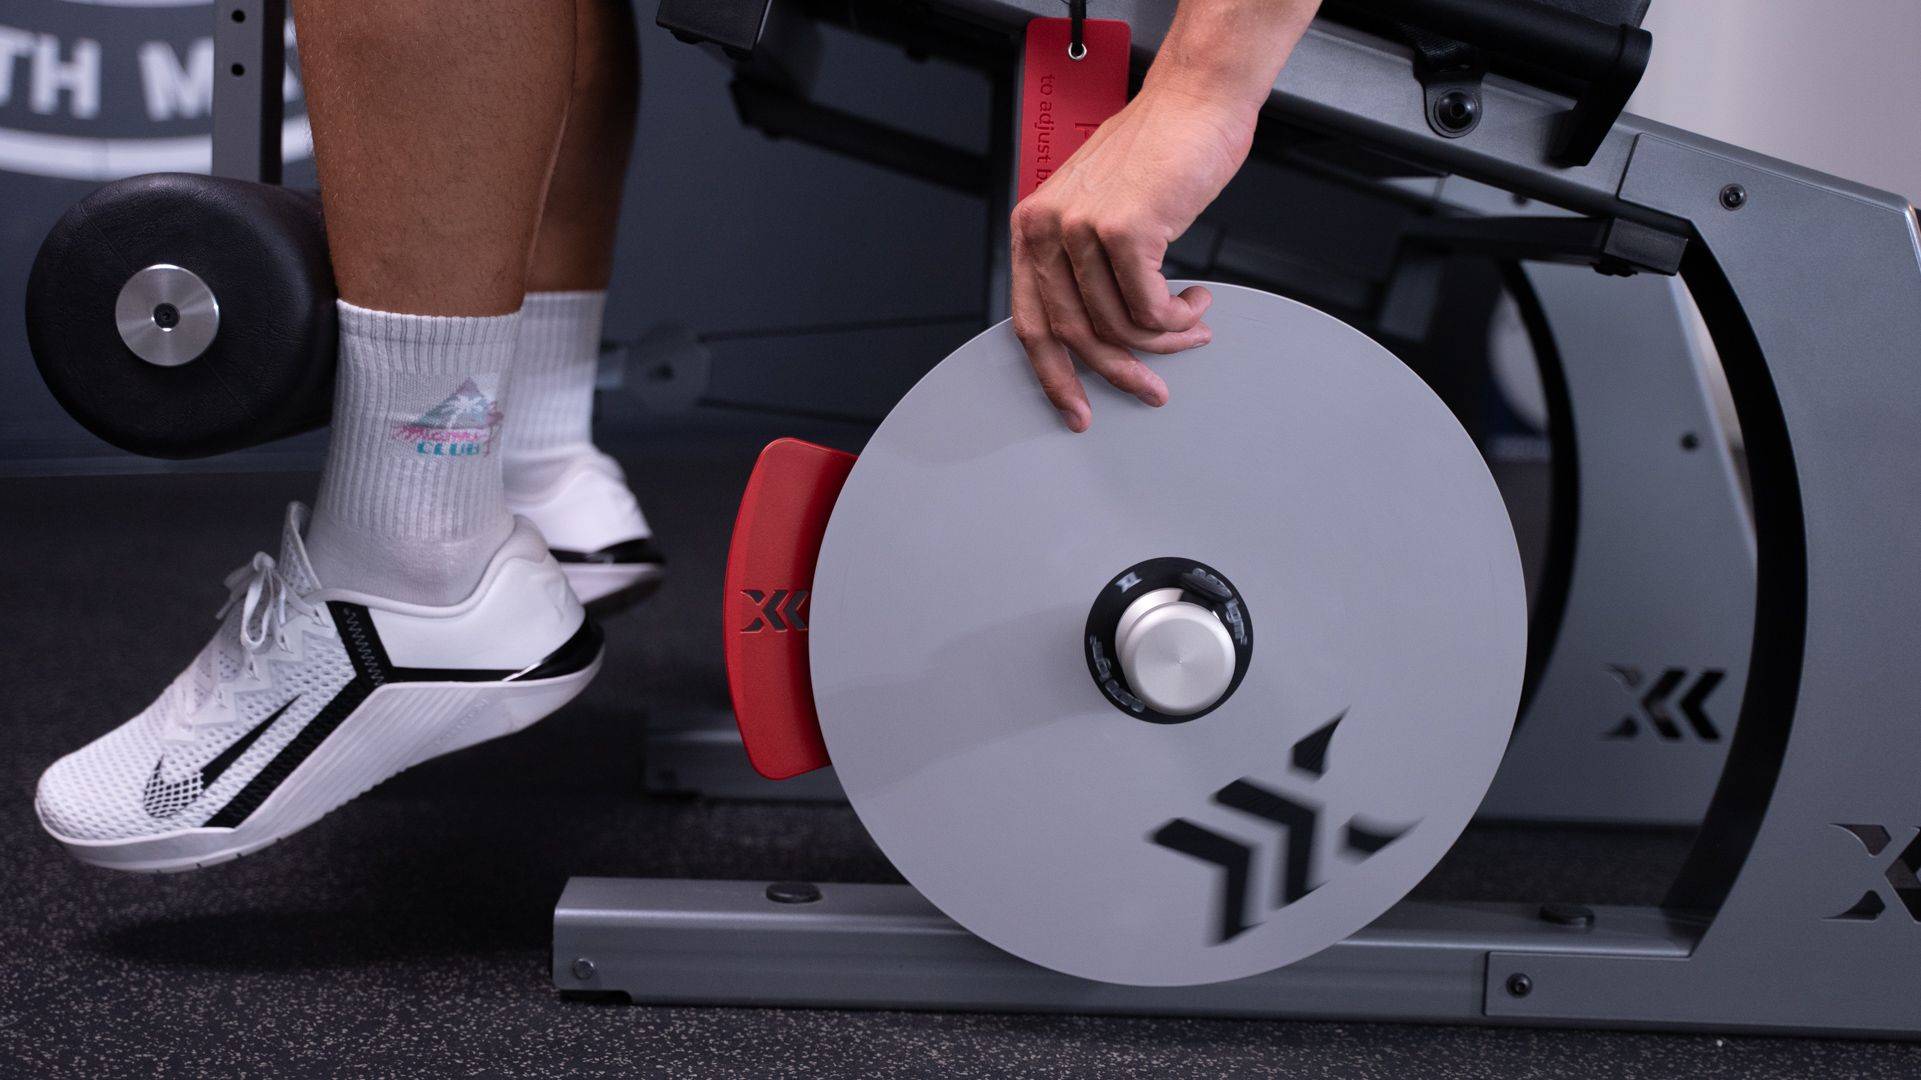
Spin the flywheel to start.
Decelerate the flywheel(s) completely before stepping off the machine.
-
Step 1:
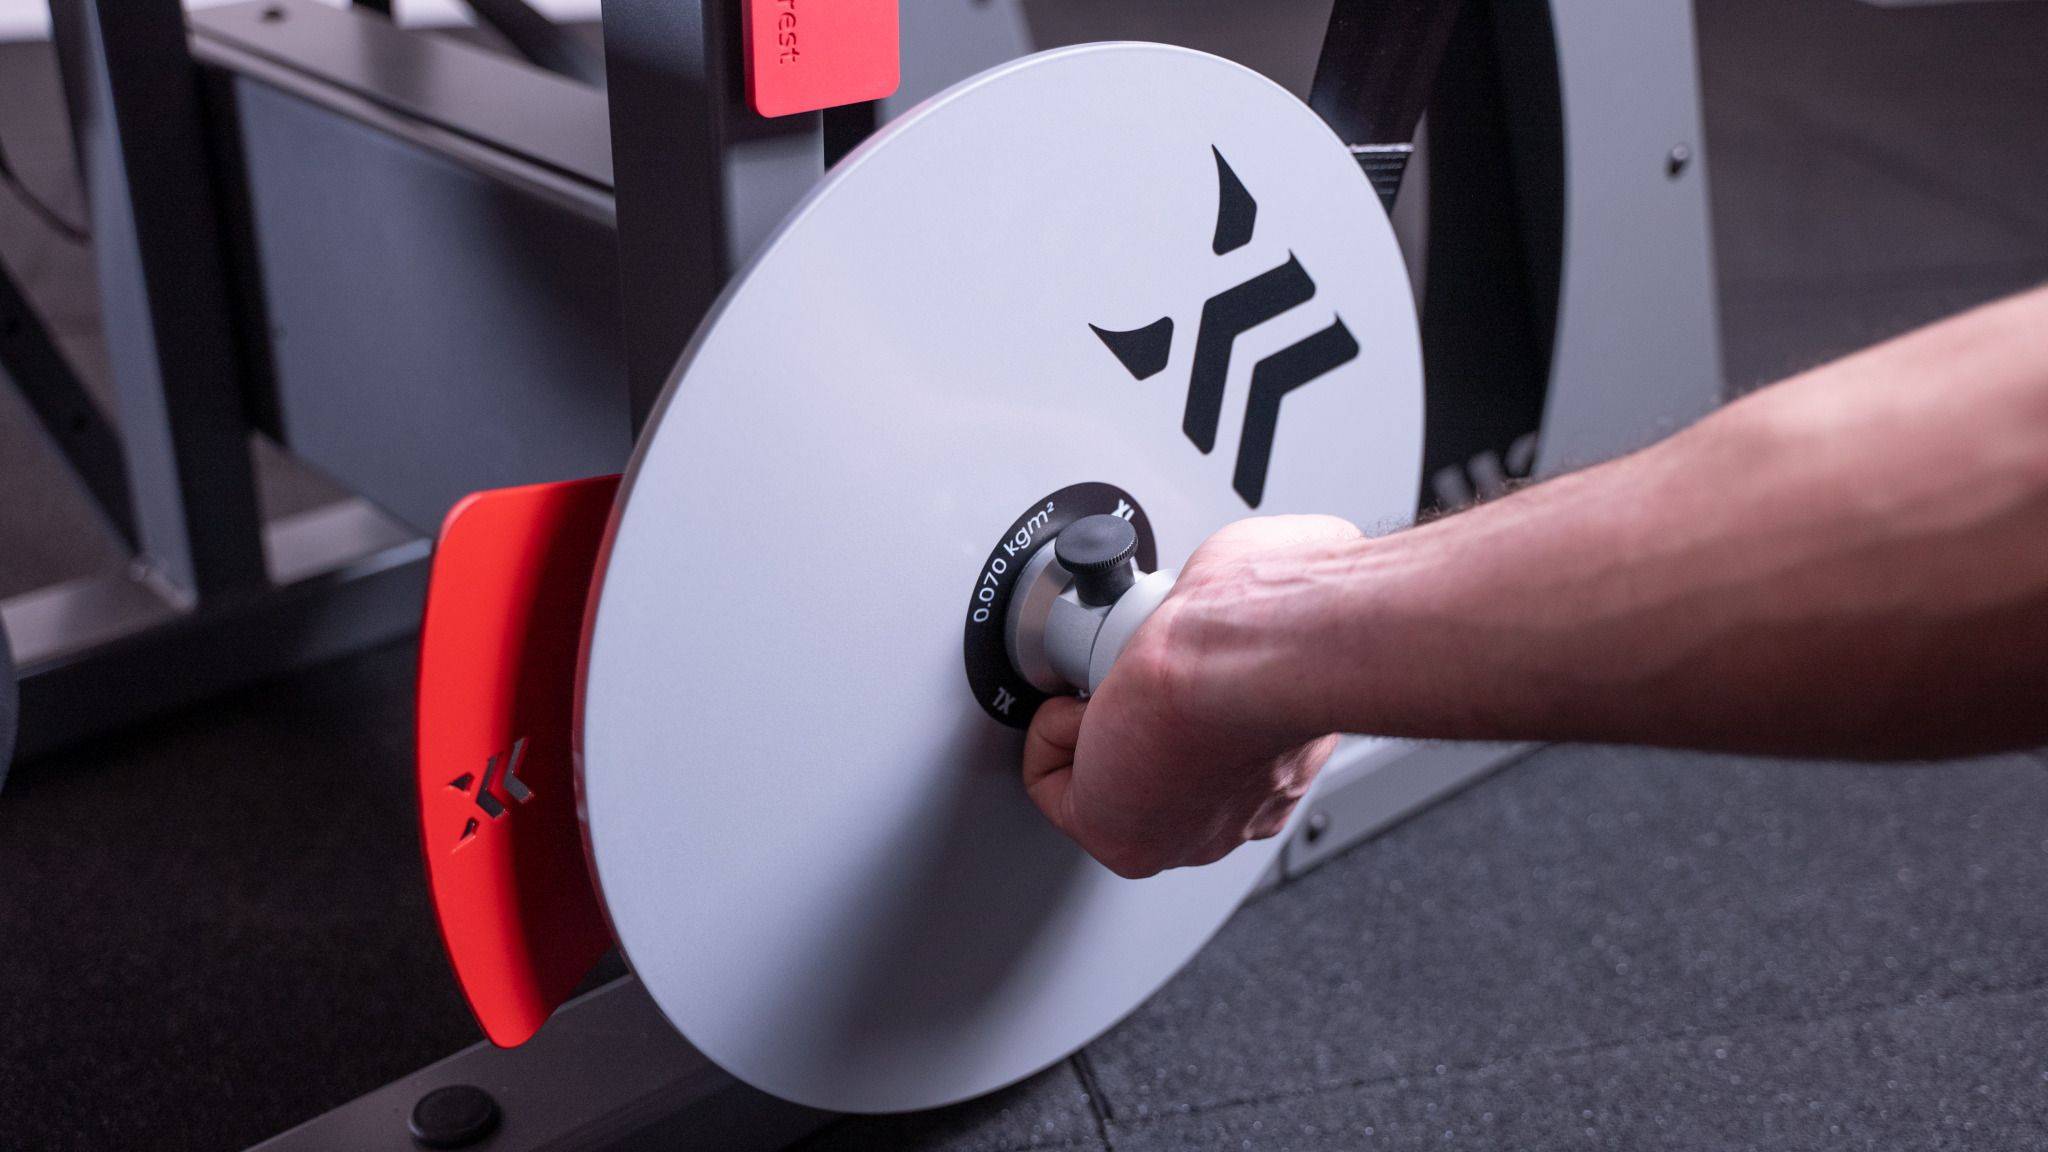
Select inertia and secure the flywheel knob.
-
Step 2:
Set backrest position by pulling the lever and sliding the backrest. -
Step 3:
Adjust the angle of the backrest.
(1) Push the backrest forward.
(2) Pull and hold the red handle.
(3) Let go of the handle. Make sure it gets locked in by going all the way down. -
Step 4:
Lower the thigh pad to secure your position.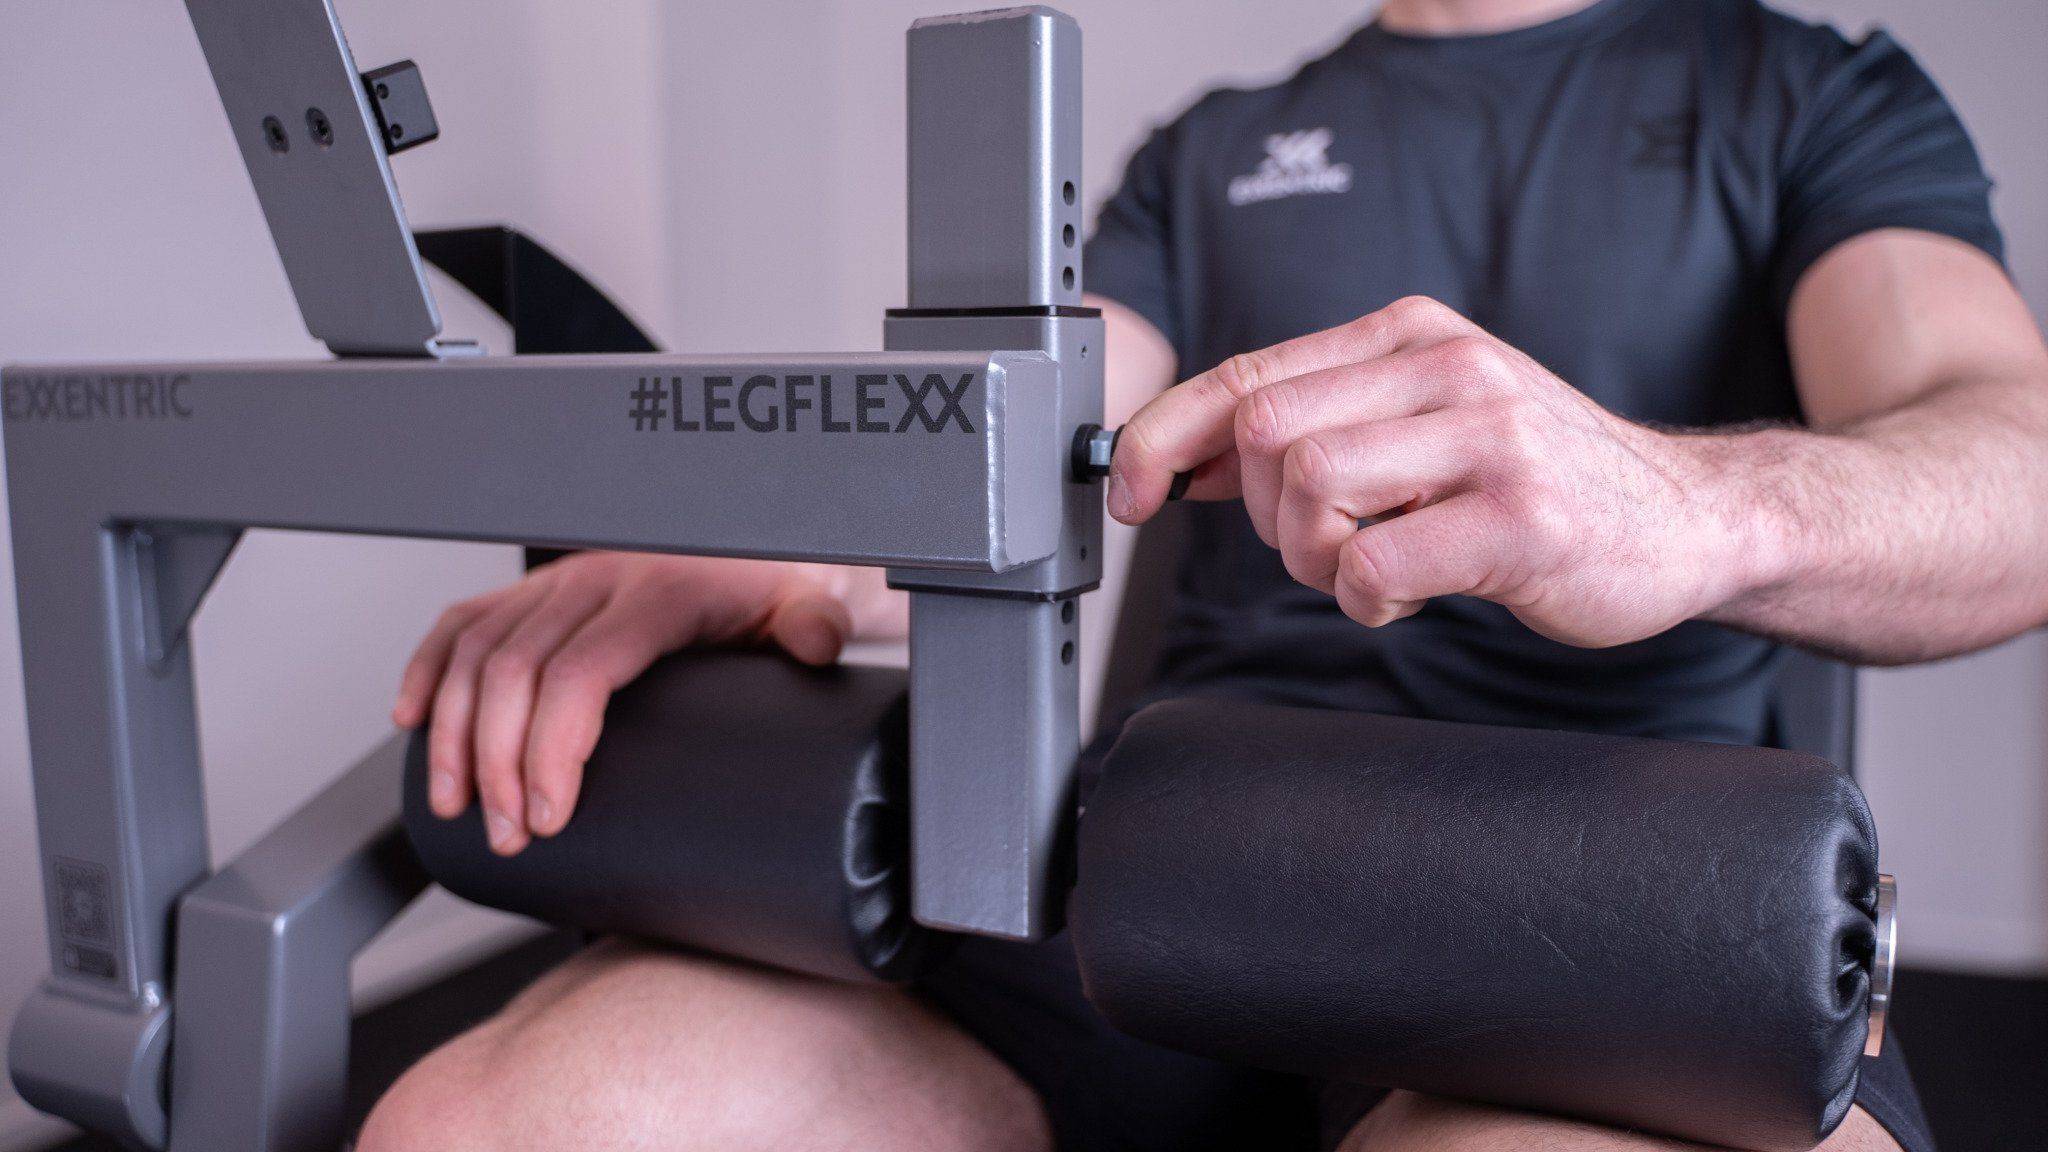
-
Step 5:
Adjust the calf pad to sit comfortably between your lower calf and top of ankle.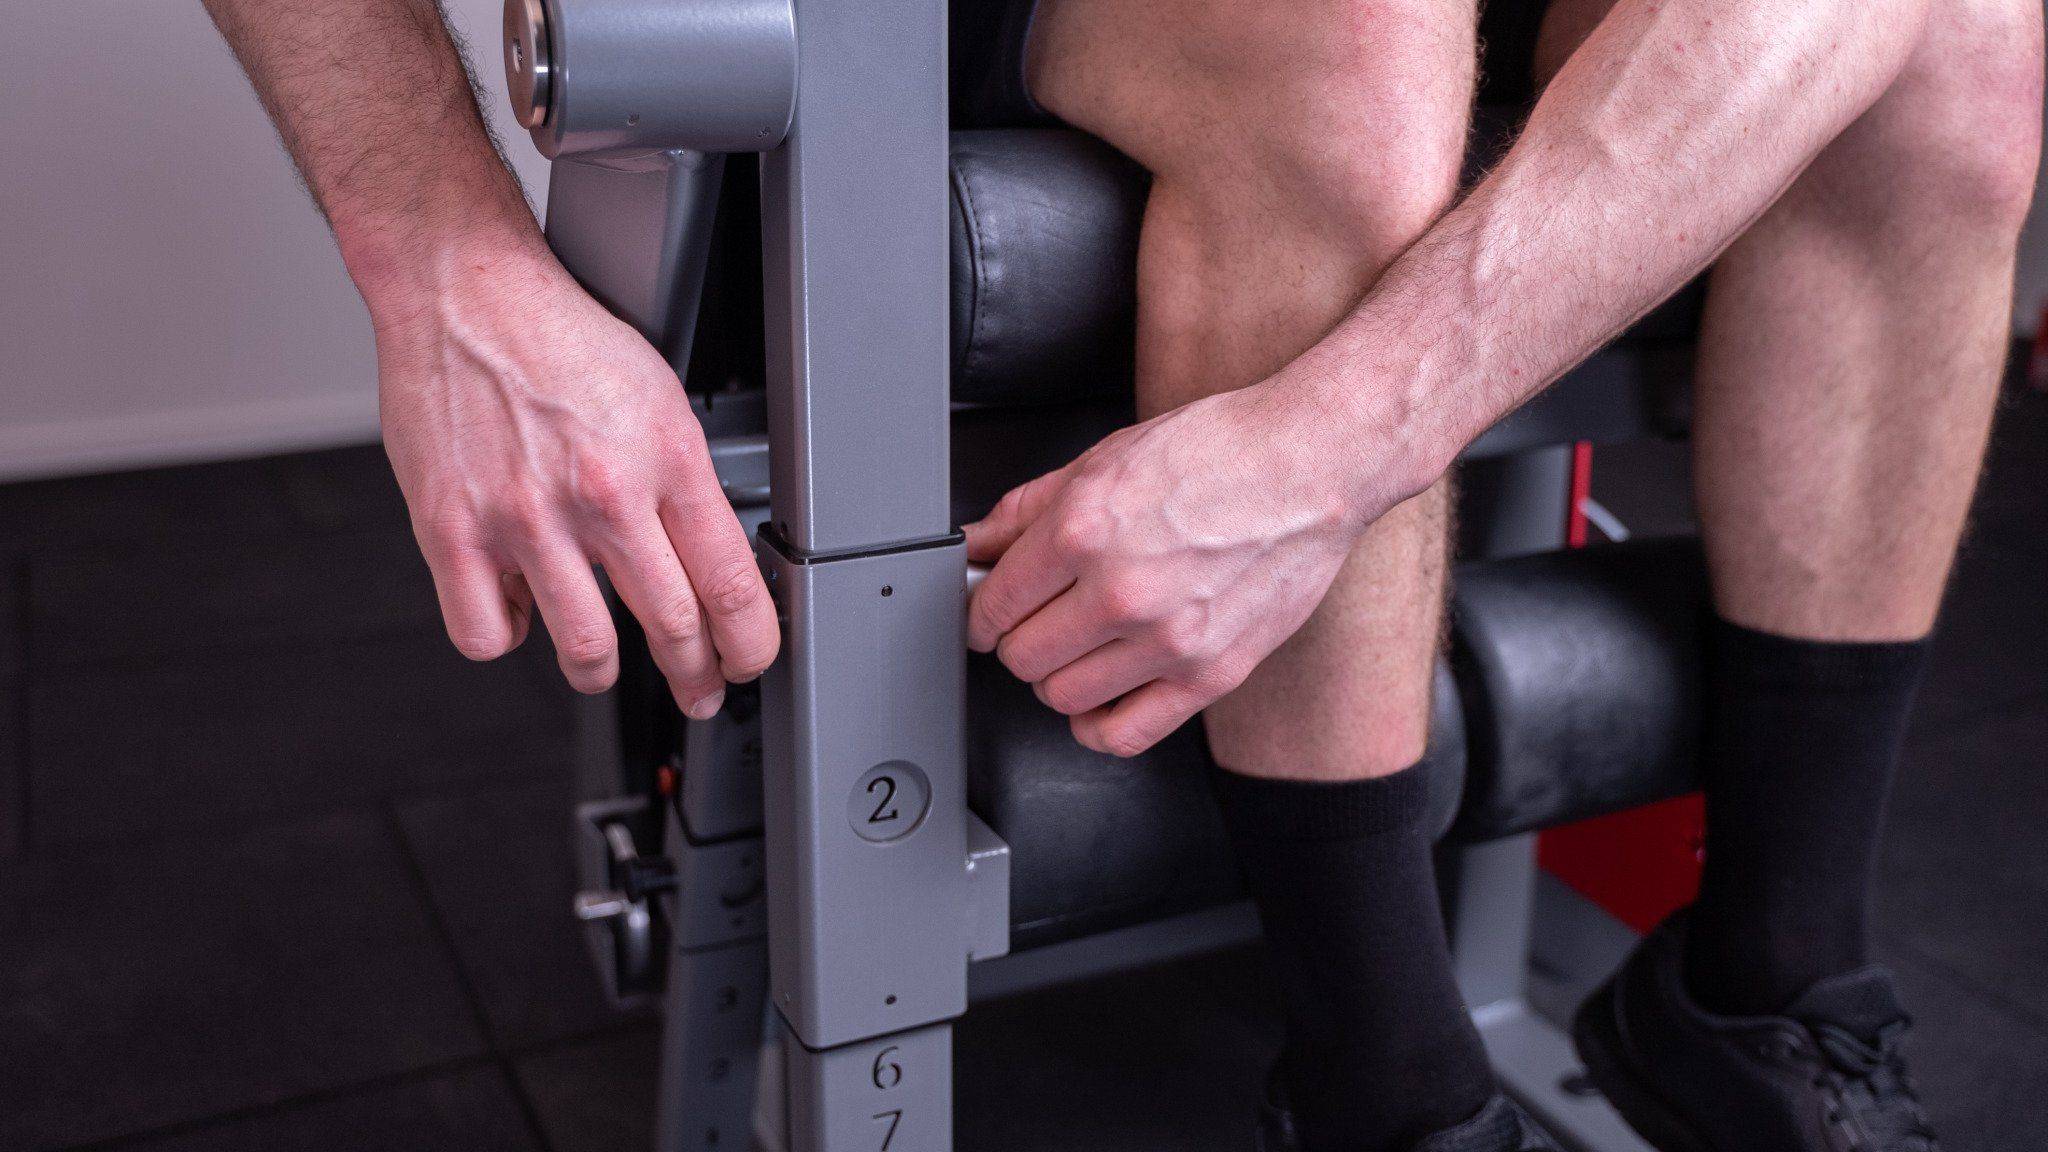
-
Step 6:
Adjust the range of motion.
(1) By sliding the length adjuster upwards for more flexion or downwards for less
(2) Or by adjusting the amount of excess belt coming out of the belt stop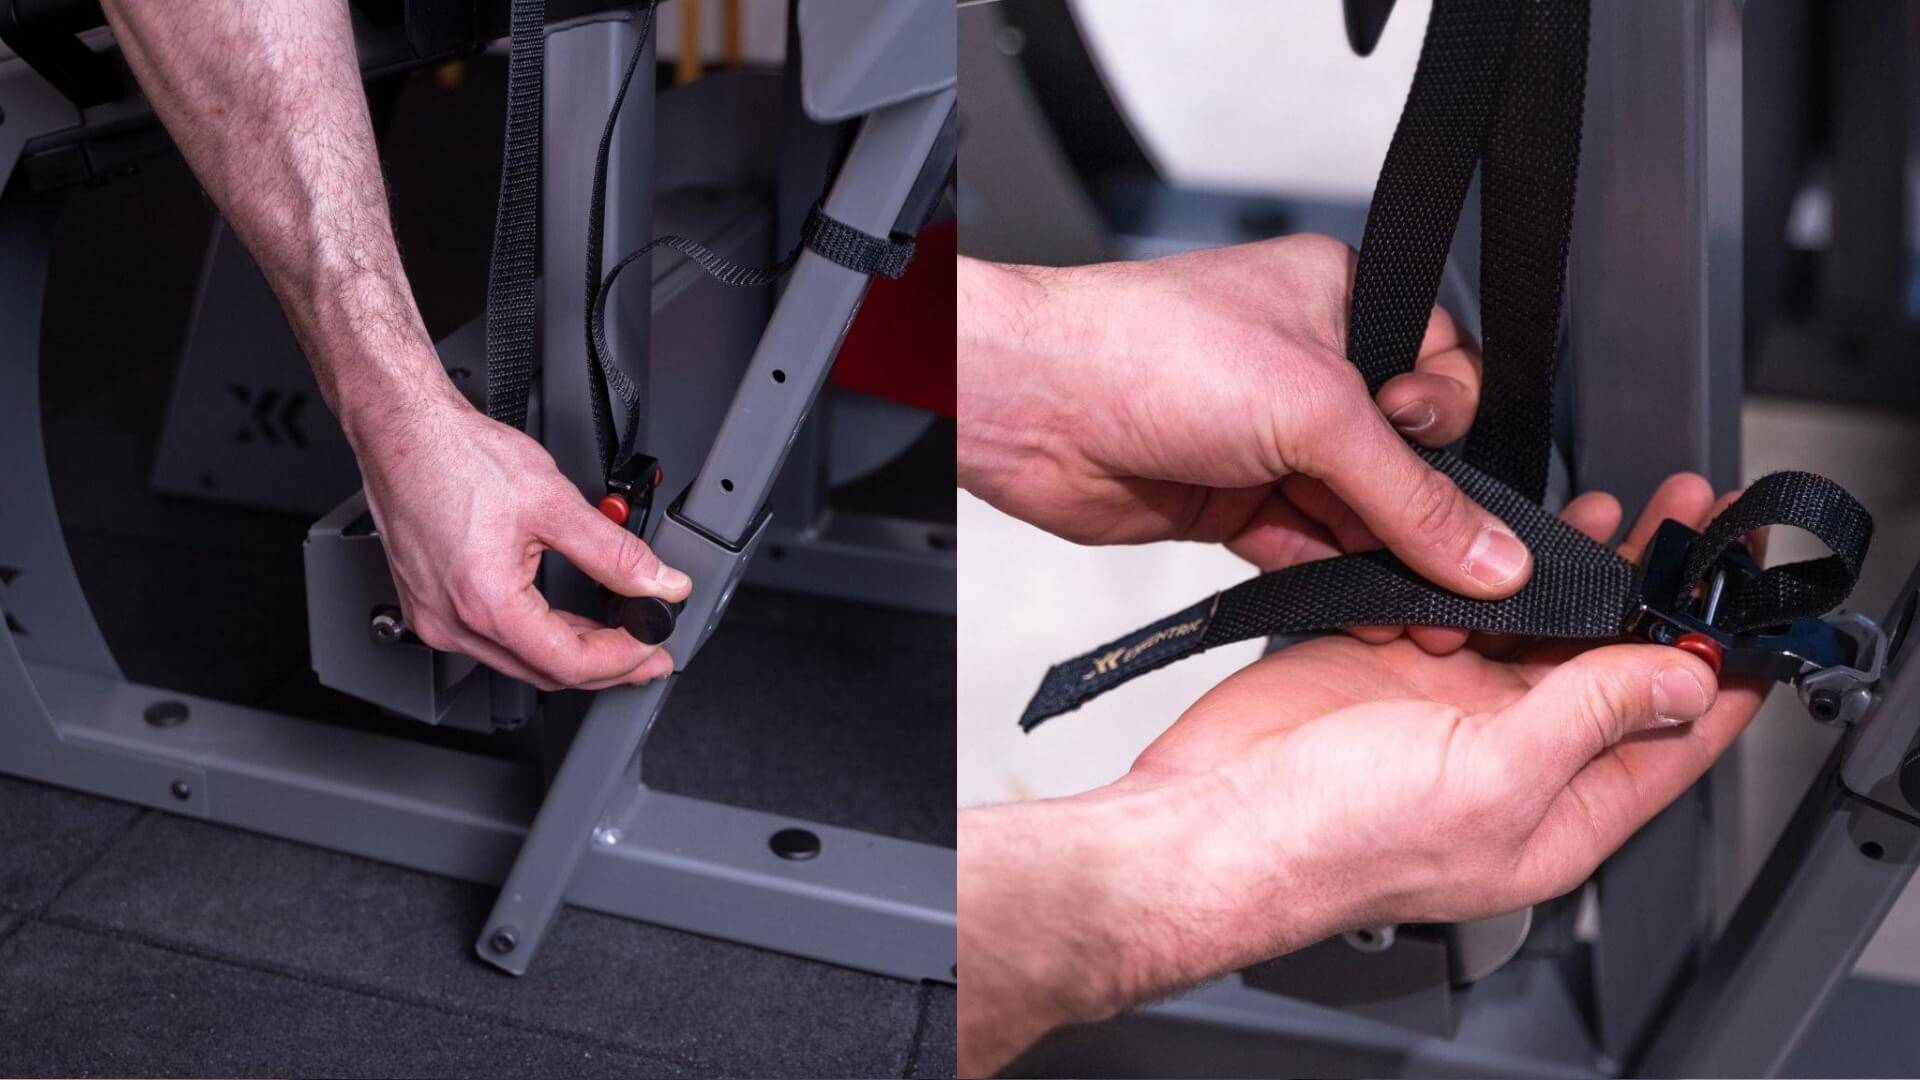
-
Step 7:
Adjust and attach seat belt. -
Step 8:
Connect to the Exxentric App to track your training data in real-time.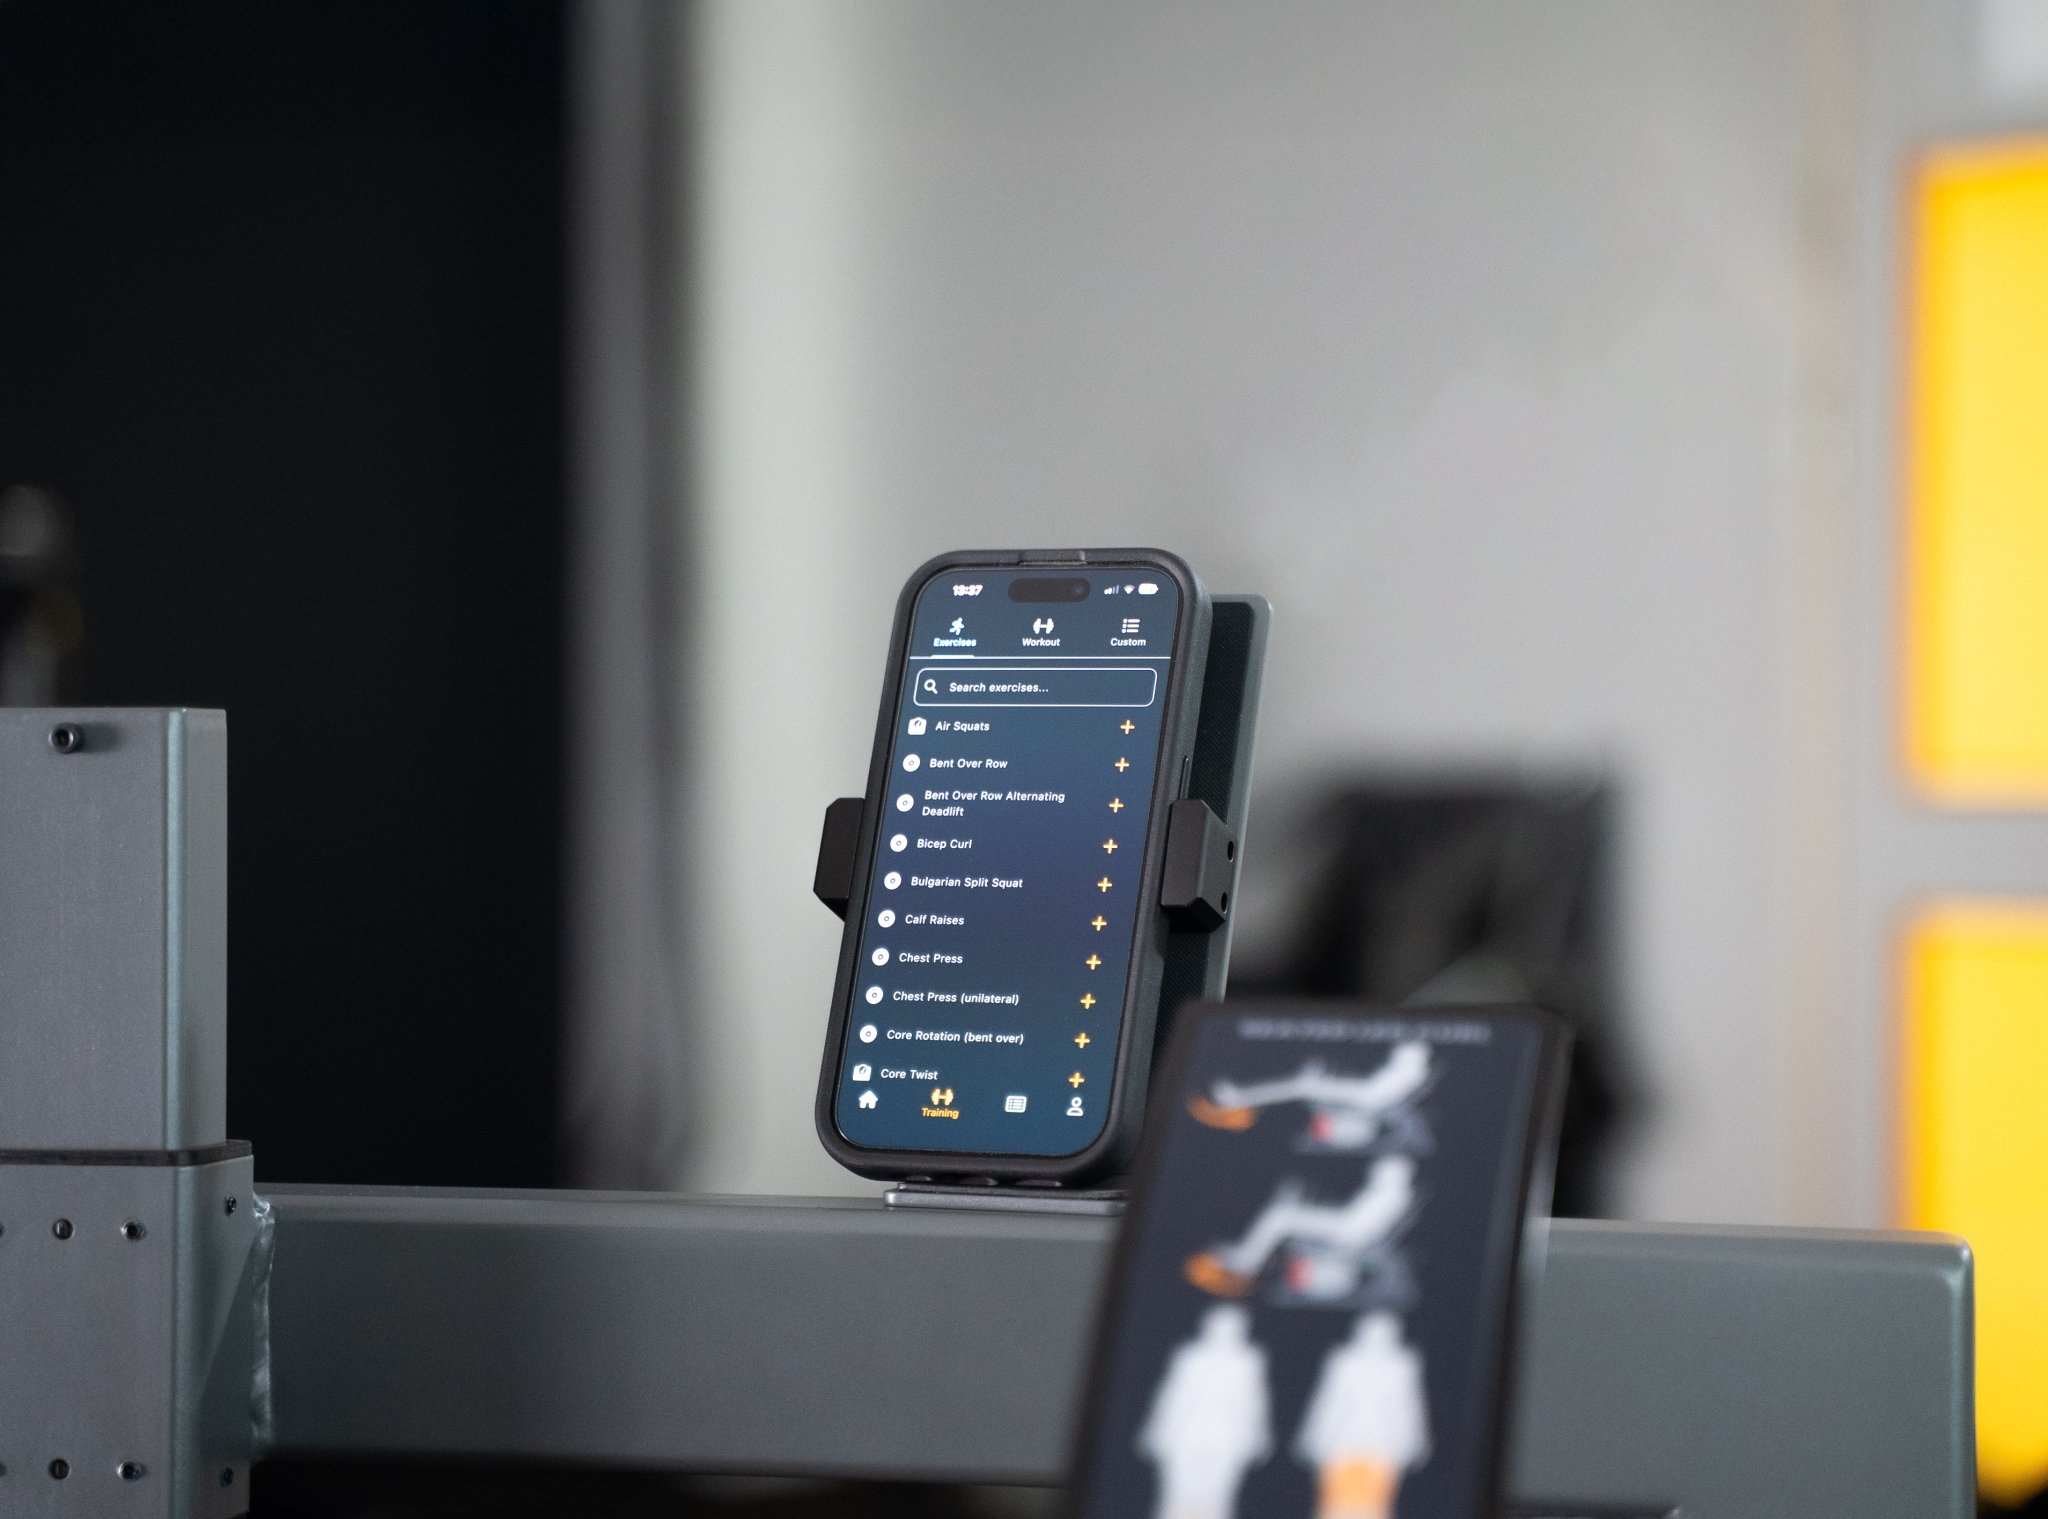
-
Step 9:
Spin the flywheel to start.
Decelerate the flywheel(s) completely before stepping off the machine.
Additional Tips
- A smaller flywheel means a FASTER movement. For safety and ease of use, it is better to start with slightly more inertia until you become familiar with the device.
- When starting your workout begin with submaximal intensity. Focus on accelerating the movement on the way up and controlling the resistance on the way down. Crucially, never allow the drive belt to slack. Once you find your rhythm, you can increase the intensity.
- Safety and Maintenance: Never stop abruptly in the top position. If the drive belt becomes tangled, immediately stop and correct the issue to prevent wear and tear on the belt.
- Extended video with training tips for the kBox and a tutorial on our accessories.
Once you’re comfortable with your device and ready to challenge yourself, we recommend using our free app to perform a baseline test* to effectively track your progress.
Simply navigate to the Strength Profile section in the app to begin, it is linked from the Start tab (Hub) and also available from the side menu.
For a detailed video guide, please refer to the course on Tests and Strength Profile.
*kMeter required
All devices except the standard kPulley Go and kBox Active have the kMeter built-in.
kMeter can be purchased separately here.
Tip
- Choose to complete all tests for a full-body profile or select the exercises most relevant to you.
- If you only perform one test, we suggest the deadlift into high pull, combining a deadlift and a high pull making it an great exercise for training and also testing the whole body.
If you are starting from scratch, don’t rush it, you are already heading in the right direction. Start simple and focus on making a habit out of training. A simple program, such as one of the two examples below, done well and frequently will give you great progress and a solid platform to build on.
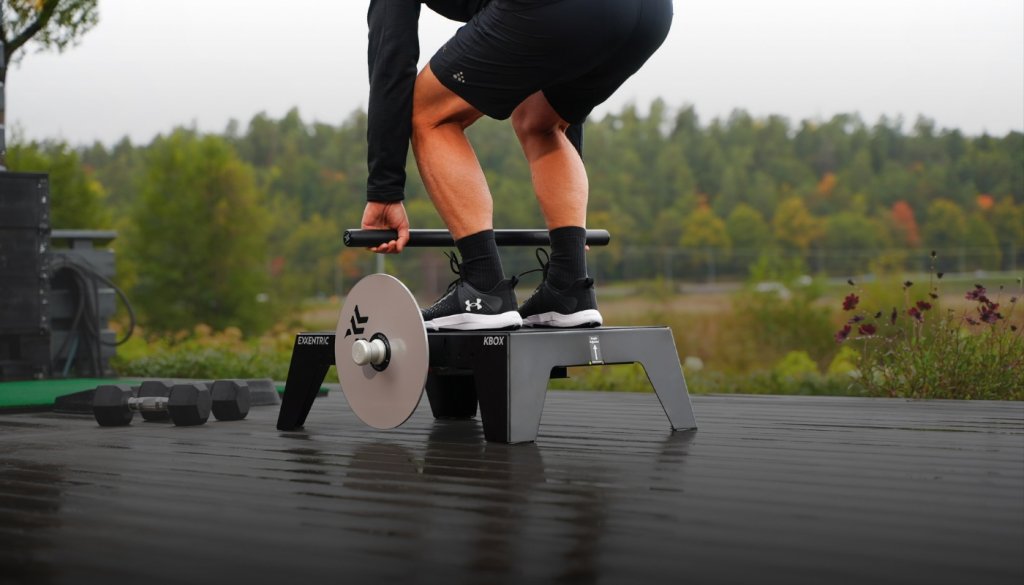
This can be as simple as you doing one set of a few key exercises 5-7 days a week, which takes less than 10 minutes per day. This is easy to fit in your schedule and the repeated exposure together with the well documented flywheel training effectiveness gives a significant result over time.
View Program
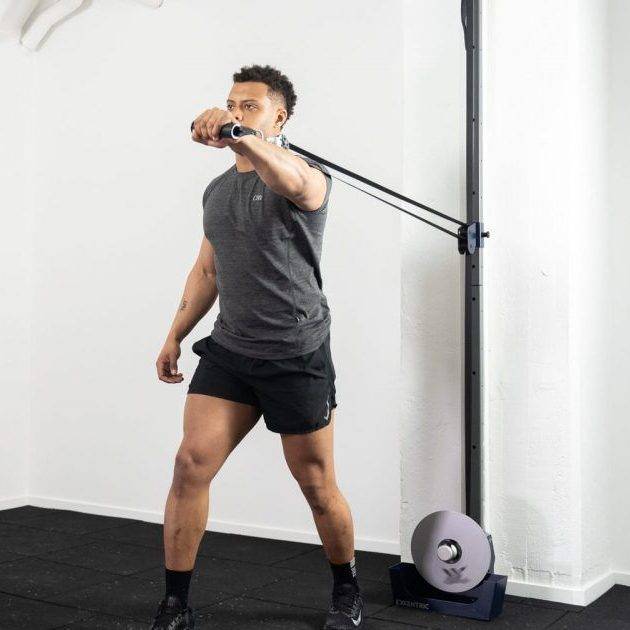
Your individual workouts will focus on a particular subset of muscles in your upper & lower body, allowing you to add a little bit more training volume per muscle group. This requires more consistency and the sessions are longer. The workouts will alternate with 2-4 sessions in total per week.
Example:
Day 1: Quads, calves, chest, shoulders
Day 2: Hamstrings, back, arms, core
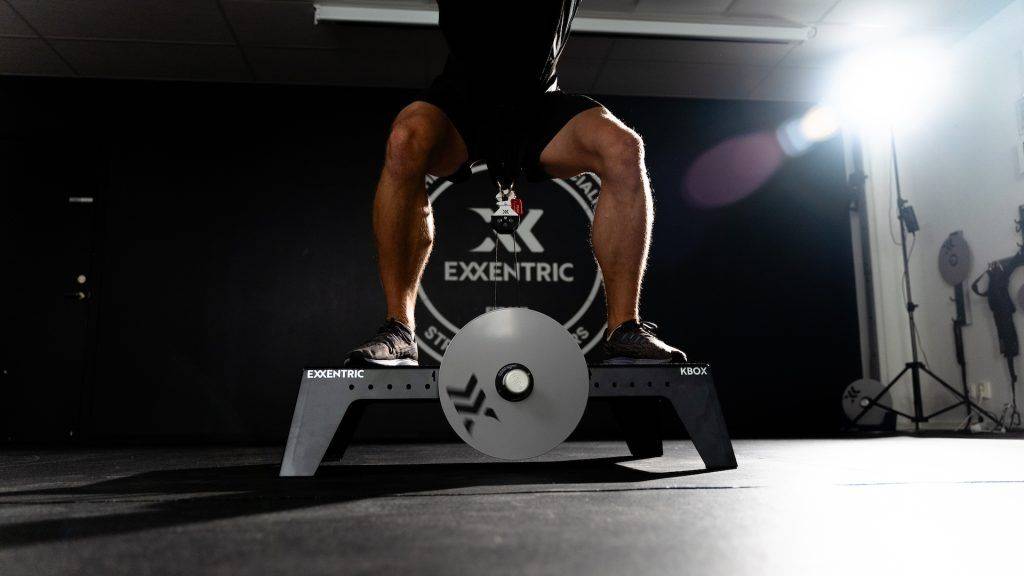
The program stretches over 12 weeks with 3 sessions per week. Each session can be done in 15-30 minutes depending on your resting time between the sets or if you do the exercise in supersets.
View ProgramVideo Workouts
We also have video workouts in the app, where you can simply press play and follow along with our instructors.
Quick WorkoutNeed help? Reach out to us with your questions about education, flywheel training or programs at [email protected]
Maintain your device to keep it looking fresh and working well for a long period of time. Start with this simple guide.
Best Practices: Do’s and Don’ts
| Action | Do | Don’t |
|---|---|---|
| Training Technique | Control the eccentric portion of the lift. | Never slam the pulley block into the device. |
| Drive Belt Management | Stop and untangle a tangled drive belt immediately to prolong its life. | Never train with a tangled drive belt. |
| Drive Belt Locking | Only adjust the drive belt when the flywheel is standing still. | Never unlock the drive belt locking mechanism during training. |
| Exiting the Device | Come to a full stop before stepping off or disconnecting. | Step off or disconnect before stopping movement. |
| Surface Protection | Use a cover mat if you use outdoor shoes or shoes with spikes on your kBox. | Use outdoor or spiked shoes without a cover mat. |
| Maintenance | Trim the drive belt at the first signs of wear to prevent in-training breakage. | Wait until the drive belt breaks before addressing wear. |
| Post-Training Storage | After training, unwind the entire drive belt from the shaft and roll it up tightly to keep it flat and prevent kinks. | Leave the drive belt partially wound or loosely stored, which can cause kinks. |
All the maintenance and service video can be found in our app: Academy / All / Support & Maintenance (kBox | kPulley | SingleExx)
If you suspect any items are missing from your delivery, please note that transportation companies occasionally split orders, even though all parcels are shipped together.
- Check Your Tracking ID: Verify that all boxes have been delivered.
- Contact Operations: If all boxes have been delivered and you are still missing something or require assistance, please contact us at [email protected].
For help with hardware or app issues, please reach out to us through the support form in the Exxentric app where more info is pre-filled. Alternatively you can use the more manual form below.
Contact FormWe hope you will be a long time user and we do enjoy discussing your training and helping you along the way. Down the line we hope that you will inspire us to improve our products and that we can learn from you.
Follow @go_exxentric on Instagram for daily inspo, science and insights into flywheel training usage around the world and tag us in your training!
